Add AI Assistant to Nutrient PDF viewer
Table of contents
This tutorial walks you through adding AI features like summarization, translation, redaction, and Q&A to your PDF viewer using Nutrient Web SDK. You’ll set up the AI Assistant backend and JWT-based authentication and embed a chat assistant directly in the viewer. Want to see it in action? Clone the full demo from GitHub(opens in a new tab).
Introduction
Nutrient AI Assistant brings intelligent document processing (IDP) directly to your browser. Legal professionals can quickly summarize contracts, educators can translate materials for multilingual classrooms, and finance teams can redact sensitive data before sharing. By letting users interact with PDFs naturally, AI Assistant streamlines workflows and saves hours of manual work.
What AI Assistant does
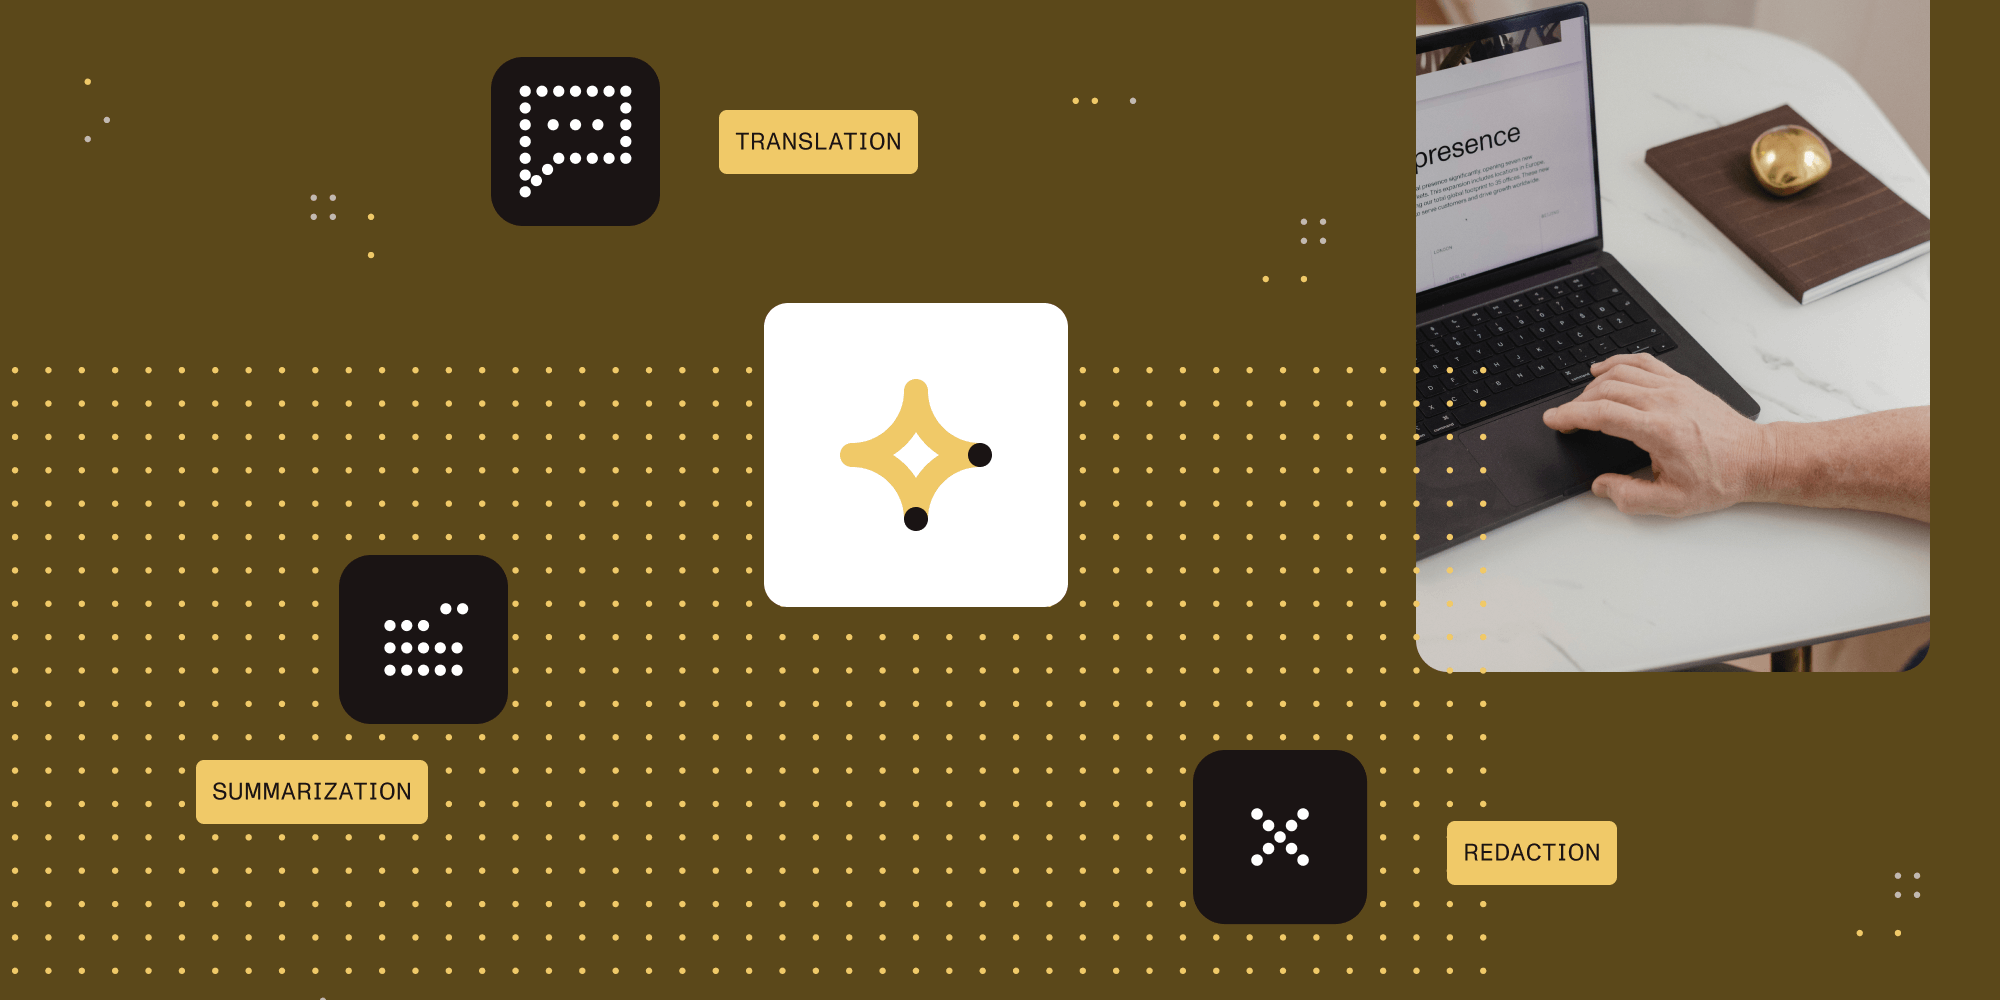
Traditional document editing is often repetitive and manual. Nutrient AI Assistant improves this by enabling natural language interactions directly inside the viewer. Once integrated, users can:
Ask context-aware questions e.g. “What’s the deadline in this contract?”
Summarize long documents or specific pages e.g. “Summarize this agreement in three bullet points.”
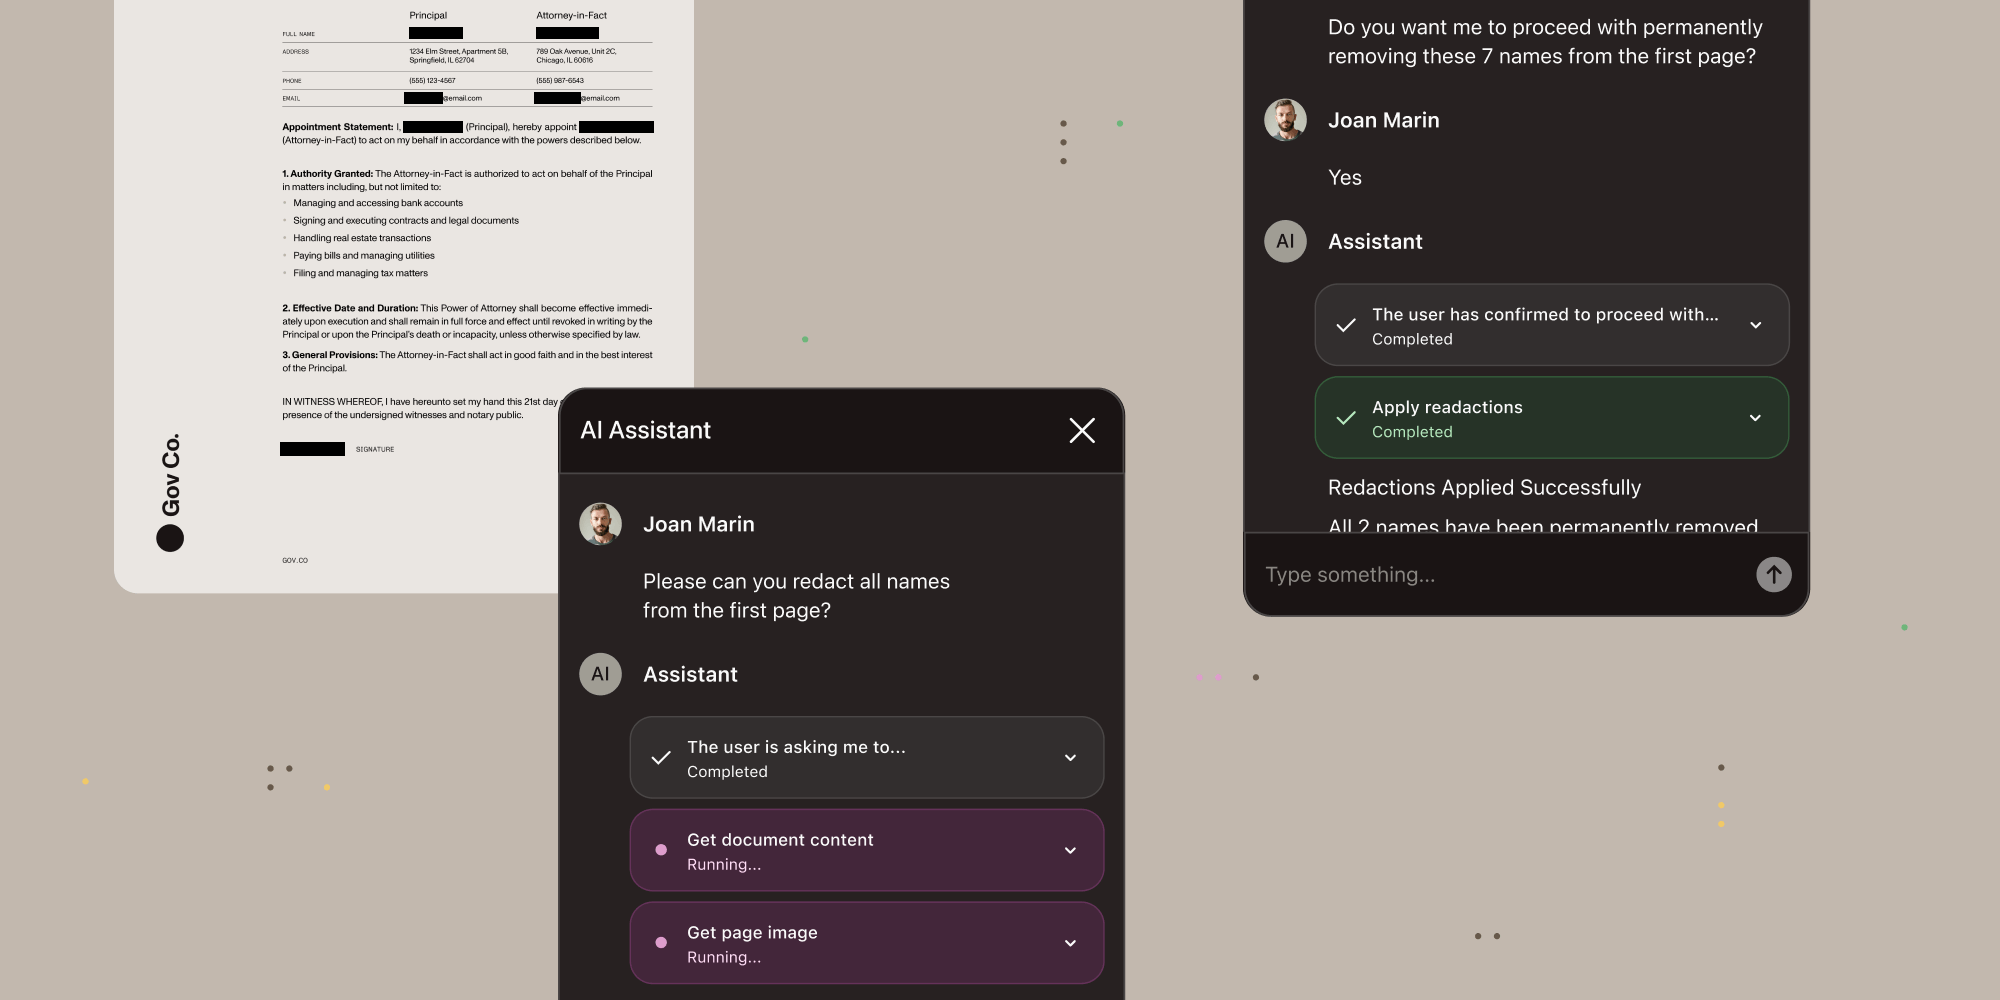
Redact personally identifiable information (PII) or sensitive data semantically e.g. “Redact all phone numbers and email addresses.”
Toggle the assistant UI on/off Optional UI integration; non-blocking for workflows.
These capabilities make the assistant suitable for document-heavy apps in legal tech, enterprise productivity, education, and finance.
Overview
By following along with this article, you’ll build:
- A web PDF viewer using Nutrient Web SDK
- A running AI Assistant backend (via Docker)
- A secure Express server issuing JSON Web Tokens (JWTs) for authentication
- AI features that enable you to summarize, translate, redact, and ask questions/get answers
You’ll end up with a fully functional AI PDF editor that works locally, with real document input and AI-powered commands.
Prerequisites
- Docker and Docker Compose installed — Install Docker(opens in a new tab) and Docker Compose(opens in a new tab)
- Node.js + npm installed — Install Node.js 20+(opens in a new tab)
- An OpenAI API key — Get an API key(opens in a new tab)
- Git and a terminal
This guide is intended for developers familiar with Node.js and basic Docker usage. If you’re new to these technologies, refer to the linked resources for setup instructions before proceeding.
Clone the demo project (fastest way)
If you want to skip the manual setup and see a full working example, run:
git clone https://github.com/PSPDFKit/ai-assistant-demo.gitcd ai-assistant-demoThen, run the following commands in your terminal:
export OPENAI_API_KEY="your-openai-api-key"docker compose up -dOnce AI Assistant is ready, you’ll see this message in the ai-assistant container logs:
info: AI Assistant startedAfter that, start the sample web application by running:
./startVisit the URL shown in your terminal. You’ll see a PDF loaded in Nutrient Web SDK. Click the AI Assistant icon in the toolbar to start interacting with your document using natural language.
To build it from scratch, continue to the next steps.
Set up the AI Assistant backend with Docker
Docker Compose(opens in a new tab) orchestrates the AI backend, Document Engine, and database, ensuring all services communicate securely and reliably.
Create a docker-compose.yml file
This file defines three services:
ai-assistant— The AI-processing backend service that handles AI requests and communicates with LLM providers.document_engine— The document processing and collaboration service that manages document storage and access.db— A PostgreSQL instance using the [pgvector][] extension for vector storage.
version: "3.8"
services:  ai-assistant:    image: pspdfkit/ai-assistant:1.3.0    environment:      OPENAI_API_KEY: <your-openai-api-key>      DE_URL: http://document_engine:5000      DE_API_AUTH_TOKEN: secret      PGUSER: db-user      PGPASSWORD: password      PGDATABASE: ai_assistant      PGHOST: db      PGPORT: 5432      API_AUTH_TOKEN: secret      JWT_PUBLIC_KEY: |        -----BEGIN PUBLIC KEY-----        MIIBIjANBgkqhkiG9w0BAQEFAAOCAQ8AMIIBCgKCAQEA2gzhmJ9TDanEzWdP1WG+        0Ecwbe7f3bv6e5UUpvcT5q68IQJKP47AQdBAnSlFVi4X9SaurbWoXdS6jpmPpk24        QvitzLNFphHdwjFBelTAOa6taZrSusoFvrtK9x5xsW4zzt/bkpUraNx82Z8MwLwr        t6HlY7dgO9+xBAabj4t1d2t+0HS8O/ed3CB6T2lj6S8AbLDSEFc9ScO6Uc1XJlSo        rgyJJSPCpNhSq3AubEZ1wMS1iEtgAzTPRDsQv50qWIbn634HLWxTP/UH6YNJBwzt        3O6q29kTtjXlMGXCvin37PyX4Jy1IiPFwJm45aWJGKSfVGMDojTJbuUtM+8P9Rrn        AwIDAQAB        -----END PUBLIC KEY-----      JWT_ALGORITHM: RS256      DASHBOARD_USERNAME: dashboard      DASHBOARD_PASSWORD: secret      SECRET_KEY_BASE: secret-key-base    ports:      - 4000:4000    depends_on:      document_engine:        condition: service_started      db:        condition: service_healthy
  document_engine:    image: pspdfkit/document-engine:1.9.0    environment:      PGUSER: db-user      PGPASSWORD: password      PGDATABASE: pspdfkit      PGHOST: db      PGPORT: 5432      API_AUTH_TOKEN: secret      SECRET_KEY_BASE: secret-key-base      JWT_PUBLIC_KEY: |        -----BEGIN PUBLIC KEY-----        MIIBIjANBgkqhkiG9w0BAQEFAAOCAQ8AMIIBCgKCAQEA2gzhmJ9TDanEzWdP1WG+        0Ecwbe7f3bv6e5UUpvcT5q68IQJKP47AQdBAnSlFVi4X9SaurbWoXdS6jpmPpk24        QvitzLNFphHdwjFBelTAOa6taZrSusoFvrtK9x5xsW4zzt/bkpUraNx82Z8MwLwr        t6HlY7dgO9+xBAabj4t1d2t+0HS8O/ed3CB6T2lj6S8AbLDSEFc9ScO6Uc1XJlSo        rgyJJSPCpNhSq3AubEZ1wMS1iEtgAzTPRDsQv50qWIbn634HLWxTP/UH6YNJBwzt        3O6q29kTtjXlMGXCvin37PyX4Jy1IiPFwJm45aWJGKSfVGMDojTJbuUtM+8P9Rrn        AwIDAQAB        -----END PUBLIC KEY-----      JWT_ALGORITHM: RS256      DASHBOARD_USERNAME: dashboard      DASHBOARD_PASSWORD: secret    ports:      - 5000:5000    depends_on:      - db  db:    image: pgvector/pgvector:pg16    healthcheck:      test: ["CMD-SHELL", "pg_isready -U db-user"]      interval: 3s      timeout: 3s      retries: 10    environment:      POSTGRES_USER: db-user      POSTGRES_PASSWORD: password      POSTGRES_DB: ai_assistant      POSTGRES_INITDB_ARGS: --data-checksums      PGDATA: /var/lib/postgresql/data/pgdata    volumes:      - pgdata:/var/lib/postgresql/data
volumes:  pgdata:
The table below shows a breakdown of the key environment variables.
| Variable | Description |
|---|---|
OPENAI_API_KEY | Your OpenAI API key for AI processing (can be configured to use other providers via service-config.yml) |
DE_URL | URL for the Document Engine service |
DE_API_AUTH_TOKEN | Secret for authenticating AI Assistant with Document Engine |
PGUSER/PGPASSWORD | Database credentials for PostgreSQL |
JWT_PUBLIC_KEY | Public key for verifying JWTs |
DASHBOARD_USERNAME | Login for the Document Engine dashboard |
Replace <your-openai-api-key> with your actual OpenAI API key.
While this tutorial uses OpenAI for simplicity, AI Assistant supports multiple LLM providers, including AWS Bedrock, Azure, and locally hosted models. You can configure alternative providers using a service-config.yml file. See the AI configuration guides for details.
Then run:
docker-compose upWait until you see:
`ai_assistant | info: AI Assistant started`This indicates the AI Assistant backend is running and ready to accept requests.
Upload a document to Document Engine
Open
http://localhost:5000/dashboardin your browser. This is the Document Engine dashboard where you can manage documents.Log in with:
- Username:
dashboard - Password:
secret
- Username:
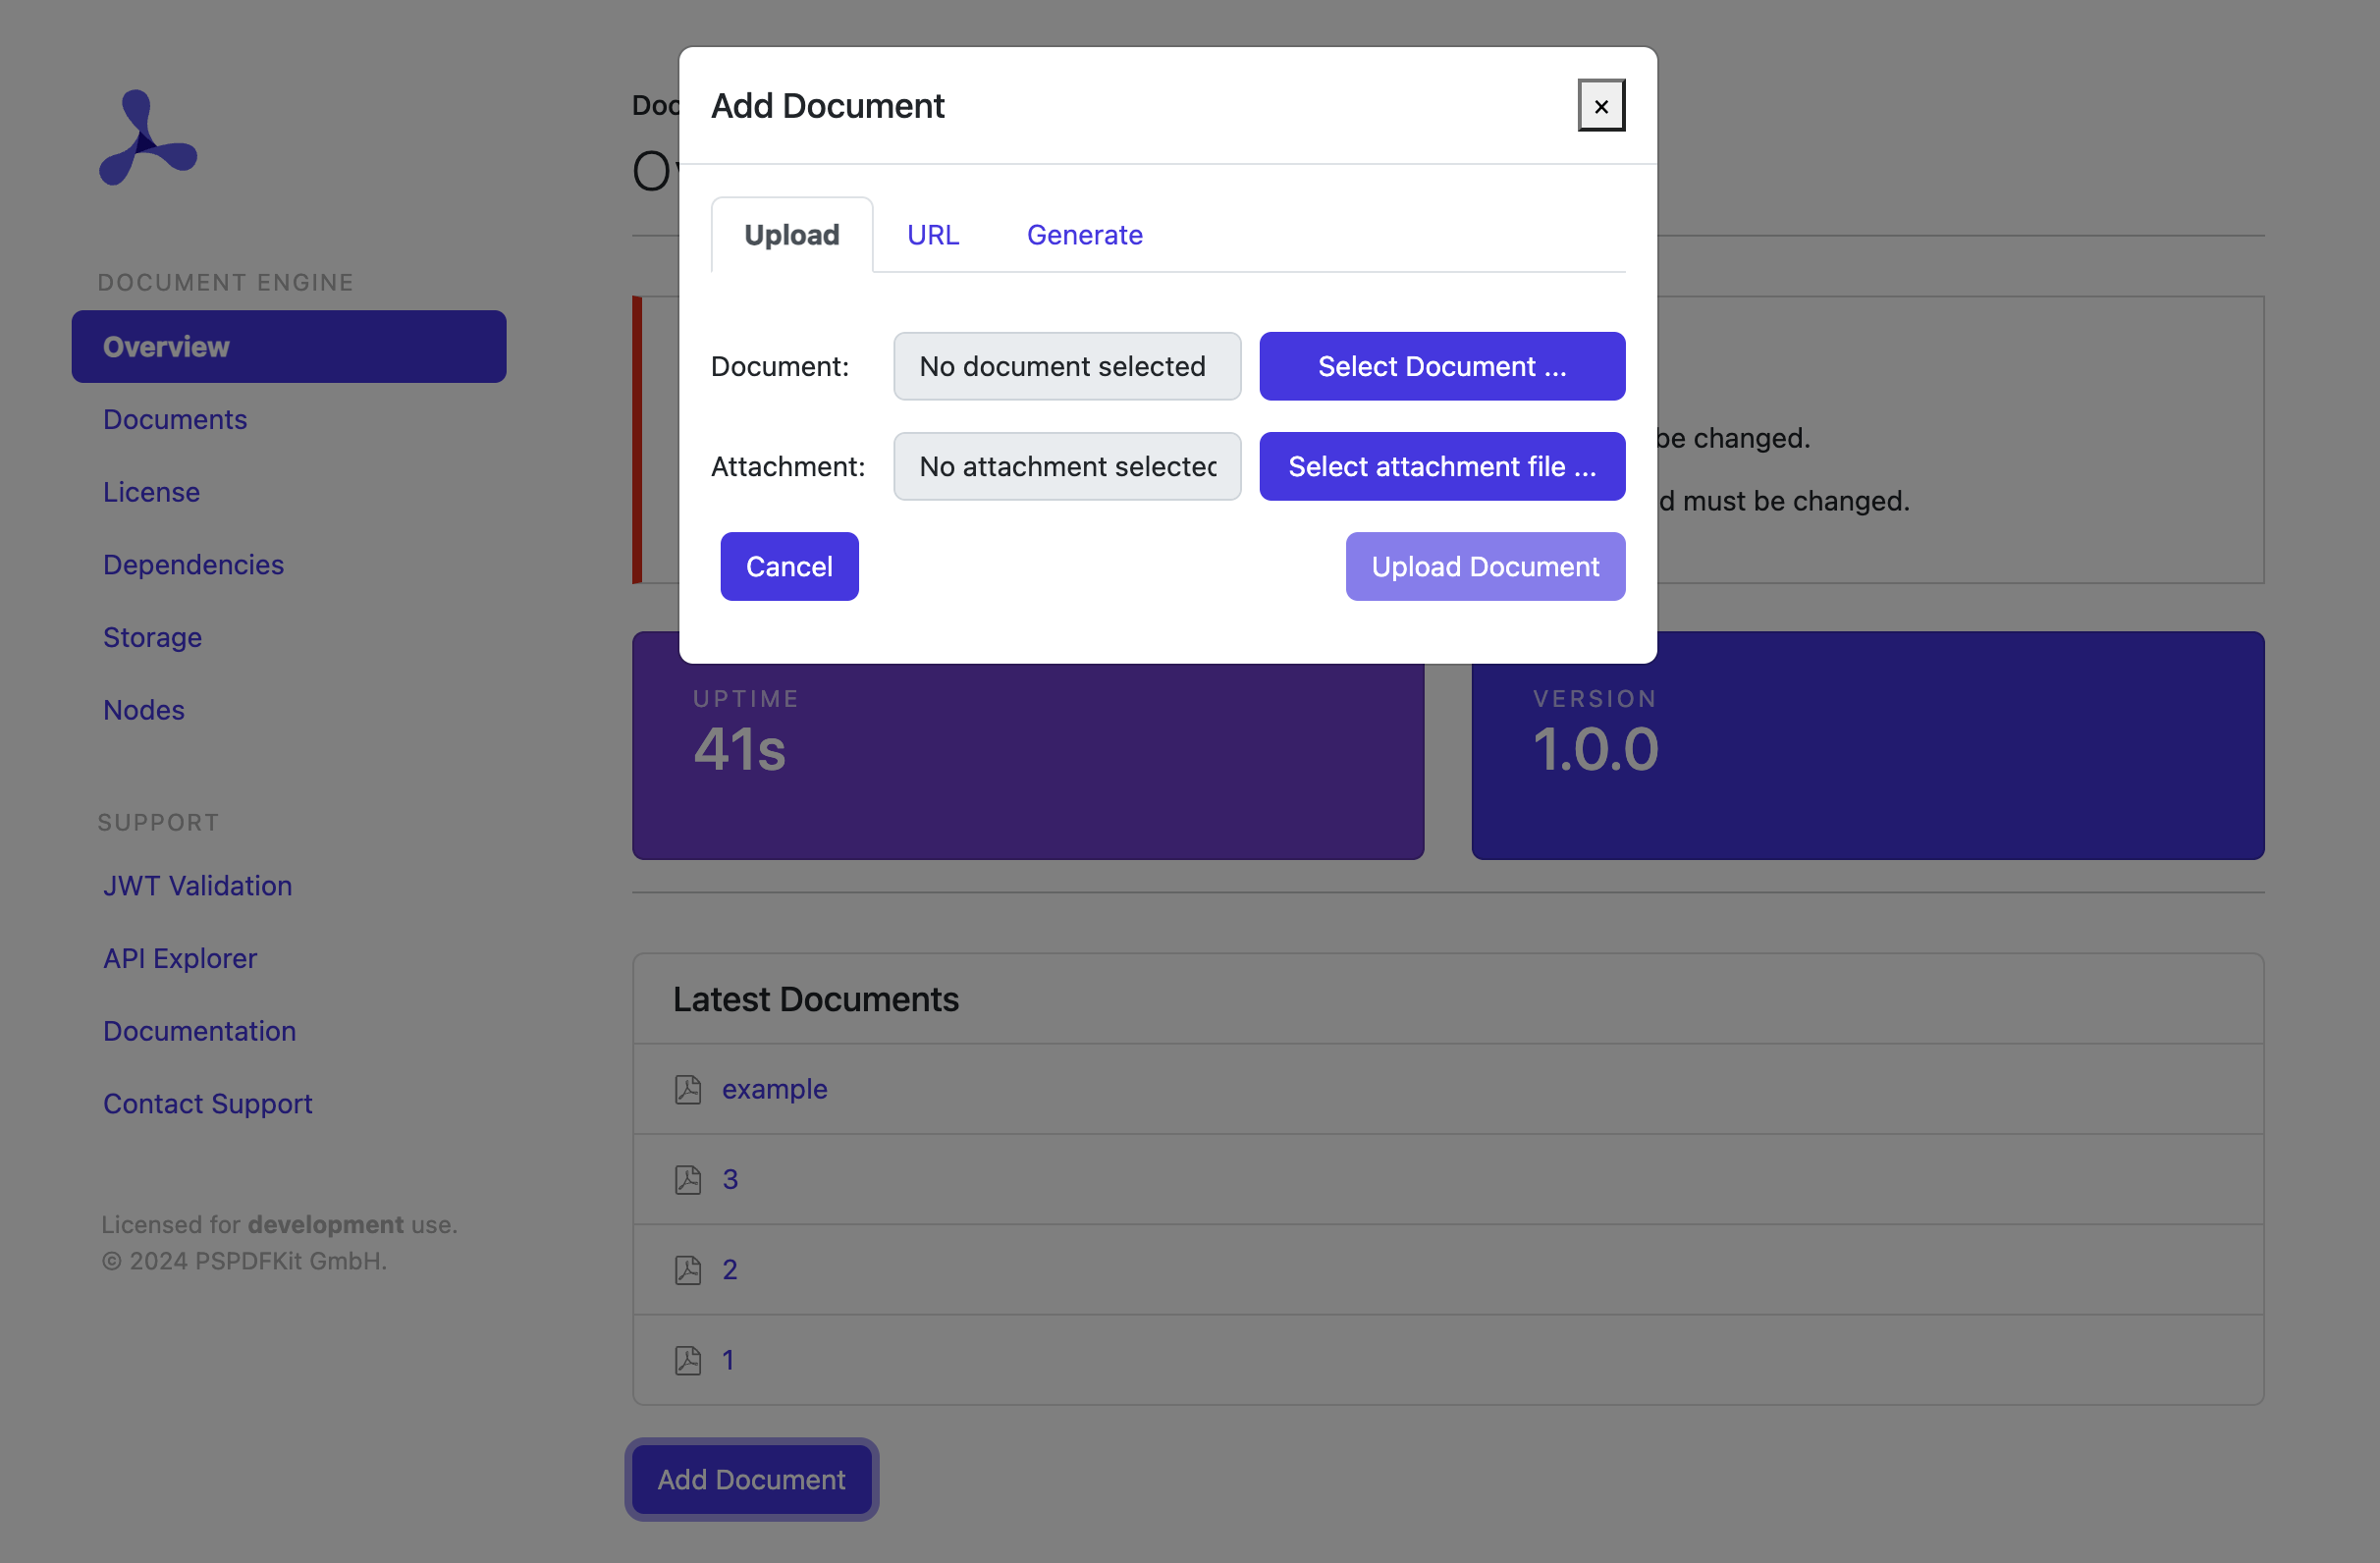
Click Add Document to upload a file. After uploading the document, go to
http://localhost:5000/dashboard/documentsto view the list of available documents. Each document is assigned a unique ID. Make sure to remember the ID of the document you just uploaded, as you’ll need it soon.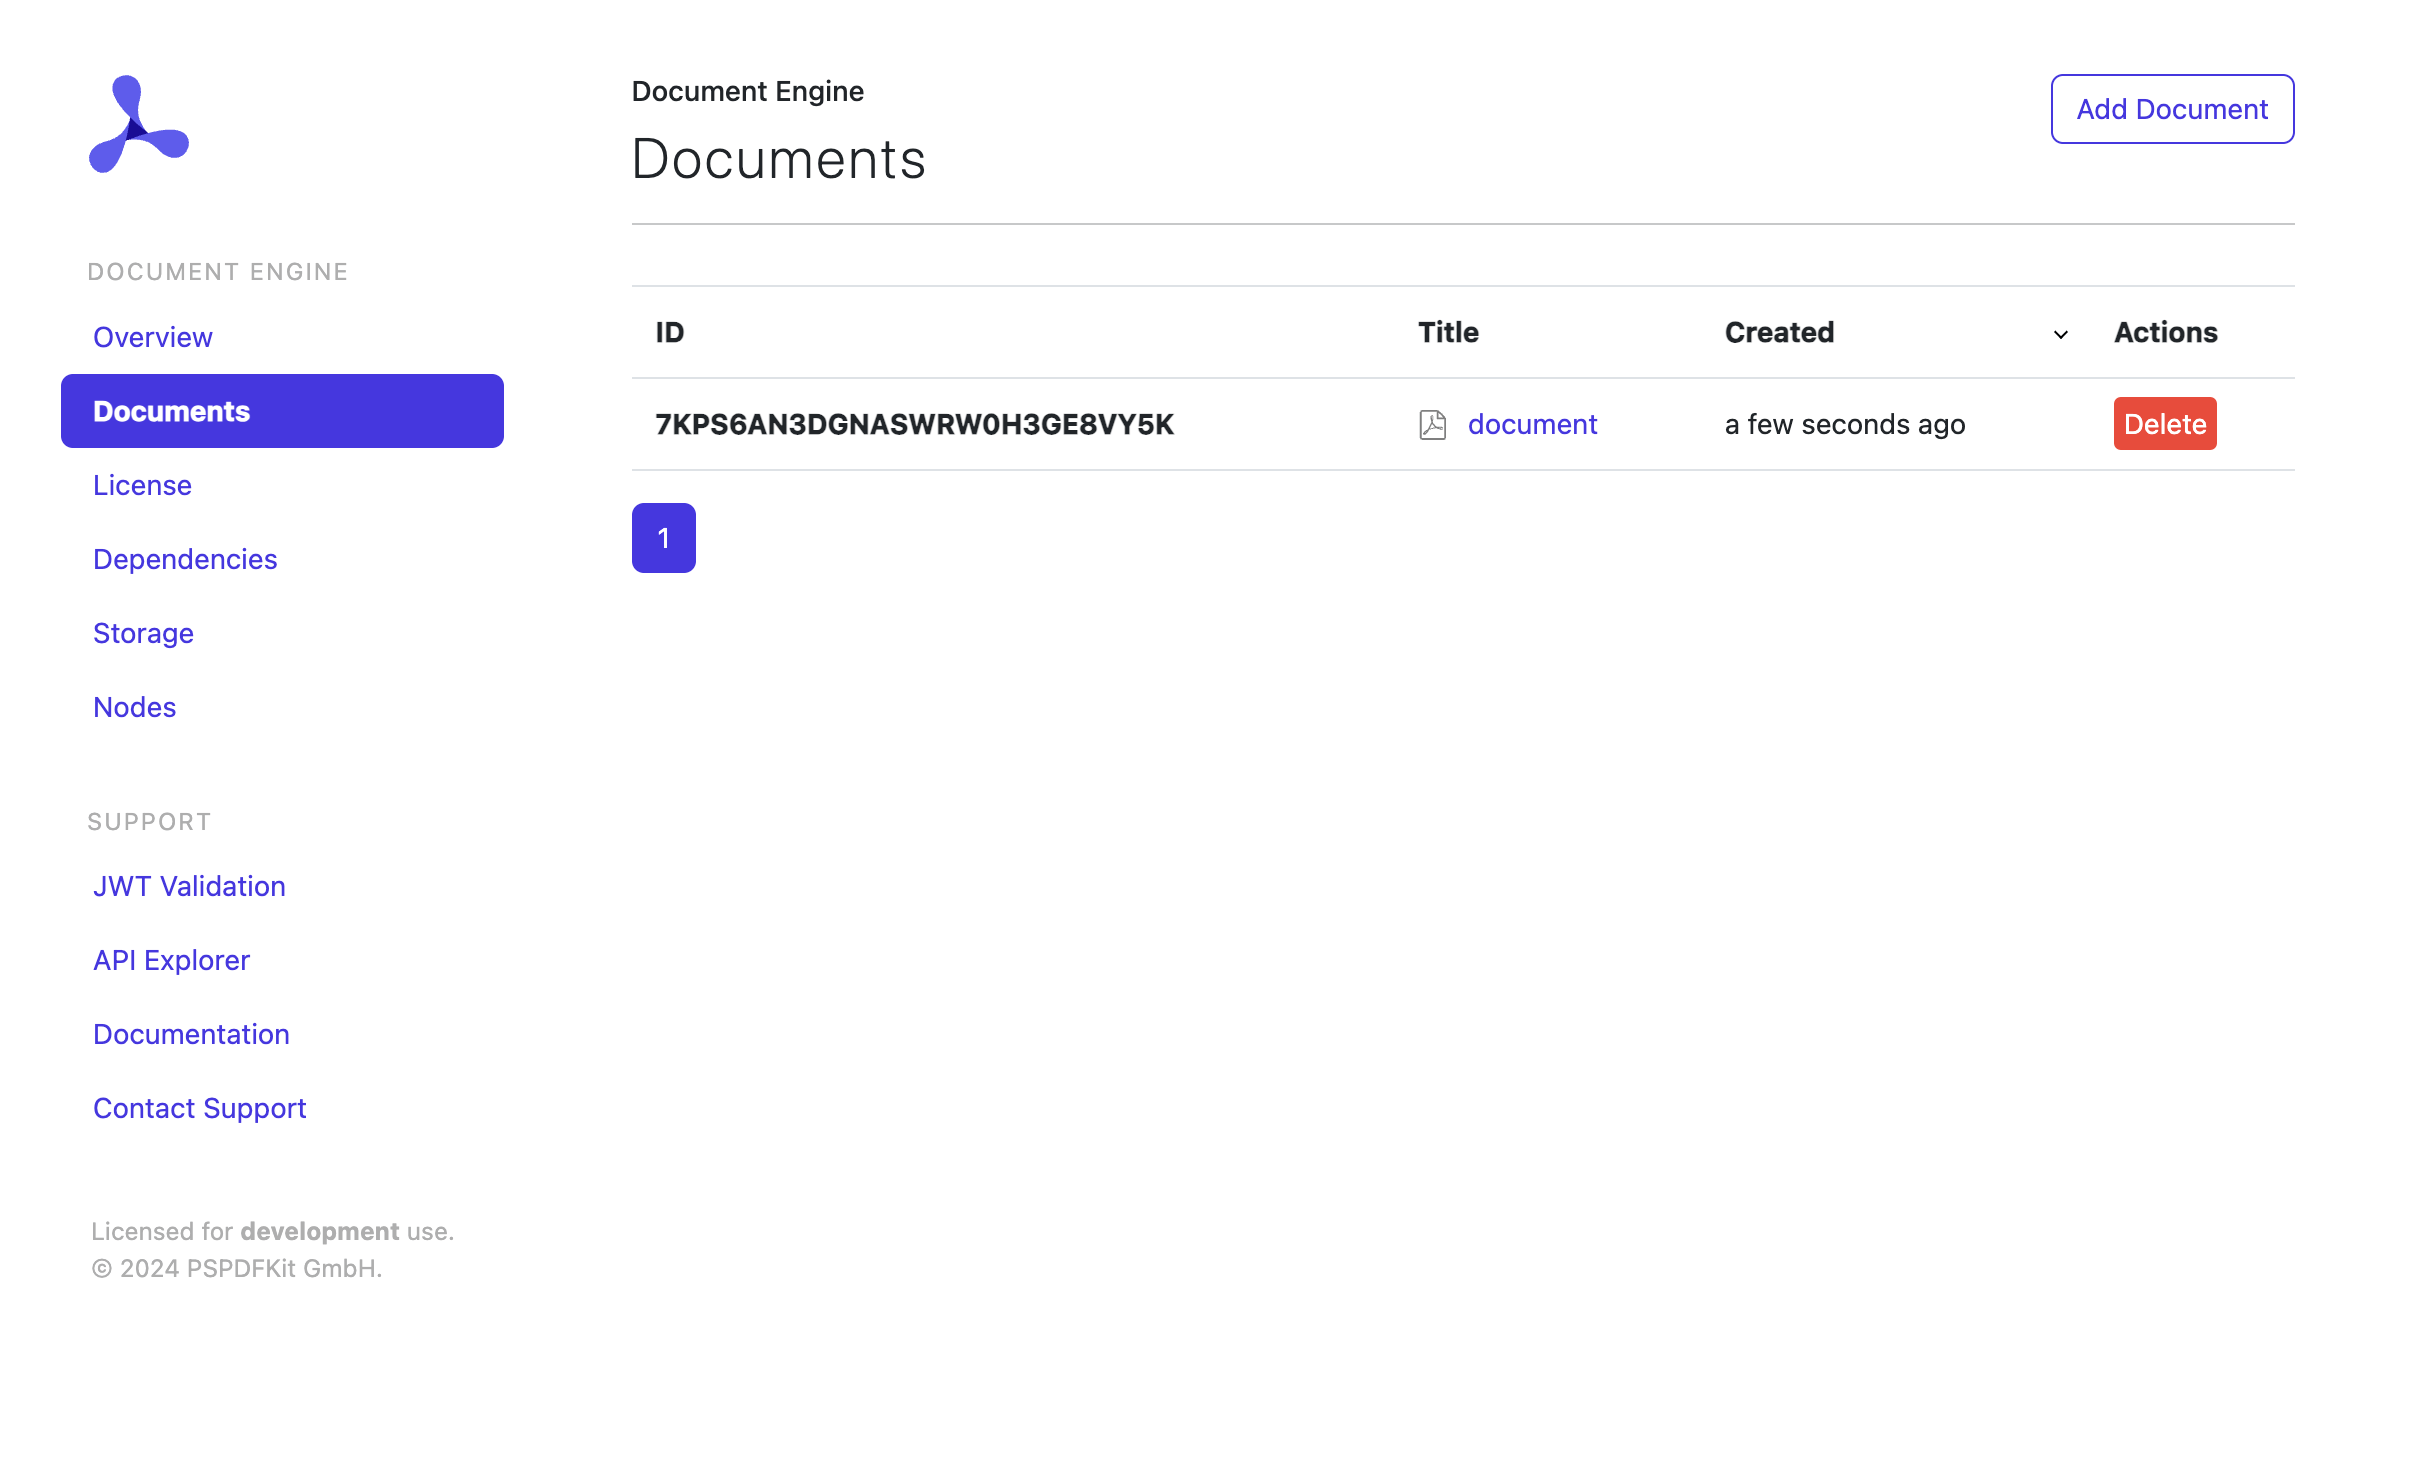
Set up the web viewer using Node.js
You’ll be using Express(opens in a new tab), a popular Node.js web framework. To quickly set up a new Express app, you can use the official Express generator:
npx express-generator nutrient_example --view=ejscd nutrient_examplenpm installAdd document viewer routes
Next, you need to create a page that displays a document stored in Document Engine.
This page should be accessible at the URL pattern http://localhost:3000/documents/:id, where :id corresponds to the document ID assigned by Document Engine during upload.
To implement this, create a new route to handle document display, and integrate it into your Express app.
Create a new file at
./routes/documents.jswith the following content:var express = require("express");var router = express.Router();router.get("/:documentId", function (req, res, next) {res.render("documents/show", { documentId: req.params.documentId });});module.exports = router;This route captures the
documentIdfrom the URL and passes it to the view for rendering.Create a view template at
./views/documents/show.ejswith minimal HTML to display the document ID:<h1>Show document <%= documentId %></h1>This view will display the document ID passed from the route handler. Later, you’ll enhance this page to load and display the actual document using Nutrient Web SDK.
In your
./app.jsfile, import and register the new route:const indexRouter = require("./routes/index");const usersRouter = require("./routes/users");const documentsRouter = require("./routes/documents");// ...app.use("/", indexRouter);app.use("/users", usersRouter);app.use("/documents", documentsRouter);This ensures that any request to
/documents/:idis handled by your new route.Stop and restart your Express server to apply the changes. Now, you can visit:
http://localhost:3000/documents/:your-document-idReplace your-document-id with an actual document ID from Document Engine. You’ll see a simple page that says:
Show document your-document-idSecure viewer with JWT
JSON Web Tokens(opens in a new tab) (JWTs) authenticate viewer sessions and enforce permissions, ensuring only authorized users can access or modify documents.
To ensure only authorized users can view or edit documents, Nutrient Web SDK uses JWTs for authentication. When a user opens a document, your Express backend generates a JWT containing their permissions and the document ID. This token is signed with your private RSA key and verified by Document Engine using the public key you configured in Docker Compose. This approach provides secure, stateless authentication for every viewer session.
First, install the
jsonwebtokenpackage:Terminal window npm install jsonwebtokenThen stop and restart the Express server.
You need a private-public RSA key pair for signing and verifying JWTs.
Use the private key in your Express app to sign tokens. The public key is configured in Document Engine’s
docker-compose.ymlfile using theJWT_PUBLIC_KEYenvironment variable.For a quick out-of-the-box experience, you can use the demo keys from the AI Assistant demo repository(opens in a new tab). Create a file named
jwt.peminside./config/pspdfkit/and copy the private key:Terminal window mkdir -p config/pspdfkitcurl -o config/pspdfkit/jwt.pem https://raw.githubusercontent.com/PSPDFKit/ai-assistant-demo/master/frontend/config/pspdfkit/jwt.pemThe private key should look like this:
Terminal window -----BEGIN RSA PRIVATE KEY-----MIIEpQIBAAKCAQEA2gzhmJ9TDanEzWdP1WG+0Ecwbe7f3bv6e5UUpvcT5q68IQJKP47AQdBAnSlFVi4X9SaurbWoXdS6jpmPpk24QvitzLNFphHdwjFBelTAOa6taZrSusoFvrtK9x5xsW4zzt/bkpUraNx82Z8MwLwrt6HlY7dgO9+xBAabj4t1d2t+0HS8O/ed3CB6T2lj6S8AbLDSEFc9ScO6Uc1XJlSorgyJJSPCpNhSq3AubEZ1wMS1iEtgAzTPRDsQv50qWIbn634HLWxTP/UH6YNJBwzt3O6q29kTtjXlMGXCvin37PyX4Jy1IiPFwJm45aWJGKSfVGMDojTJbuUtM+8P9RrnAwIDAQABAoIBAQDSKxhGw0qKINhQIwQP5+bDWdqUG2orjsQf2dHOHNhRwJoUNuDZ4f3tcYzV7rGmH0d4Q5CaXj2qMyCd0eVjpgW0h3z9kM3RA+d7BX7XKlkdQABliZUT9SUUcfIPvohXPKEzBRHed2kf6WVtXKAuJTD+Dk3LjzRygWldOAE4mnLeZjU61kxPYriynyre+44Gpsgy37Tj25MAmVCYFlotr/1WZx6bg3HIyFRGxnoJ1zU1MkGxwS4IsrQwOpWEHBiD5nvo54hF5I00NHj/ccz+MwpgGdjyl02IGCy1fF+Q5SYyH86DG52Mgn8VI9dseGmanLGcgNvrdJFILoJRSZW7gQoBAoGBAP+D6ZmRF7EqPNMypEHQ5qHHDMvil3mhNQJyIC5rhhl/nn063wnmzhg96109hVh4zUAj3Rmjb9WqPiW7KBMJJdnEPjmZ/NOXKmgjs2BF+c8oiLQyTQmlxB7LnptvBDi8MnEd3uemfxNuZc+2siuSzgditshNru8xPG2Sn99JC271AoGBANp2xj5EfdlqNLd11paLOtJ7dfREgc+8FxQCiKSxbaOlVXNk0DW1w4+zLnFohj2m/wRrbBIzSL+eufoQ9y4BT/AA+ln4qxOpC0isOGK5SxwIjB6OHhCuP8L3anj1IFYM+NX0Xr1/qdZHKulgbS49cq+TDpB74WyKLLnsvQFyINMXAoGABR5+cp4ujFUdTNnp4out4zXasscCY+Rv7HGe5W8wC5i78yRXzZn7LQ8ohQCziDc7XXqadmYI2o4DmrvqLJ91S6yb1omYQCD6L4XvlREx1Q2p13pegr/4cul/bvvFaOGUXSHNEnUKfLgsgAHYBfl1+T3oDZFI3O/ulv9mBpIvEXUCgYEApeRnqcUM49o4ac/7wZm8czT5XyHeiUbFJ5a8+IMbRJc6CkRVr1N1S1u/OrMqrQpwwIRqLm/vIEOB6hiT+sVYVGIJueSQ1H8baHYO4zjdhk4fSNyWjAgltwF2Qp+xjGaRVrcYckHNUD/+n/VvMxvKSPUcrC7GAUvzpsPUypJFxsUCgYEA6GuP6M2zIhCYYeB2iLRD4ZHw92RfjikaYmB0++T0y2TVrStlzXHlc8H6tJWNchtHH30nfLCj9WIMb/cODpm/DrzlSigHffo3+5XUpD/2nSrcFKESw4Xsa4GXoAxqU44w4Mckg2E19b2MrcNkV9eWAyTACbEO4oFcZcSZOCKj8Fw=-----END RSA PRIVATE KEY-----Update
./routes/documents.jsto generate a JWT with document permissions:const express = require("express");const router = express.Router();const fs = require("fs");const path = require("path");const jwt = require("jsonwebtoken");const jwtKey = fs.readFileSync(path.resolve(__dirname, "../config/pspdfkit/jwt.pem"),);// Define the JWT preparation function firstconst prepareJwt = function (documentId) {const claims = {document_id: documentId,permissions: ["read-document", "write", "download"],};return jwt.sign(claims, jwtKey, {algorithm: "RS256",expiresIn: 60 * 60, // 1 hourallowInsecureKeySizes: true,});};router.get("/:documentId", function (req, res) {const token = prepareJwt(req.params.documentId);res.render("documents/show", {documentId: req.params.documentId,jwt: token,});});module.exports = router;Update your EJS view to show the JWT (for testing):
views/documents/show.ejs <h1>Show document <%= documentId %></h1><h2>JWT: <%= jwt %></h2>
How JWT authentication works
When a user requests a document, the Express backend generates a JWT containing their permissions and document ID.
This token is signed with your private RSA key.
Document Engine verifies the token using the public key, ensuring only valid sessions can access or modify documents.
This setup enables secure, stateless authentication across services.
Load the viewer with JWT
Still in show.ejs, add the following script to load Nutrient Web SDK and initialize the viewer with the token:
<script src="https://cdn.cloud.pspdfkit.com/pspdfkit-web@1.3.0/nutrient-viewer.js"></script>
<div id="nutrient" style="width: 100%; max-width: 800px; height: 480px;"></div>
<script>  NutrientViewer.load({    serverUrl: "http://localhost:5000/",    container: "#nutrient",    documentId: "<%= documentId %>",    authPayload: { jwt: "<%= jwt %>" },    instant: true,  })    .then(function (instance) {      console.log("Nutrient loaded", instance);    })    .catch(function (error) {      console.error(error.message);    });</script>
Enable AI Assistant
If you want to use AI Assistant, generate an additional JWT and pass it to the SDK.
Update your route:
var express = require("express");var router = express.Router();var fs = require("fs");var path = require("path");var jwt = require("jsonwebtoken");var jwtKey = fs.readFileSync(  path.resolve(__dirname, "../config/pspdfkit/jwt.pem"),);
router.get("/:documentId", function (req, res, next) {  var jwt = prepareJwt(req.params.documentId);  var aiJwt = prepareAIAssistantJwt(req.params.documentId);  res.render("documents/show", {    documentId: req.params.documentId,    jwt: jwt,    aiJwt: aiJwt,  });});
var prepareJwt = function (documentId) {  var claims = {    document_id: documentId,    permissions: ["read-document", "write", "download"],  };
  return jwt.sign(claims, jwtKey, {    algorithm: "RS256",    expiresIn: 3 * 24 * 60 * 60, // 3 days    allowInsecureKeySizes: true,  });};
const prepareAIAssistantJwt = function (documentId) {  var claims = {    document_ids: [documentId],  };
  return jwt.sign(claims, jwtKey, {    algorithm: "RS256",    expiresIn: 60 * 60, // 1hr, this will set the `exp` claim for us.    allowInsecureKeySizes: true,  });};
module.exports = router;
Then in your view, pass the AI configuration when initializing the viewer:
<script> NutrientViewer.load({ serverUrl: "http://localhost:5000/", container: "#nutrient", documentId: "<%= documentId %>", authPayload: { jwt: "<%= jwt %>" }, instant: false, toolbarItems: [...PSPDFKit.defaultToolbarItems, { type: "ai-assistant" }], aiAssistant: { sessionId: "my-random-session-id", jwt: "<%= aiJwt %>", backendUrl: 'http://localhost:4000/', }, }) .then(function(instance) { console.log("Nutrient loaded", instance); }) .catch(function(error) { console.error(error.message); });</script>Now your Express app securely signs JWTs that allow users to view, annotate, and interact with documents using Nutrient Web SDK.
Example prompts to try
- “Summarize this page”
- “Redact all phone numbers”
Or, click one of the suggested questions that appear in the chat session.
Troubleshooting
- If you can’t access the Document Engine dashboard, ensure Docker is running and ports aren’t blocked by firewalls.
- If JWT authentication fails, double-check that your public/private key pair matches and is correctly referenced in both the Express app and Docker Compose file.
- For AI Assistant errors, verify your OpenAI API key and network connectivity.
Nutrient AI Assistant architecture overview
Nutrient AI Assistant maintains a clear separation of concerns between the frontend and the backend, giving you full control over data handling and AI integration.
Frontend
Nutrient Web SDK renders both the document viewer and the AI Assistant user interface (UI). When users submit prompts (e.g. “Summarize this page”), the SDK sends the command up to AI Assistant, where all the AI-related operations are run.
Backend services
The AI Assistant backend service is responsible for:
- Receiving and interpreting user prompts from the frontend
- Communicating with Document Engine to access document content when needed
- Forwarding requests to configurable LLM providers (e.g. OpenAI, AWS Bedrock, Azure, or locally hosted models)
- Returning structured JSON responses (e.g. summaries, translations, redaction instructions)
- Enforcing business logic, filtering unsafe input, and applying access controls
Document Engine handles:
- Document storage, processing, and collaboration features
- Providing document content to the AI Assistant service when requested
- Managing document permissions and access control
Your backend handles:
- Serving the frontend application
- Generation of secure JWTs for authentication
- Any additional business logic you may require for your application
In summary: The viewer manages UI and context, the AI Assistant service handles all AI processing and logic, and Document Engine manages document storage and access. You just handle the authentication for your users.
+--------------------------+| Your backend | ← Serves the frontend and generates JWTs|--------------------------|| - Serves the web app || - Generates JWTs || - Provides SDK config |+-----------+--------------+ | | HTML + JS + JWT tokens v+--------------------------+| Nutrient Web SDK | ← Viewer + AI UI|--------------------------|| - Loads the document || - Displays chat sidebar || - Captures prompt input |+-----------+--------------+ | | Prompt + context (e.g. page text, selection) v+--------------------------+| AI Assistant service | ← Dedicated AI backend|--------------------------|| - Verifies the JWT || - Parses the prompt || - Requests doc content | ←──→ Document Engine| - Sends request to LLM | (when needed)| - Applies business logic || - Returns structured || JSON to frontend |+-----------+--------------+ | | JSON result (e.g. “redact these spans”) v+--------------------------+| Nutrient Web SDK ||--------------------------|| - Applies redactions || - Displays AI response |+--------------------------+Mobile support (iOS and Android)
Nutrient also supports the same AI Assistant UI and workflow on:
- iOS — Via
AIAssistantConfiguration - Android — Via
AiAssistant
The API shape and architecture are consistent across platforms.
Conclusion
By adding Nutrient AI Assistant to your PDF viewer, you’ll enable users to interact with documents using natural language — summarizing, translating, redacting, and more — directly in the UI. This architecture keeps your data private, your backend flexible, and your UI lightweight.
Need help deploying your AI PDF editor to production or customizing prompts? Contact us for support or integration services.
Further resources
- AI Assistant backend repository(opens in a new tab)
- Web SDK + AI documentation
- iOS integration guide
- Android integration guide
FAQ
Yes. AI Assistant supports multiple LLM providers, including AWS Bedrock, Azure OpenAI, and locally hosted models. You can configure alternative providers using a service-config.yml file. See the AI configuration guides for detailed setup instructions.
Not automatically. The Nutrient SDK sends prompts and document context to the AI Assistant service. The AI Assistant service determines what document content to include in LLM requests based on the prompt and configuration.
Yes — with proper adjustments. This tutorial focuses on local development, but the architecture is production-ready. For production, secure JWT management, HTTPS, monitoring, and scaling practices are essential, and we can help with that!
When a user submits a prompt (e.g. “Redact all phone numbers”), the SDK sends relevant context to the AI Assistant service. The AI Assistant service processes the request in collaboration with the LLM and sends back the content to be redacted. The SDK then applies this output in the viewer. This allows the user full control.
Yes. The AI Assistant service provides built-in rate limiting and content filtering. You can also implement additional controls in your application’s JWT generation to limit access or add custom business logic.
Yes, indirectly. You can convert DOCX or HTML to PDF using Nutrient’s conversion tools, and then load the result into the Web SDK for AI-assisted interaction.
If you follow the step-by-step guide using the Docker and Node.js setup, you can have a working AI PDF editor running locally in less than an hour.