Open and Annotate PDFs from Your Elm App
Table of contents
In this article, we’ll explore how to add advanced PDF features to your Elm app using PSPDFKit for Web(opens in a new tab). It builds upon our Open a PDF in Elm blog post, so be sure to check that out first.
To get started, we’ll need a free PSPDFKit for Web demo license. Follow the trial signup steps, and then make a note of your NPM_KEY and LICENSE_KEY, which we’ll need shortly.
ℹ️ Note: If you don’t want to follow along, you can see the finished code in our PSPDFKit for Web Elm example project(opens in a new tab), along with examples for several other popular languages and frameworks(opens in a new tab).
Setup
To set up our project, let’s first create the initial structure for our app:
mkdir pspdfkit-web-example-elmcd pspdfkit-web-example-elmmkdir src assetstouch src/index.js src/Main.elmThen we’ll install our dependencies:
npm init -ynpm install -D elm elm-webpack-loader html-webpack-plugin webpack webpack-dev-servernpm install -D https://my.nutrient.io/npm/YOUR_NPM_KEY_GOES_HERE/latest.tar.gzNote that we’re using webpack(opens in a new tab) to automate some of the grunt work, along with elm-webpack-loader(opens in a new tab) to tell webpack how to handle Elm files. The webpack setup is not that relevant here, so we’ll skip over the details, but you can see the full webpack configuration in the finished example project(opens in a new tab).
First Iteration: Rendering
As in the previous article, our initial goal is simply to render a PDF in the browser. Here’s an example PDF to use if you don’t have one handy. Be sure to place it in the assets folder we created previously.
On the Elm side (in src/Main.elm), we’ll start simple and just create a div with an id of PSPDFKitContainer to contain our PSPDFKit instance:
module Main exposing (init, main, update, view)
import Browserimport Html exposing (div)import Html.Attributes exposing (id, style)
-- MODEL
init =    {}
-- UPDATE
update msg model =    model
-- VIEW
view model =    div [ id "PSPDFKitContainer", style "height" "100vh" ] []
-- PROGRAM
main =    Browser.sandbox { init = init, update = update, view = view }
On the JavaScript side (in src/index.js), we just need to tell PSPDFKit to render into the PSPDFKitContainer div created by Elm and pass in both the license key we obtained earlier and the path to our PDF document:
import { Elm } from "./Main";import PSPDFKit from "pspdfkit";
Elm.Main.init({ node: document.body });
PSPDFKit.load({  document: "example.pdf",  container: "#PSPDFKitContainer",  licenseKey: YOUR_LICENSE_KEY_GOES_HERE});
With that, our PDF is now shown in the browser:
Second Iteration: Configuration
PSPDFKit for Web has a rich set of configuration options(opens in a new tab). In this second iteration, our aim is to specify these in Elm and pass them over to JS using Ports(opens in a new tab).
On the Elm side, we create a configure port which we can use to send our data to JS. We also define some data types that tell Elm the shape and format of our configuration object.
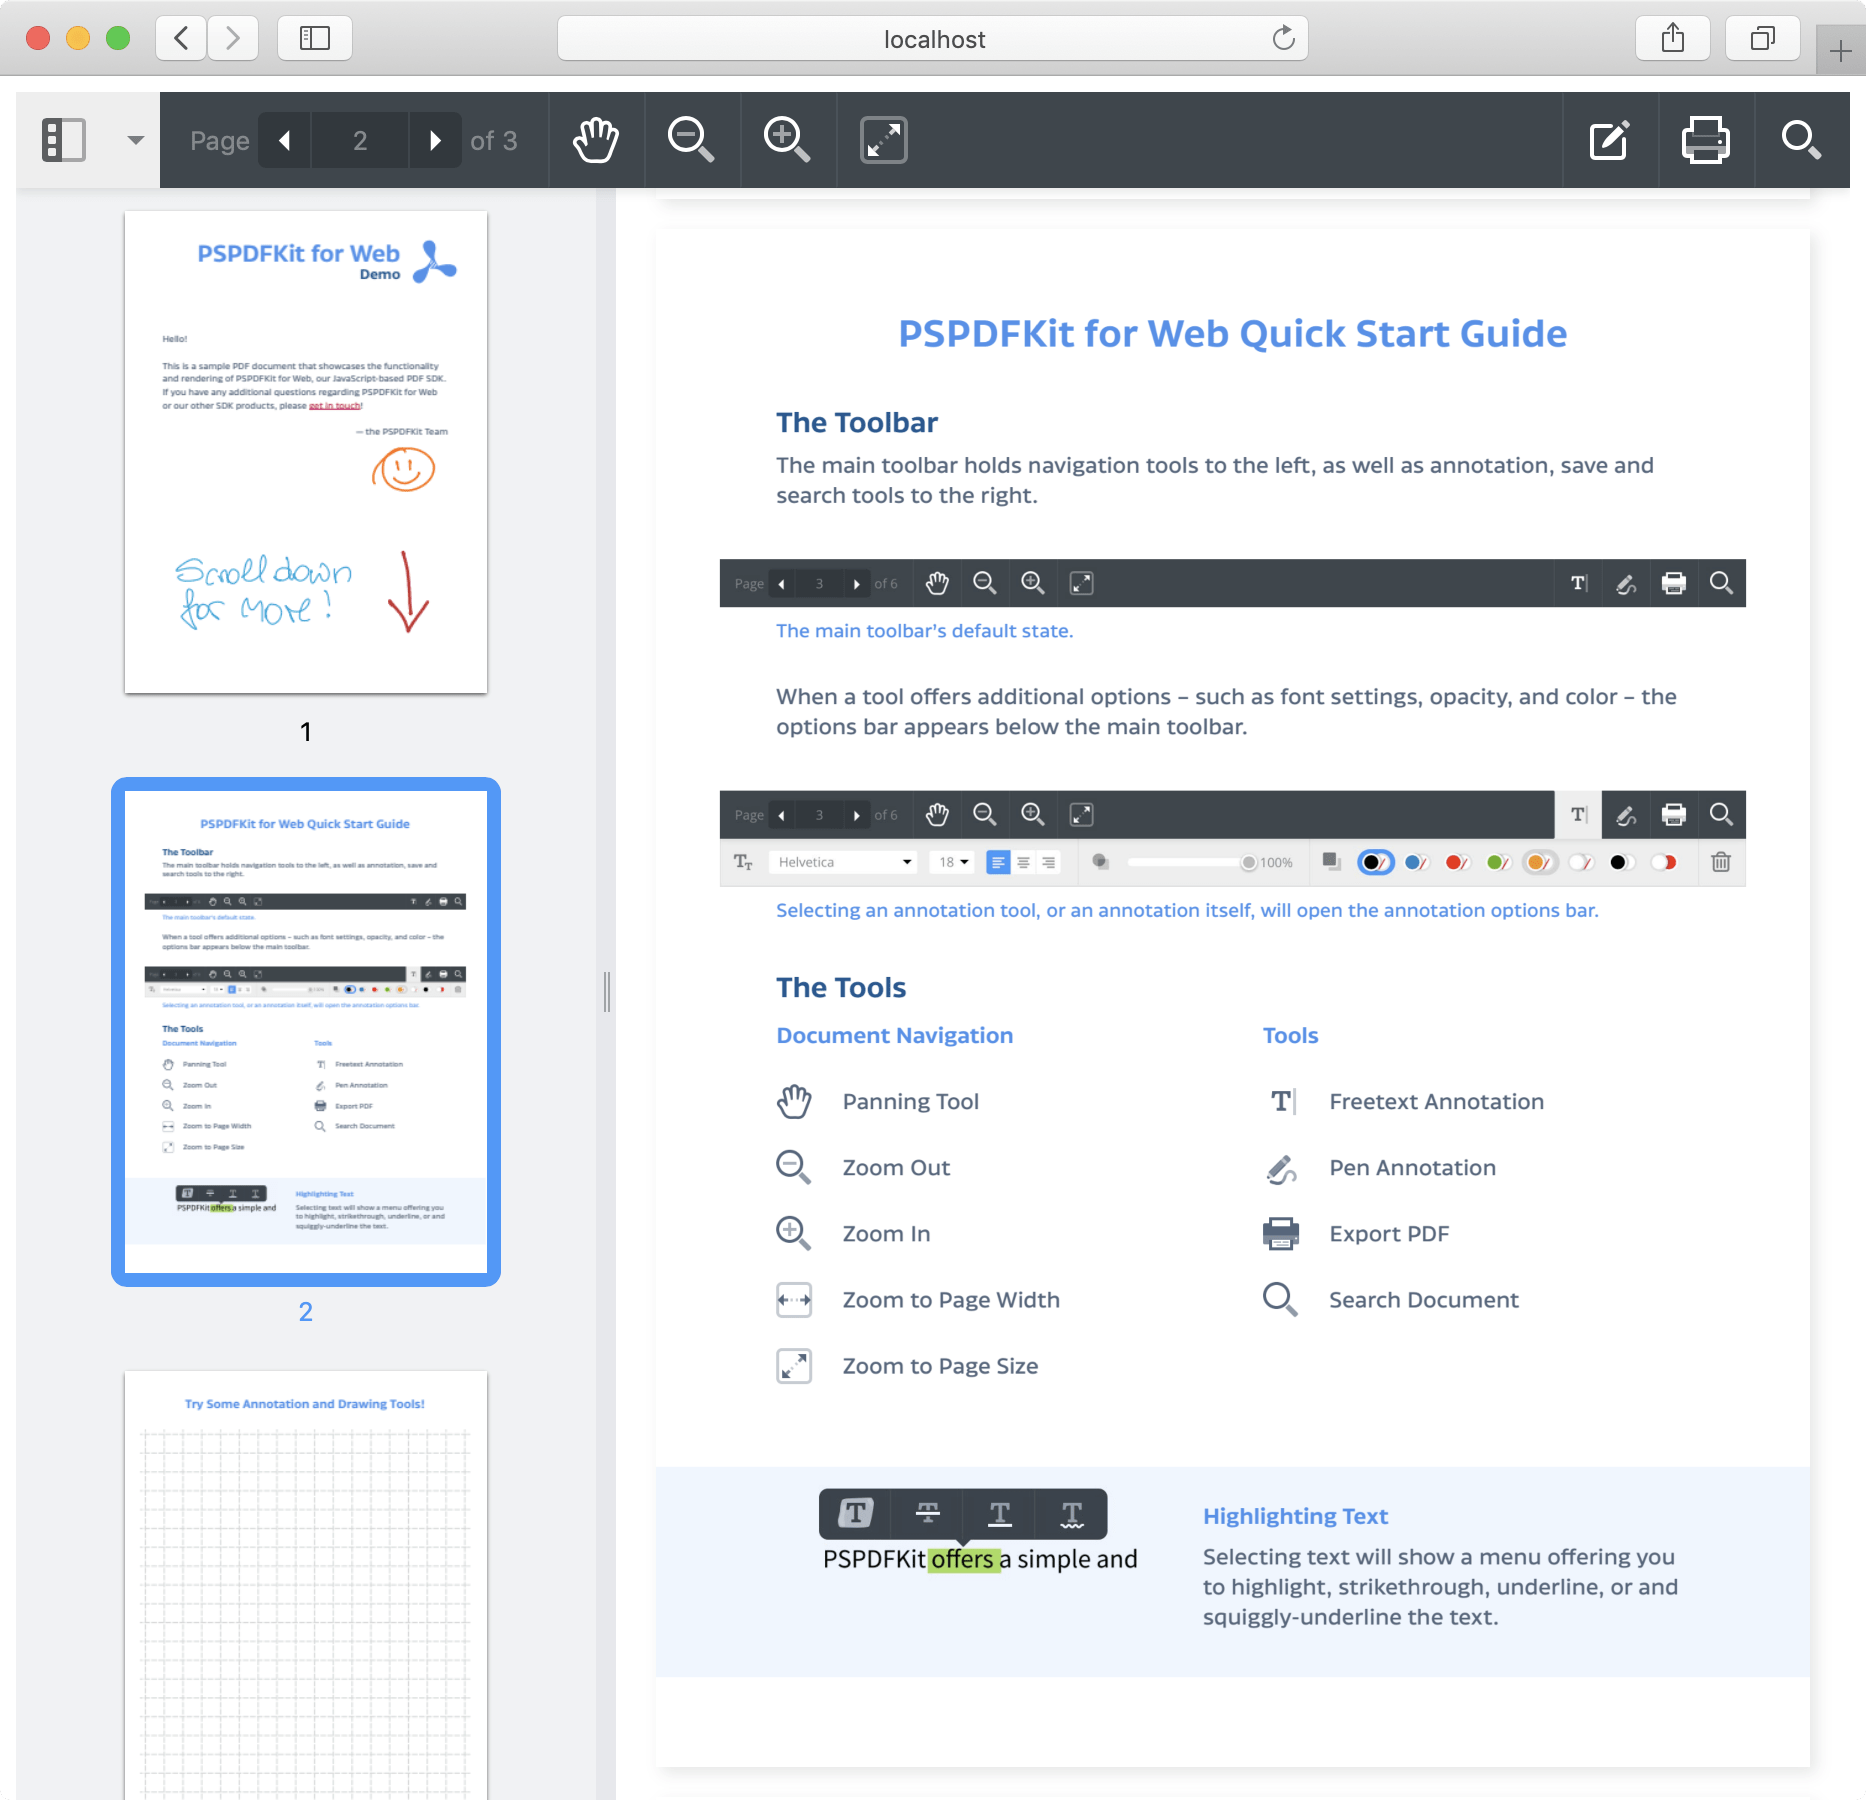
Finally, in the init function, we send the desired configuration to the configure port. Here we’re specifying that we want to jump straight to page 2 of the document and show thumbnails of the document pages in the sidebar.
ℹ️ Note: In a production app, rather than sidebarMode : String, you’d instead define a custom type(opens in a new tab) (i.e. type SidebarMode = Thumbnails | Annotations | ...) and encode(opens in a new tab) it before passing it to the port.
port module Main exposing (..)
import Browserimport Html exposing (div)import Html.Attributes exposing (id, style)
-- MODEL
type alias Model =    { pdf : String    , container : String    , licenseKey : String    , viewState : ViewState    }
type alias ViewState =    { currentPageIndex : Int    , sidebarMode : String    }
type alias Flags =    { licenseKey : String }
init : Flags -> ( Model, Cmd Msg )init flags =    let        model =            { pdf = "example.pdf"            , container = "#PSPDFKitContainer"            , licenseKey = flags.licenseKey            , annotations = []            , viewState =                { currentPageIndex = 1                , sidebarMode = "THUMBNAILS"                }            }    in    ( model, configure model )
-- UPDATE
type Msg    = Model
update msg model =    ( model, load model )
-- PORT
port configure : Model -> Cmd msg
-- VIEW
view model =    div [ id "PSPDFKitContainer", style "height" "100vh" ] []
-- PROGRAM
main =    Browser.element        { init = init        , update = update        , view = view        , subscriptions = \_ -> Sub.none        }
On the JS side, we subscribe to the configure port, which receives the configuration object and uses it to initialize PSPDFKit:
const app = Elm.Main.init({  node: document.body,  flags: {    licenseKey: YOUR_LICENSE_KEY_GOES_HERE  }});
app.ports.configure.subscribe(data => {  const initialViewState = new PSPDFKit.ViewState(data.viewState);  const config = { ...data, initialViewState };
  PSPDFKit.load(config);});
Here’s how our second iteration looks in the browser:
Third Iteration: Interaction
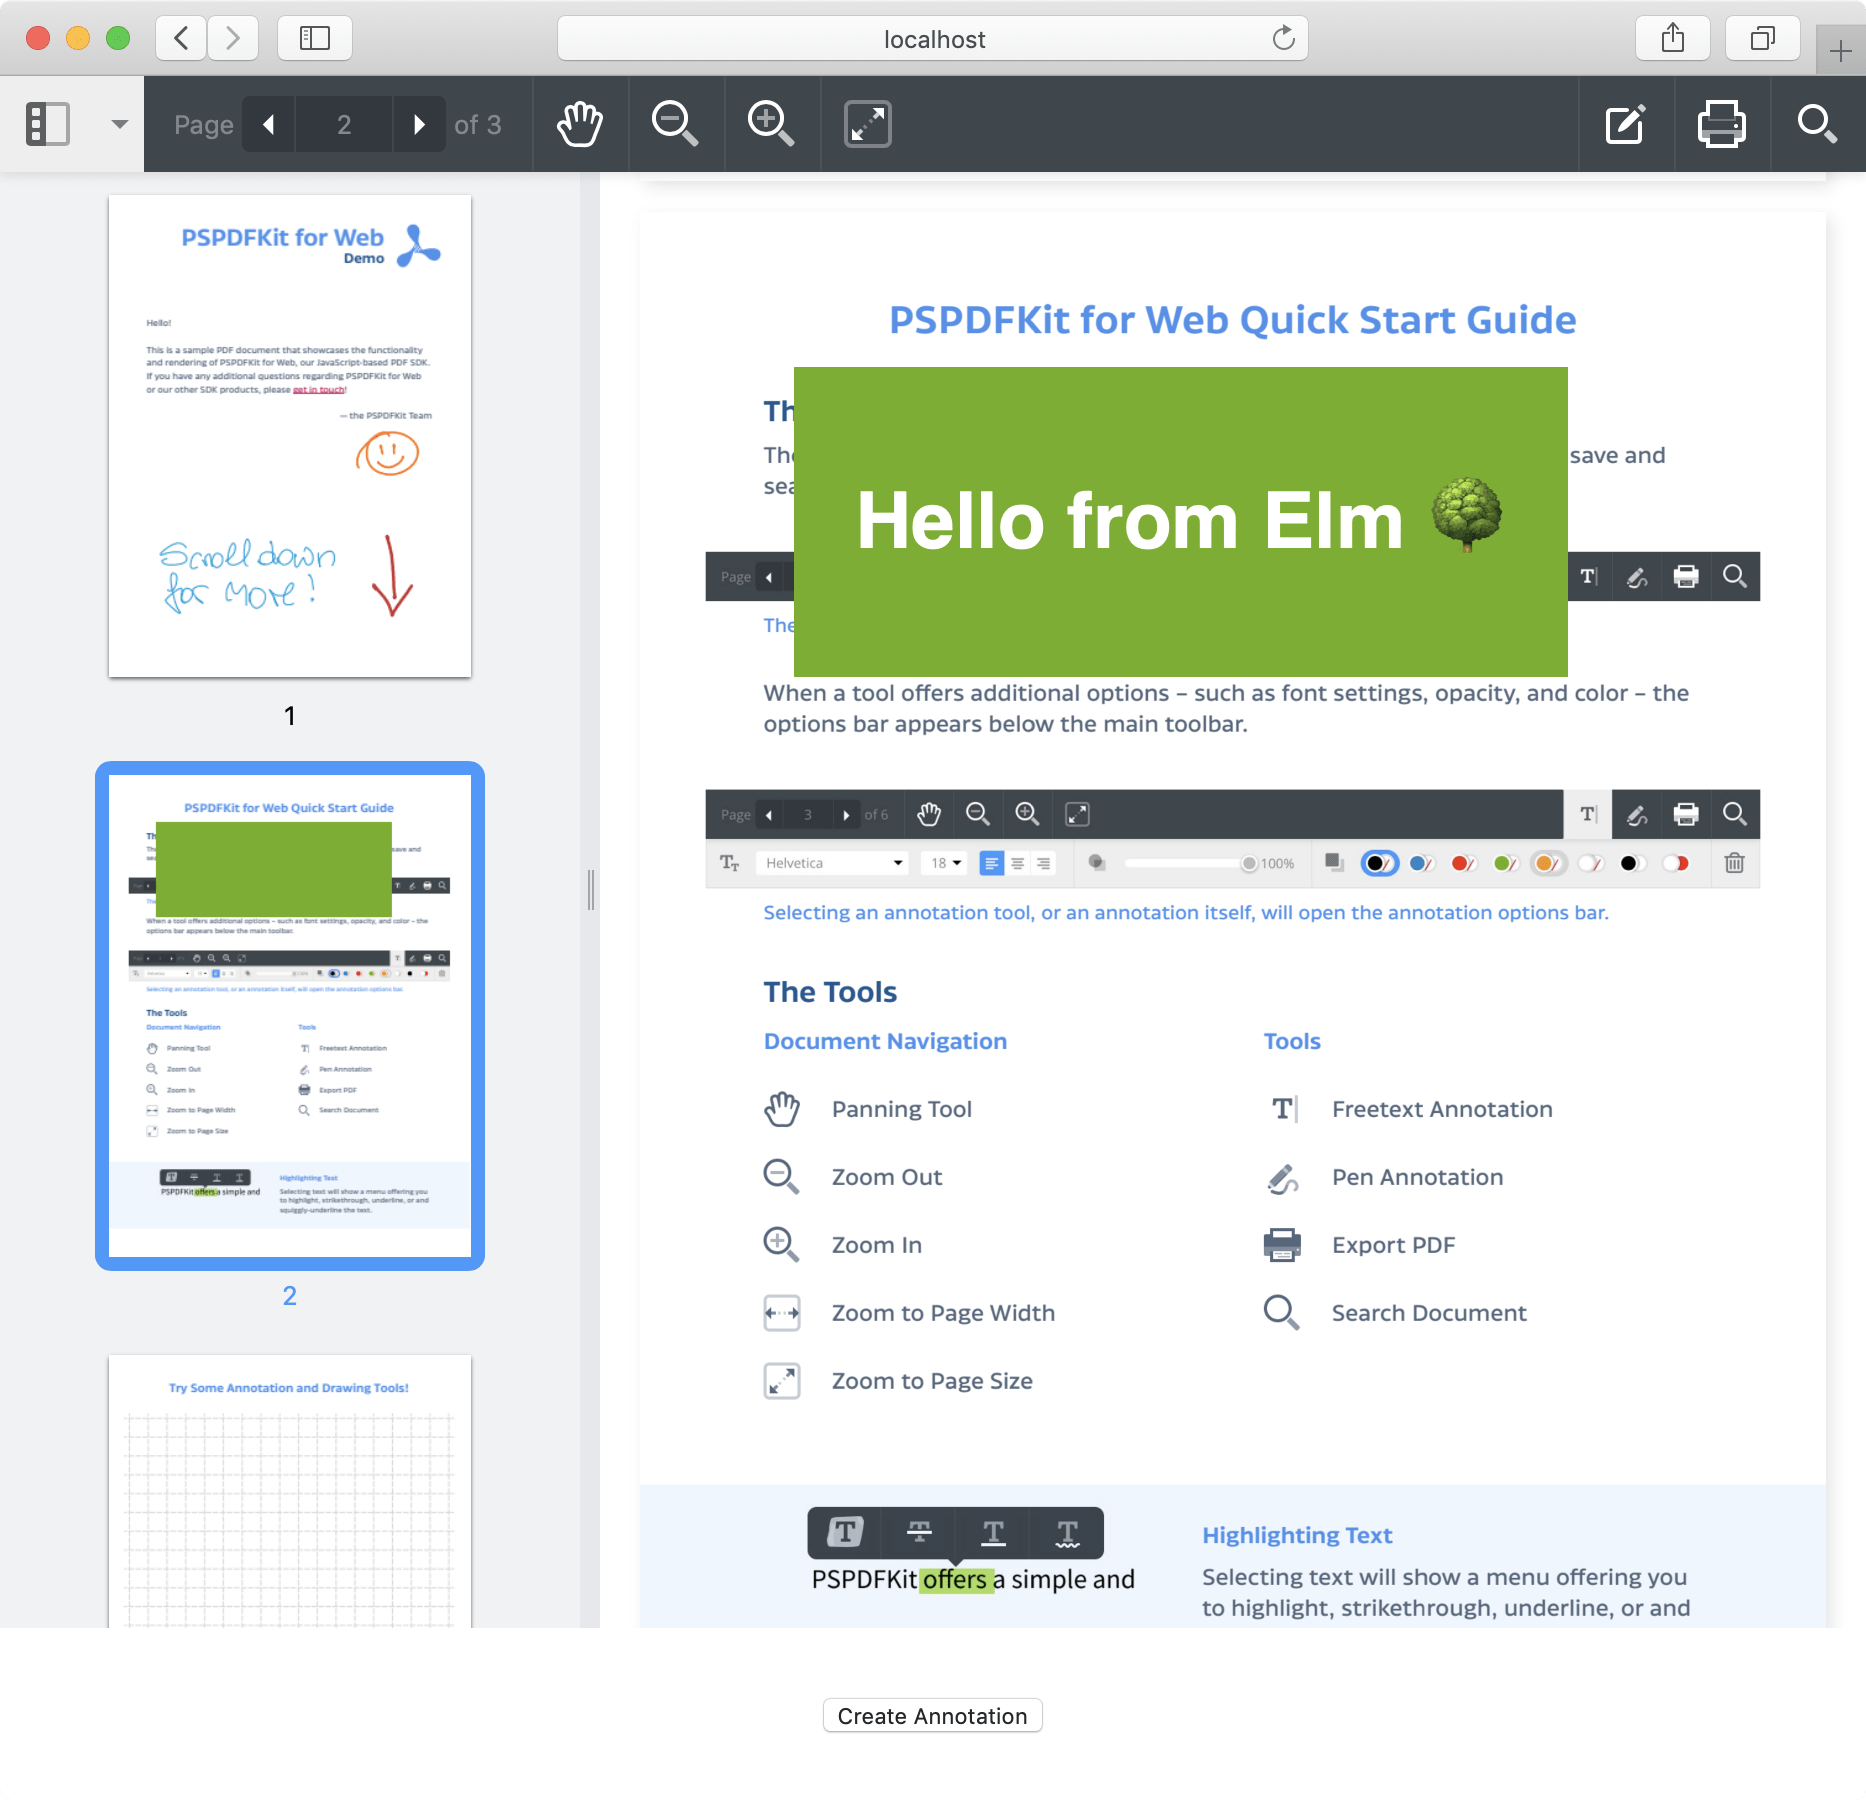
For our third and final iteration, our aim is to be able to add annotations to the document using Elm.
To do this, we’ll add a button with an onClick handler that calls our update function. If it receives the CreateAnnotation message, our update function creates a new Annotation and updates our Model. Finally, it dispatches our updated model to a new annotate port:
port module Main exposing (..)
import Browserimport Html exposing (Html, button, div, footer, text)import Html.Attributes exposing (id, style)import Html.Events exposing (onClick)
-- MODEL
type alias Model =    { pdf : String    , container : String    , licenseKey : String    , viewState : ViewState    , annotations : List Annotation    }
type alias ViewState =    { currentPageIndex : Int    , sidebarMode : String    }
type alias Annotation =    { pageIndex : Int    , text : String    , fontSize : Int    , isBold : Bool    , fontColor : String    , backgroundColor : String    , horizontalAlign : String    , verticalAlign : String    , boundingBox : Rect    }
type alias Rect =    { left : Int    , top : Int    , width : Int    , height : Int    }
type alias Flags =    { licenseKey : String }
init : Flags -> ( Model, Cmd Msg )init flags =    let        model =            { pdf = "example.pdf"            , container = "#PSPDFKitContainer"            , licenseKey = flags.licenseKey            , annotations = []            , viewState =                { currentPageIndex = 1                , sidebarMode = "THUMBNAILS"                }            }    in    ( model, configure model )
-- UPDATE
type Msg    = SetConfig    | CreateAnnotation
update : Msg -> Model -> ( Model, Cmd Msg )update msg model =    case msg of        SetConfig ->            ( model, configure model )
        CreateAnnotation ->            let                annotation =                    { pageIndex = 1                    , text = "Hello from Elm 🌳"                    , fontSize = 50                    , isBold = True                    , fontColor = "WHITE"                    , backgroundColor = "GREEN"                    , horizontalAlign = "center"                    , verticalAlign = "center"                    , boundingBox =                        { left = 100                        , top = 100                        , width = 500                        , height = 200                        }                    }            in            ( model, annotate { model | annotations = [ annotation ] } )
-- PORT
port configure : Model -> Cmd msg
port annotate : Model -> Cmd msg
-- VIEW
view model =    div        []        [ div [ id "PSPDFKitContainer", style "height" "90vh" ] []        , footer [ style "text-align" "center", style "line-height" "10vh" ]            [ button [ onClick CreateAnnotation ] [ text "Create Annotation" ]            ]        ]
-- PROGRAM
main =    Browser.element        { init = init        , update = update        , view = view        , subscriptions = \_ -> Sub.none        }
The only significant change on the JS side is that we now need to subscribe to the annotate port to receive the updated model. There we simply loop through the annotations and coerce their attributes into the types that PSPDFKit is expecting:
import { Elm } from "./Main";import PSPDFKit from "pspdfkit";
let instance;
const app = Elm.Main.init({  node: document.body,  flags: {    licenseKey: YOUR_LICENSE_KEY_GOES_HERE  }});
app.ports.configure.subscribe(data => {  const initialViewState = new PSPDFKit.ViewState(data.viewState);  const config = { ...data, initialViewState };
  PSPDFKit.load(config).then(async pspdfkit => {    instance = pspdfkit;  });});
app.ports.annotate.subscribe(data => {  data.annotations.forEach(a => {    const annotation = new PSPDFKit.Annotations.TextAnnotation({      ...a,      fontColor: new PSPDFKit.Color(PSPDFKit.Color[a.fontColor]),      backgroundColor: new PSPDFKit.Color(PSPDFKit.Color[a.backgroundColor]),      boundingBox: new PSPDFKit.Geometry.Rect(a.boundingBox)    });
    instance.createAnnotation(annotation);  });});
Here’s how our third iteration looks in the browser:
Conclusion
I hope this post has given you further insight into how JS interop works in Elm. These principles can be applied to working with any JavaScript library, and the basic pattern is the same: We define explicitly what and how data flows between Elm and the browser via ports, which gives us access to the things we need from JS while allowing us to keep the core of our application logic in Elm.
This might seem like a lot of overhead, but in many ways, it is not that different from talking to an API or delegating to some native code, and the beauty of the Elm language, architecture(opens in a new tab), and compiler really make it worth exploring.