


How to watermark a PDF using Python
Table of contents
Watermark PDF documents using our PDF watermark Python API. Create a free account, get API credentials, and implement watermarking using the requests library. Add text or image watermarks to protect proprietary documents and discourage unauthorized use.
This post covers watermarking PDFs using our PDF watermark Python API. The free plan includes 50 credits. Different operations consume different amounts of credits, affecting the total number of documents you can process. Create a free account(opens in a new tab) to get your API key.
This guide targets Python developers working with document-heavy workflows who need programmatic PDF watermarking.
Nutrient DWS Processor API
Watermarking PDFs is one of 30+ operations available through our PDF API tools. Combine watermarking with other tools to build document processing workflows:
- Convert MS Office files and images to PDF, and then add watermarks
- Duplicate or delete PDF pages before watermarking
- Merge or flatten PDFs, and then watermark the result
Your account provides access to all PDF API tools.
Getting started
Requirements:
- A free account for API key access
- Python installed on your system (download Python here(opens in a new tab))
Step 1 — Creating a free account on Nutrient
Visit our website(opens in a new tab) to create your free account.
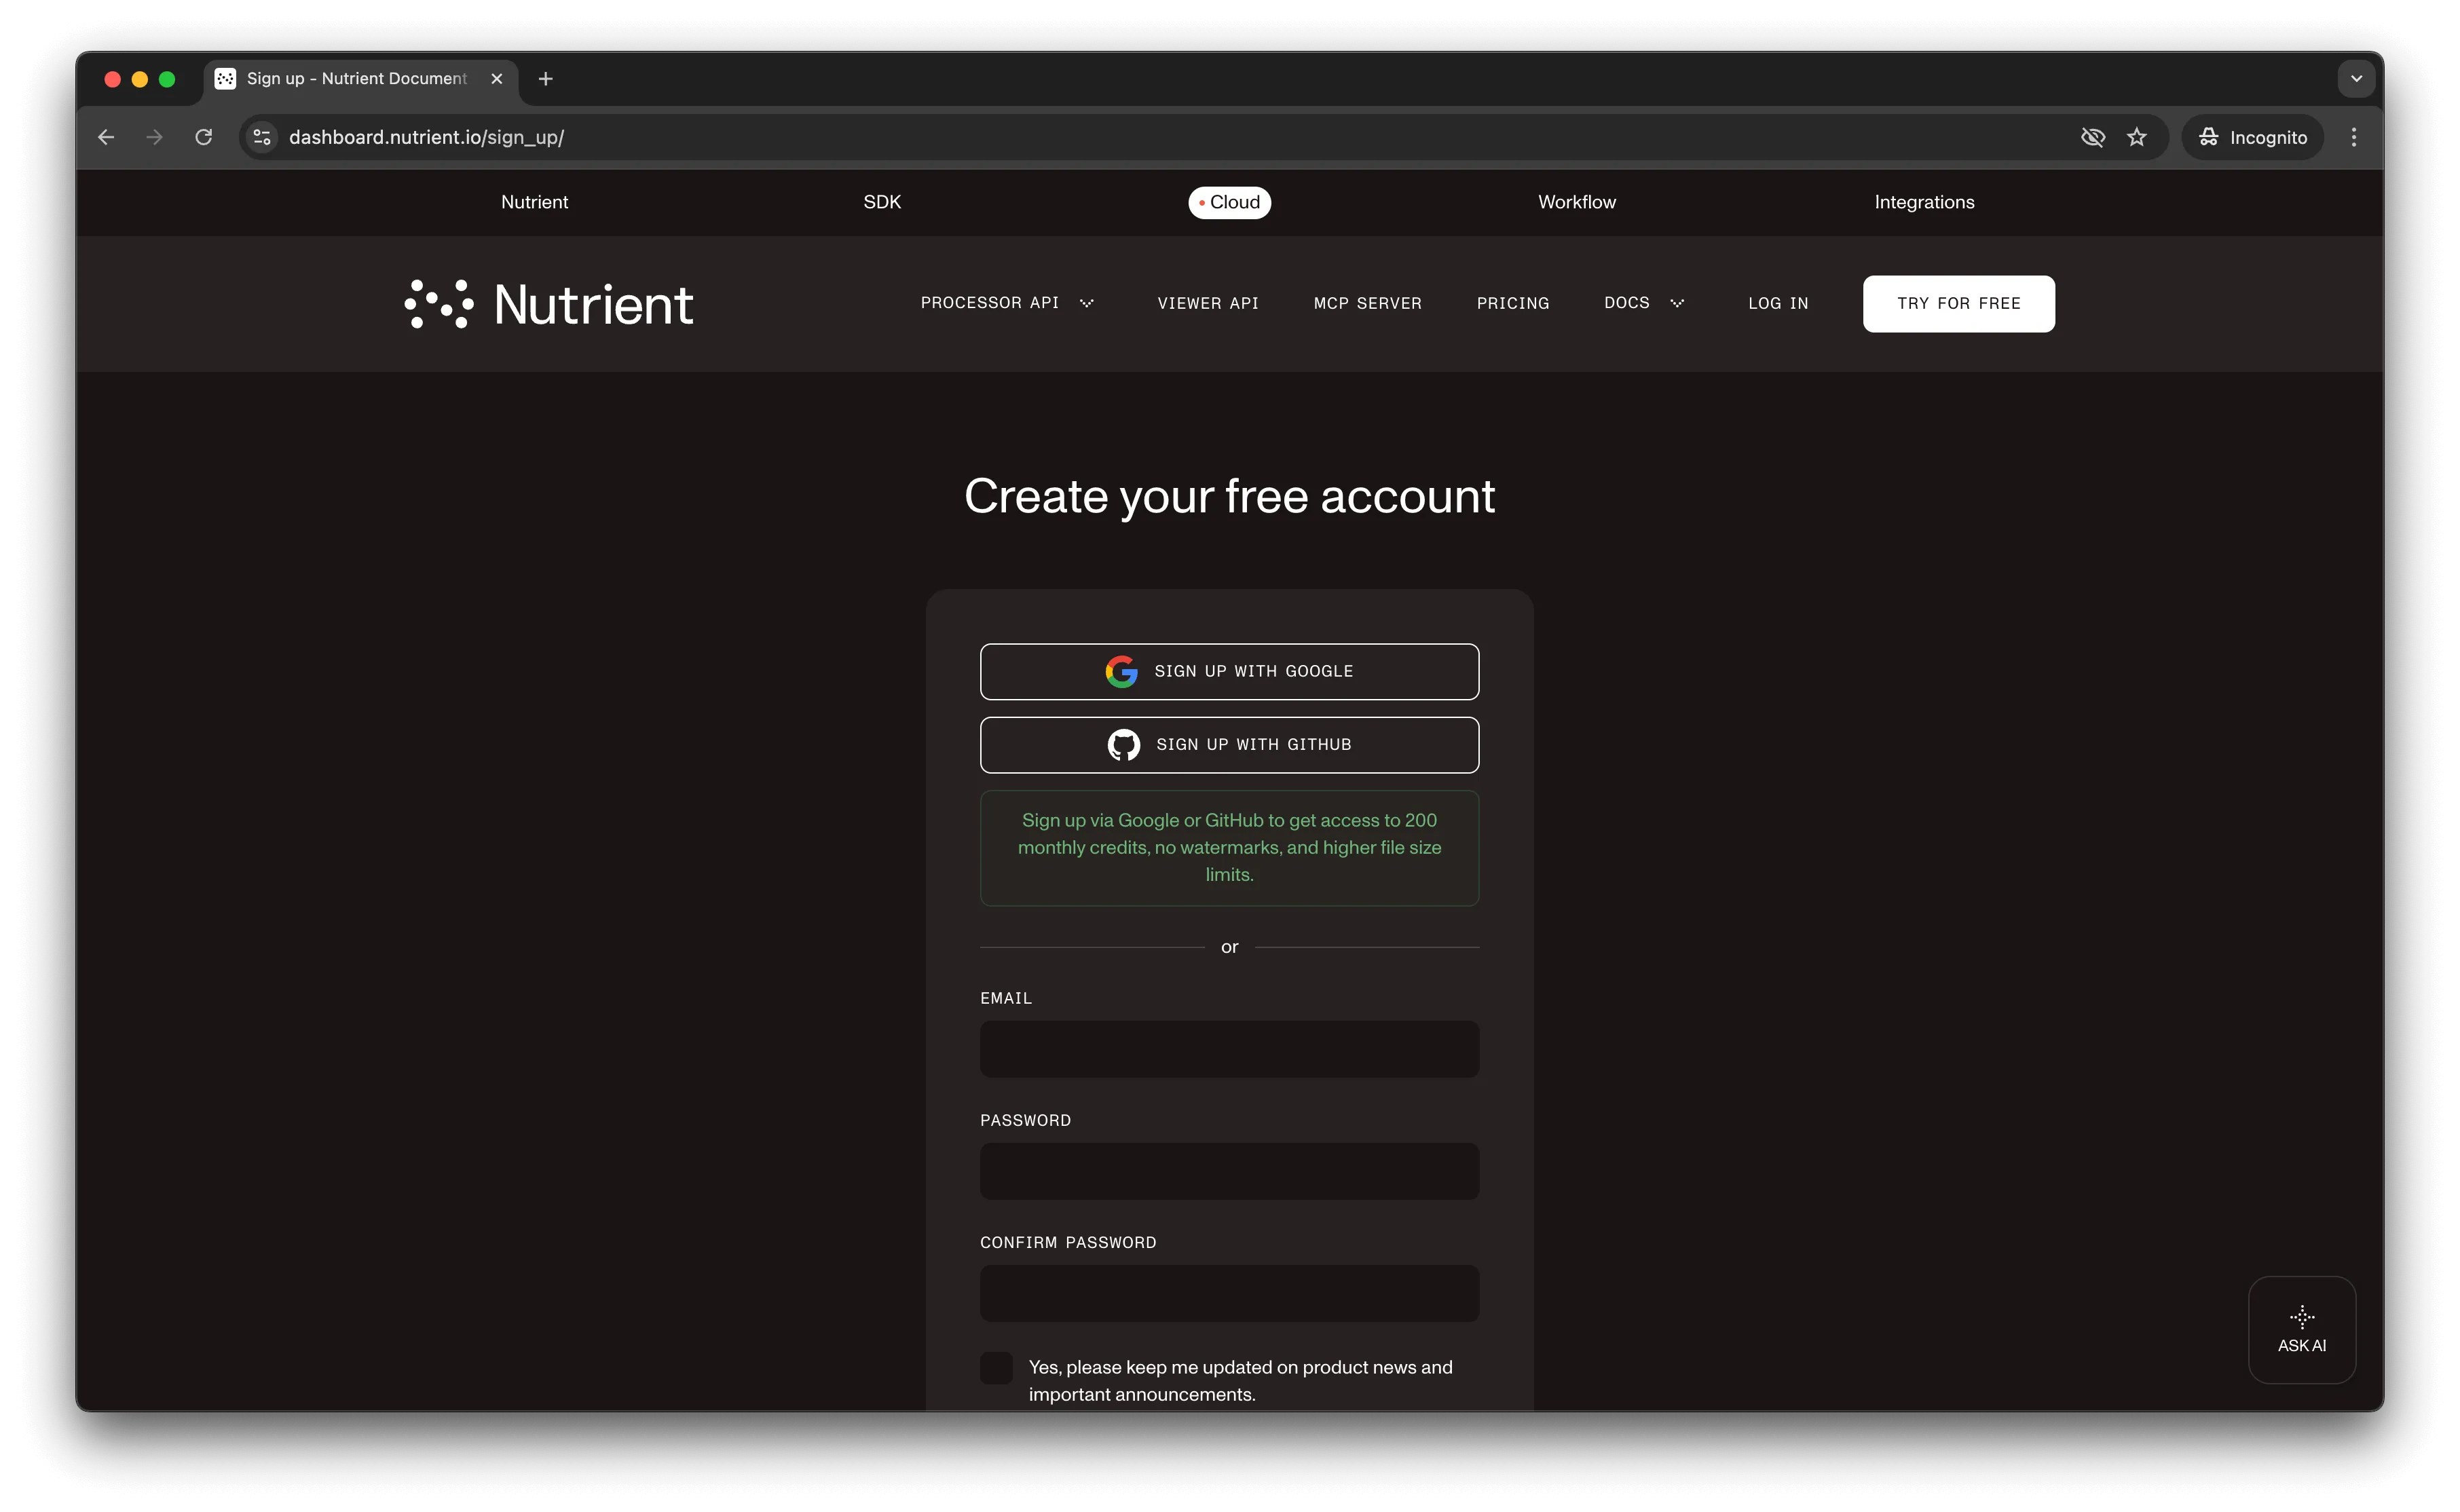
After account creation, the dashboard displays your plan details.
You start with 50 processing credits and access to all PDF API tools.
Step 2 — Obtaining the API key
After email verification, access your API key from the dashboard. Click API keys in the left menu to view your keys.
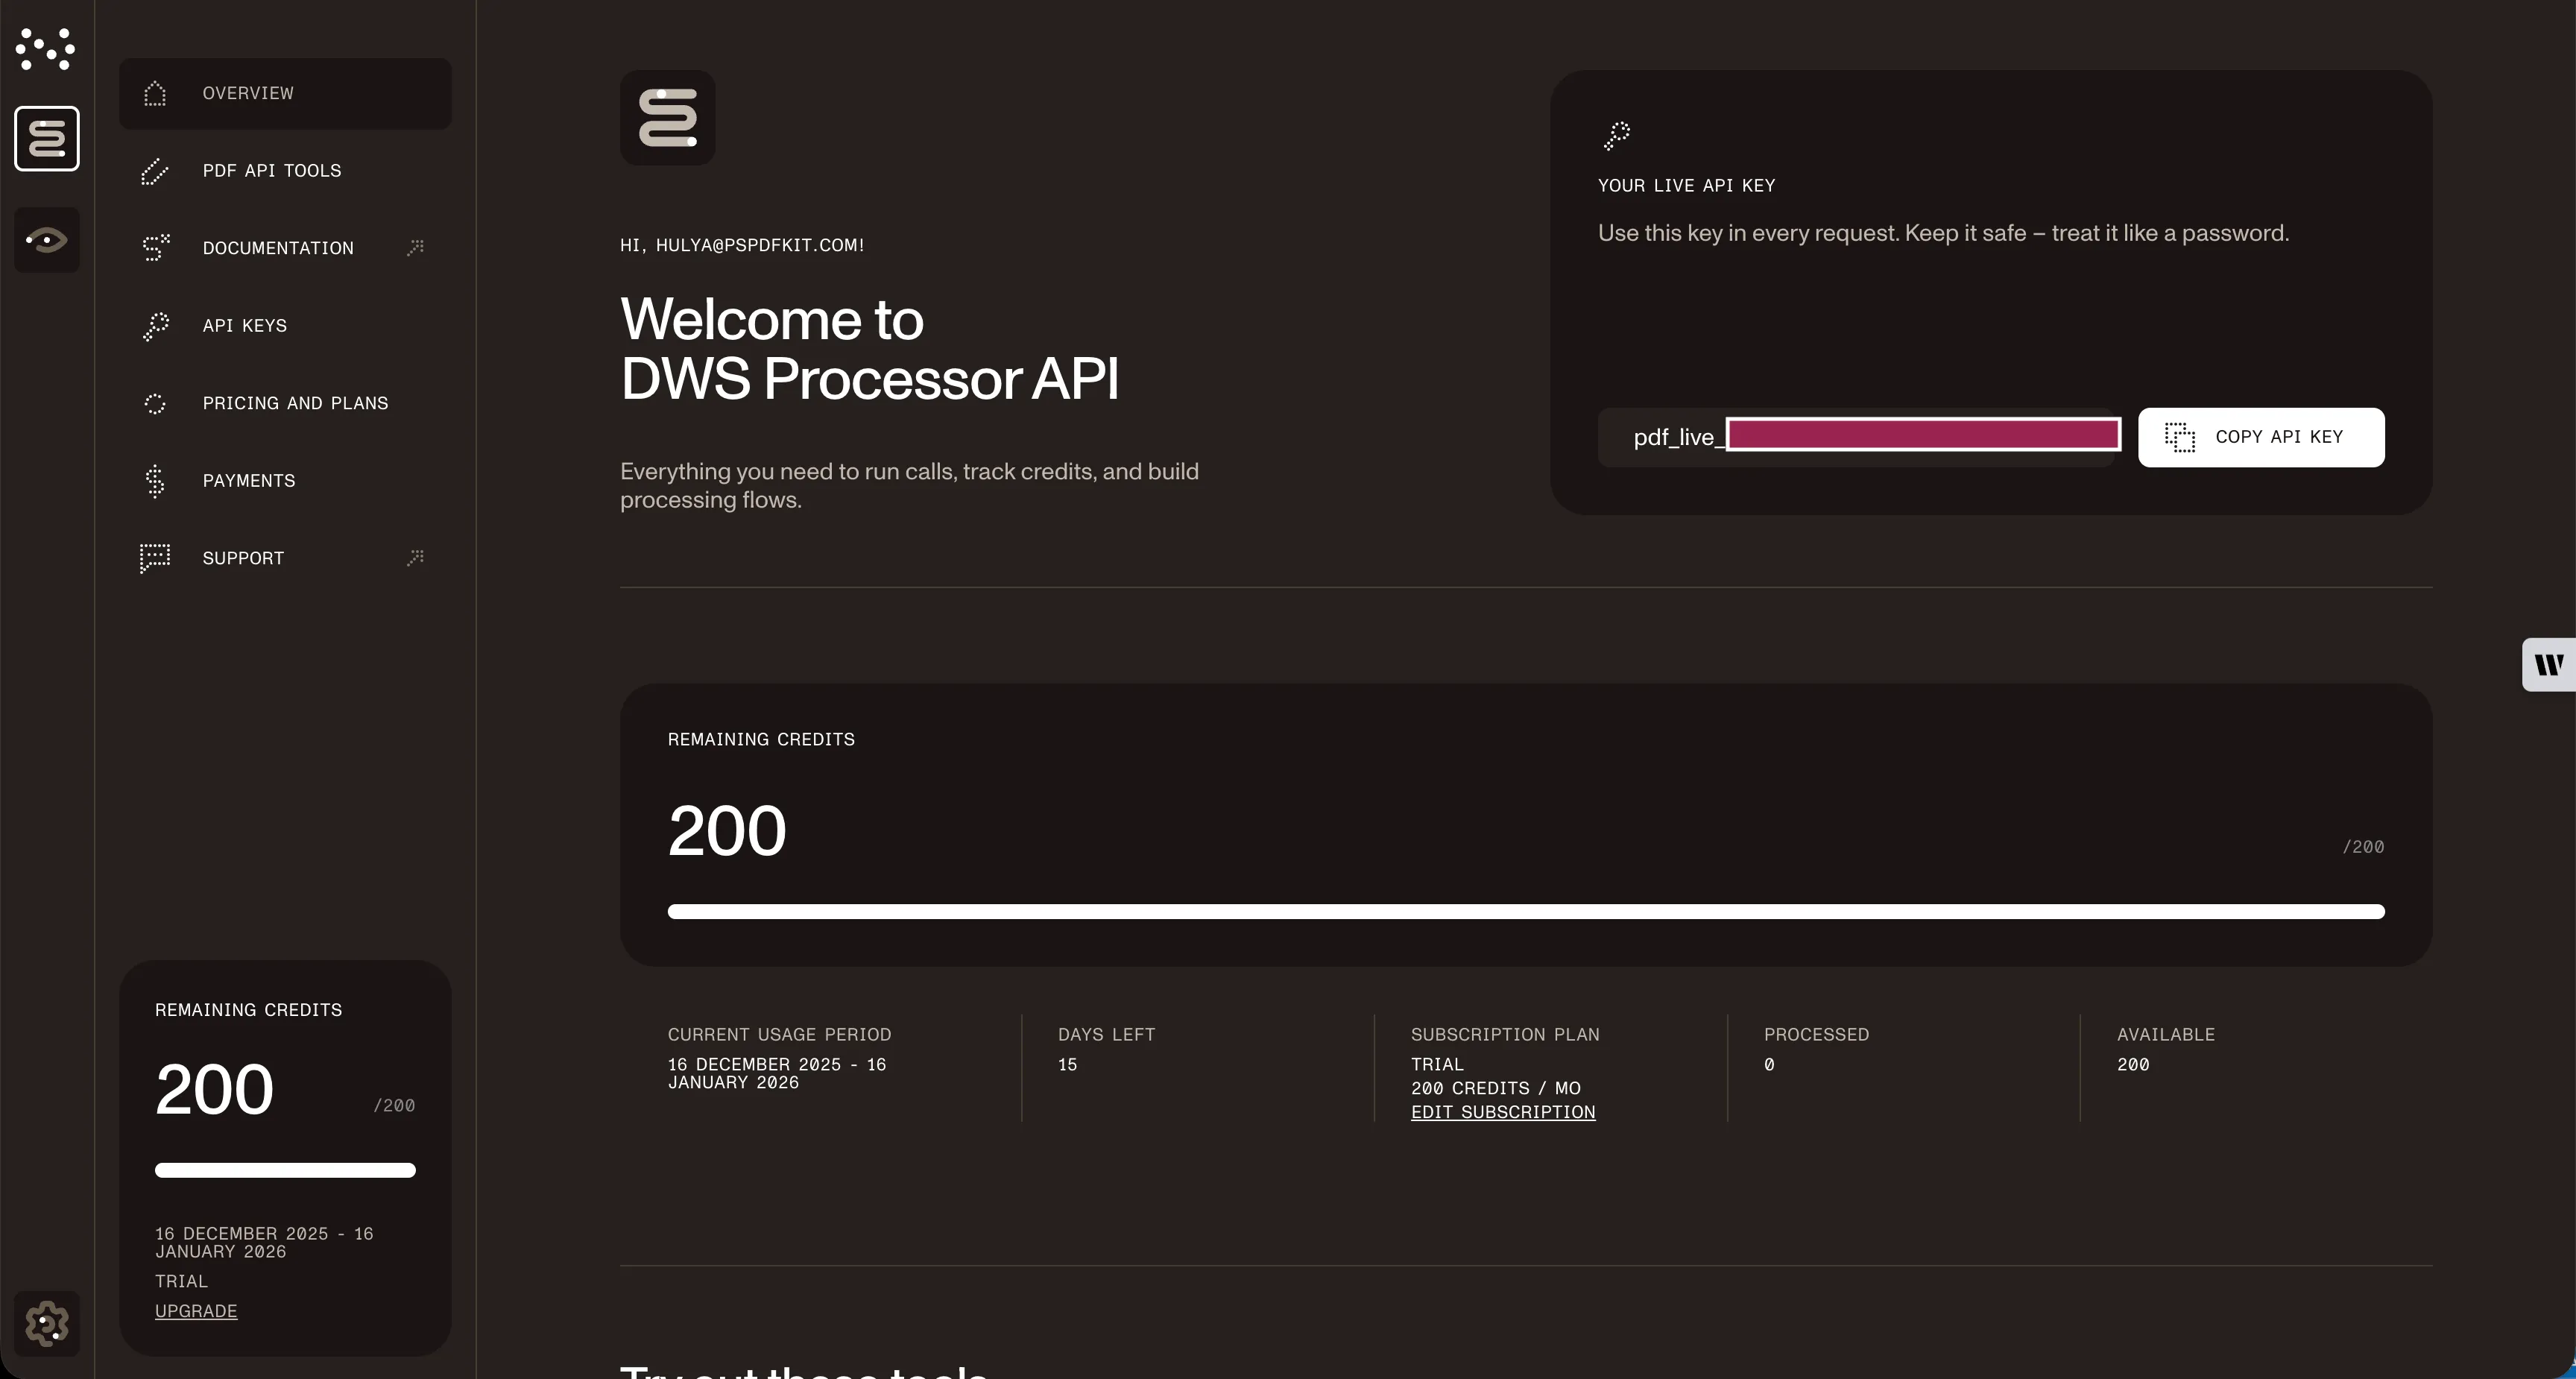
Copy the Live API key for use with the watermark PDF API.
Step 3 — Setting up folders and files
Create a folder called watermark_pdf and open it in a code editor (this tutorial uses VS Code). Inside watermark_pdf, create two subfolders: input_documents and processed_documents.
In the root folder (watermark_pdf), create a file called processor.py for your code.
Place your watermark image and PDF in the input_documents folder. Name them logo.png and document.pdf.
Your folder structure:
watermark_pdf├── input_documents| └── document.pdf| └── logo.png├── processed_documents└── processor.pyStep 4 — Writing the code
Open the processor.py file and paste the code below into it:
import requestsimport json
response = requests.request(  'POST',  'https://api.nutrient.io/build',  headers = {    'Authorization': 'Bearer YOUR_API_KEY_HERE'  },  files = {    'document': open('input_documents/document.pdf', 'rb'),    'logo': open('input_documents/logo.png', 'rb')  },  data = {    'instructions': json.dumps({      'parts': [        {          'file': 'document'        }      ],      'actions': [        {          'type': 'watermark',          'image': 'logo',          'width': '25%'        }      ]    })  },  stream = True)
if response.ok:  with open('processed_documents/result.pdf', 'wb') as fd:    for chunk in response.iter_content(chunk_size=8096):      fd.write(chunk)else:  print(response.text)  exit()
Make sure to replace YOUR_API_KEY_HERE with your API key.
Code explanation
The code imports requests and json dependencies, and then creates instructions for the API call.
The requests module makes the API call. On success, the result saves to the processed_documents folder.
The instructions set the watermark width to 25 percent of the page. Adjust this value as needed.
Output
Execute the code:
python3 processor.pyAfter execution, a new file, result.pdf, appears in the processed_documents folder.
Final folder structure:
watermark_pdf├── input_documents| └── document.pdf| └── logo.png├── processed_documents| └── result.pdf└── processor.pyAdditional resources
Explore more ways to work with Nutrient API:
- Postman collection — Test API endpoints directly in Postman
- Zapier integration — Automate document workflows without code
- MCP Server — PDF automation for LLM applications
- Python client — Official Python library
Conclusion
This post demonstrated watermarking PDF documents in Python using our watermark PDF API.
Integrate this functionality into existing applications to watermark PDF pages. The same API token enables other operations: merging documents, running OCR, duplicating pages, and more. Sign up(opens in a new tab) for a free trial.
FAQ
Nutrient DWS Processor API offers 30+ PDF operations, including merging, splitting, OCR, flattening, and converting Office documents to PDF. You can combine these operations in a single workflow. For example, merge multiple PDFs, watermark the result, and then flatten it to prevent editing — all through the same API.
Yes! Use our Postman collection to test all API endpoints directly in Postman. Import the collection, add your API key, and experiment with different operations and parameters. This helps you understand the API before integrating it into your Python application. You can also test using tools like cURL or HTTPie in your terminal.
Use our Zapier integration to automate PDF processing without writing code. Connect Nutrient DWS Processor API with 5,000+ apps like Google Drive, Dropbox, Gmail, and Slack. For example, automatically watermark PDFs when they’re uploaded to Google Drive, or watermark invoices from email attachments before saving them.
Yes. Change the watermark action from "image": "logo" to "text": "CONFIDENTIAL". You can then add additional parameters like "fontSize", "fontColor", "opacity", and "rotation" to customize the text watermark appearance. Text watermarks are useful for marking documents as drafts or confidential without needing image files.
Create a loop that iterates through your PDF files. Use glob.glob('input_documents/*.pdf') to get all PDF files, and then process each one with a unique output filename to avoid overwriting results. Consider using concurrent.futures for parallel processing to improve performance with large batches, but be mindful of API rate limits.