Real-time updates using WebSockets
Table of contents
WebSockets:
- Provide persistent connections for real-time communication
- Replace HTTP polling with instant, low-overhead updates
- Are perfect for notification systems and collaborative features
- Are easy to implement with Socket.io in Node.js applications
In a large, data-intensive application like Nutrient Workflow, HTTP requests are everywhere. They’re how the frontend communicates with the backend, and they’re integral to core functionality.
Over time, though, it can feel like every new piece of frontend functionality requires yet another request. But constant polling and one-off requests aren’t always the most efficient approach. Sometimes, there’s a better fit: WebSockets.
WebSockets are a protocol that enable real-time communication between a client and a server. The key difference between WebSockets and traditional HTTP requests is persistence: With HTTP, each request creates a new connection, while WebSockets maintain a single, open connection after the initial handshake. This persistent connection is what makes WebSockets ideal for low-latency, low-overhead communication.
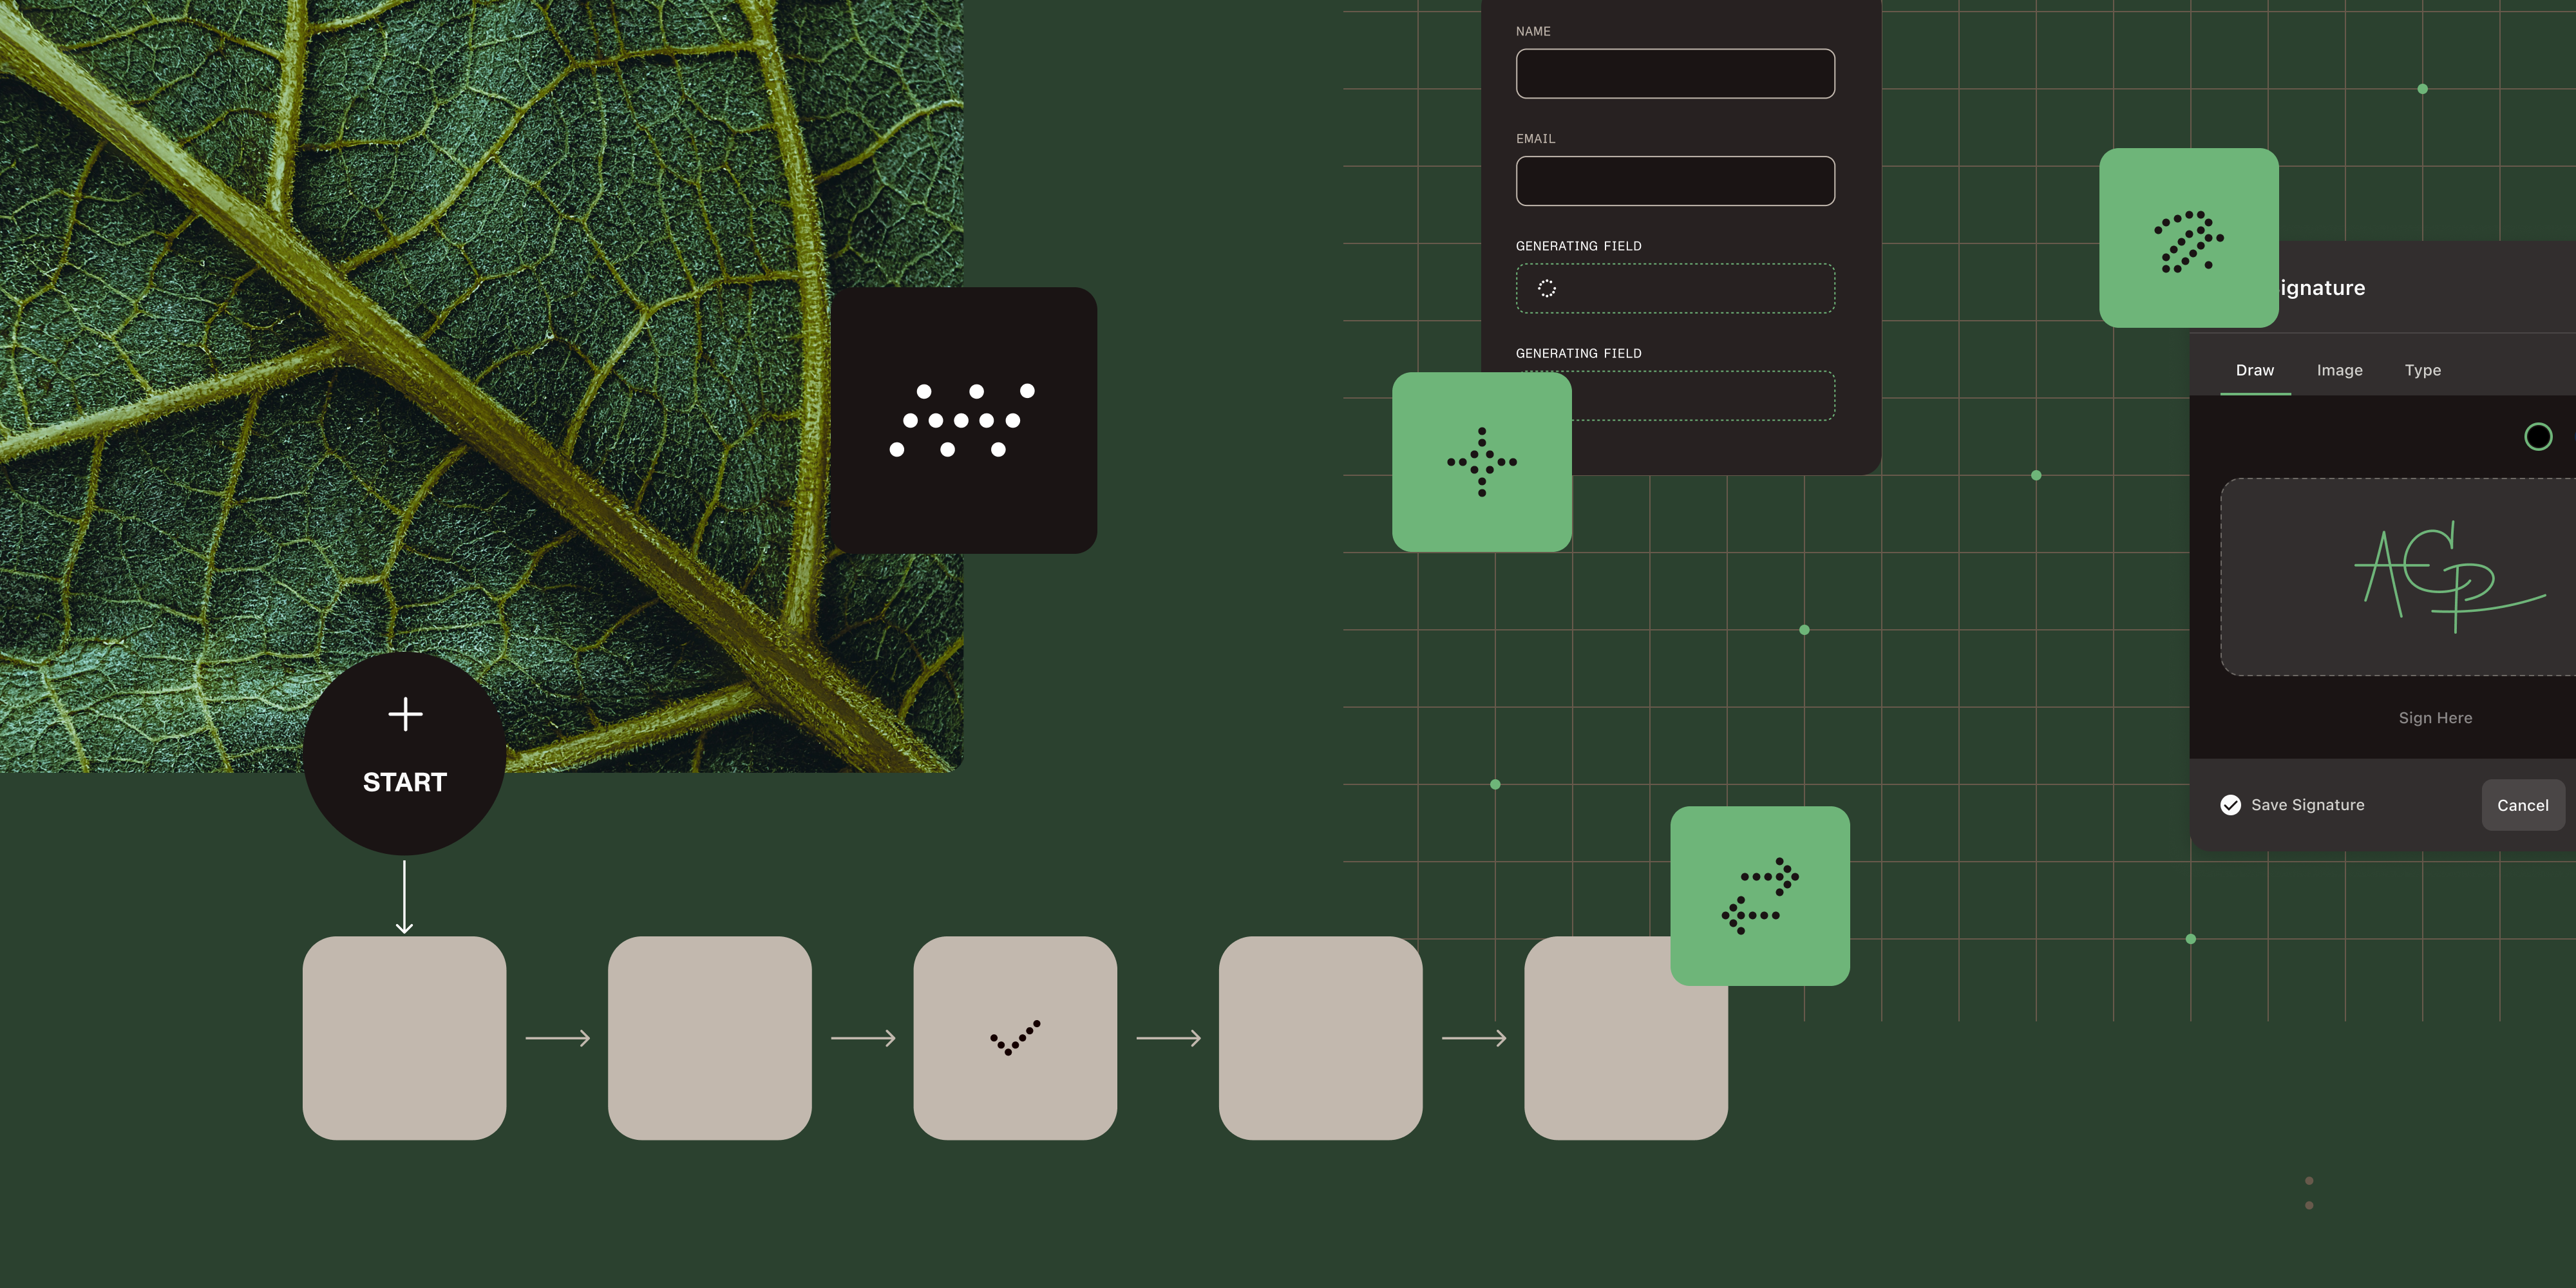
Automate tasks and collaborate in real time.
The problem with HTTP polling
Recently, we had a use case for WebSockets in Nutrient Workflow. It’s admittedly a small feature, but it lays the groundwork for powerful future capabilities, like real-time collaboration in the app.
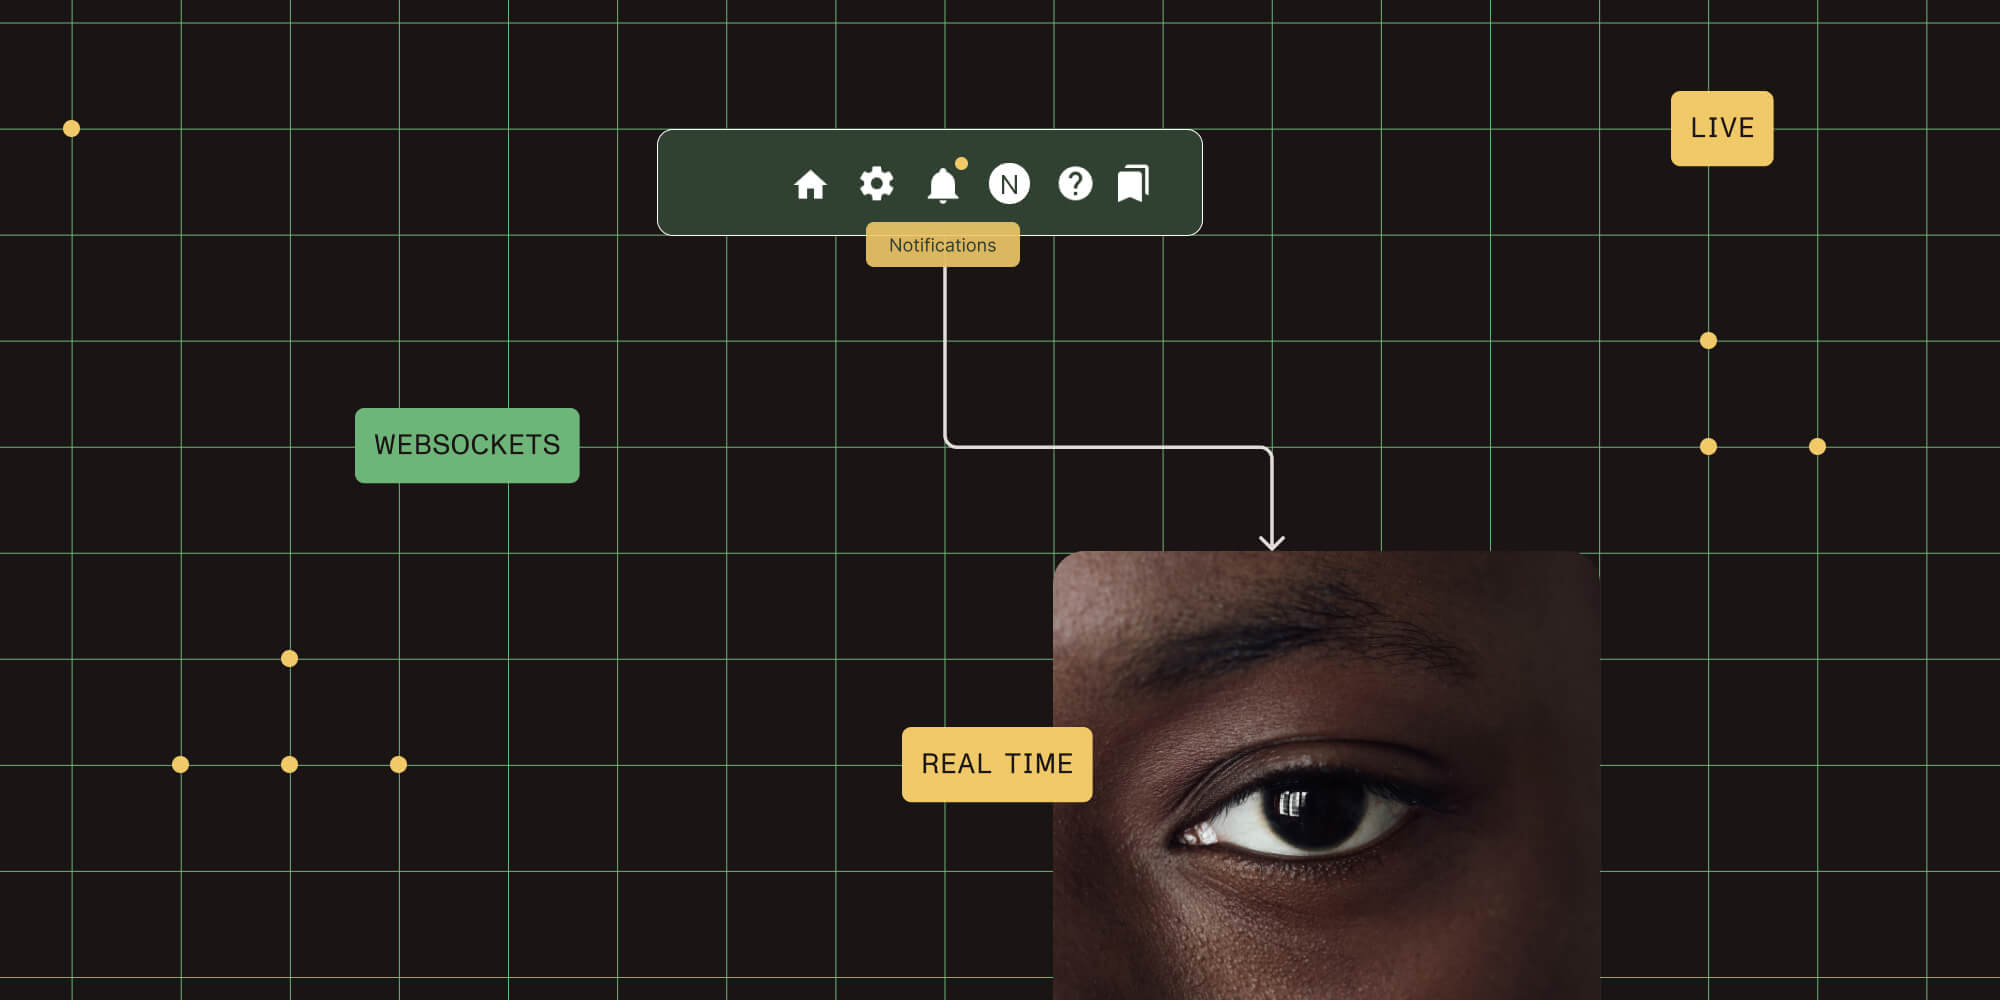
Currently, Workflow admins have a notification icon in the top navigation bar showing the number of unread messages. These messages contain important information about the system, so it’s crucial that admins see new ones as soon as possible.
Originally, we were checking for new messages by making periodic HTTP requests, but it wasn’t the best solution. It wasn’t in real time, and it added even more noise to an already chatty, data-heavy app.
The original approach: Periodic HTTP requests to check for new notifications every few seconds, creating unnecessary server load and delayed updates.
It quickly became clear that WebSockets were the better approach. When using them, admins get new messages instantly, and we eliminate the overhead of constant polling.
WebSocket advantages
Real-time updates
- Instant communication with no polling delays
Lower overhead
- Single persistent connection vs. repeated HTTP requests
Reduced server load
- No unnecessary requests checking for updates
Better user experience
- Immediate feedback and notifications
Implementation with Socket.io
To implement the solution, we installed the socket.io package(opens in a new tab):
npm install socket.ioFrom there, setup was simple. On the server, we connect using a helper function:
let io;
function init(server, service) {  try {    io = require("socket.io")(server, {      serveClient: false,      path: `/api/${service}/socket.io`,      cors: {        origin: "*",        methods: ["GET", "POST"],      },      transports: ["websocket"],    });
    io.on("connection", (socket) => {      console.log("[WebSocket] Client connected! Socket ID:", socket.id);
      socket.on("disconnect", (reason) => {        console.log(          `[WebSocket] Client disconnected. Socket ID: ${socket.id}, Reason: ${reason}`,        );      });    });  } catch (error) {    console.error("[WebSocket] Error initializing WebSocket server:", error);  }}
function broadcast(event, data) {  if (!io) {    console.log("[WebSocket] No WebSocket server initialized!");    return;  }
  console.log("[WebSocket] Broadcasting event:", event, "Data:", data);  io.emit(event, data);}
module.exports = {  init,  broadcast,};
We then use this in our services, like so:
let server = await app.listen(port);websocket.init(server, "settings");When a notification gets published server side, we can broadcast the message to the connected client:
websocket.broadcast("newNotification", message);Client-side implementation
On the client side, we have a helper function for managing sockets:
import { io } from "socket.io-client";
let sockets = new Map();
export function getSocket(service) {  if (!sockets.hasOwnProperty(service)) {    sockets.set(      service,      io(location.host, {        transports: ["websocket"],        upgrade: false,        path: `/api/${service}/socket.io`,      }),    );
    sockets.get(service).on("connect", () => {      console.log(        `[WebSocket: ${service}] Connected successfully! Socket ID: ${sockets.get(service).id}`,      );    });  }
  return sockets.get(service);}
And we use it like this:
this.settingsSocket = socket.getSocket("settings");this.settingsSocket.on("newNotification", (event) => { // Handle new notification here. updateNotificationCount(event.count); showNotificationToast(event.message);});Pro tip: Use Map to manage multiple socket connections for different services, ensuring each service maintains its own connection lifecycle.
Building a proof of concept
Want to try it yourself? What follows is a simple proof of concept (POC) you can run locally using Node.js and plain HTML.
Step 1 — Set up a basic WebSocket server
Install the dependencies:
npm init -ynpm install express socket.ioCreate a file called server.js:
const express = require("express");const http = require("http");const socketIo = require("socket.io");
const app = express();const server = http.createServer(app);const io = socketIo(server);
app.use(express.static(__dirname + "/public"));
io.on("connection", (socket) => {  console.log("🔌 New client connected:", socket.id);
  socket.emit("message", "👋 Hello from the server!");
  socket.on("ping", () => {    console.log("📡 Received ping from client");    socket.emit("message", "🏓 Pong!");  });
  socket.on("disconnect", () => {    console.log("❌ Client disconnected:", socket.id);  });});
server.listen(3000, () => {  console.log("🚀 Server listening on http://localhost:3000");});
Step 2 — Add a simple frontend
Create a public folder, and inside it, add index.html:
<!DOCTYPE html><html lang="en">  <head>    <meta charset="UTF-8" />    <title>WebSocket Demo</title>    <style>      body {        font-family: Arial, sans-serif;        max-width: 600px;        margin: 50px auto;        padding: 20px;      }
      button {        background: #007bff;        color: white;        border: none;        padding: 10px 20px;        border-radius: 4px;        cursor: pointer;        margin: 10px 0;      }
      button:hover {        background: #0056b3;      }
      #messages {        border: 1px solid #ddd;        height: 300px;        overflow-y: auto;        padding: 10px;        margin: 20px 0;      }
      .message {        padding: 5px 0;        border-bottom: 1px solid #eee;      }    </style>  </head>
  <body>    <h1>WebSocket Demo</h1>    <button id="ping">Send Ping</button>    <div id="messages"></div>
    <script src="/socket.io/socket.io.js"></script>    <script>      const socket = io();      const messages = document.getElementById("messages");      const button = document.getElementById("ping");
      socket.on("connect", () => {        console.log("Connected to WebSocket server!");        addMessage("✅ Connected to server");      });
      socket.on("message", (msg) => {        addMessage(`📢 ${msg}`);      });
      socket.on("disconnect", () => {        addMessage("❌ Disconnected from server");      });
      button.addEventListener("click", () => {        socket.emit("ping");        addMessage("📤 Sent ping to server");      });
      function addMessage(text) {        const div = document.createElement("div");        div.className = "message";        div.textContent = `${new Date().toLocaleTimeString()} - ${text}`;        messages.appendChild(div);        messages.scrollTop = messages.scrollHeight;      }    </script>  </body></html>
Step 3 — Run it
node server.jsOpen your browser and go to http://localhost:3000. You’ll see a message from the server, and when you click the Send Ping button, you’ll get a “Pong!” back instantly.
Best practices and considerations
When implementing WebSockets in production applications, consider these important practices:
Implement proper connection handling with reconnection logic for network interruptions. Use exponential backoff to prevent overwhelming the server during reconnection attempts.
const socket = io(serverUrl, { reconnection: true, reconnectionDelay: 1000, reconnectionAttempts: 5, maxReconnectionAttempts: 5,});Always implement comprehensive error handling for both client and server sides. WebSocket connections can fail for various reasons, including network issues, server restarts, and client-side problems.
socket.on("connect_error", (error) => { console.error("Connection failed:", error); // Implement fallback strategy.});Implement proper authentication for WebSocket connections. Unlike HTTP requests, WebSocket connections maintain state, so ensure you validate users appropriately.
io.use((socket, next) => { const token = socket.handshake.auth.token; if (isValidToken(token)) { next(); } else { next(new Error("Authentication error")); }});For applications with many concurrent connections, consider using Socket.io with Redis adapter for horizontal scaling across multiple server instances.
const { createAdapter } = require("@socket.io/redis-adapter");const { createClient } = require("redis");
const pubClient = createClient({ host: "localhost", port: 6379 });const subClient = pubClient.duplicate();
io.adapter(createAdapter(pubClient, subClient));
Future possibilities
We’ve barely scratched the surface of what WebSockets can do, but even this small addition opens the door to exciting possibilities for Nutrient Workflow:
- Real-time collaboration — Multiple users editing documents simultaneously with live updates
- Live status indicators — Show which team members are currently active in workflows
- Instant form submissions — Real-time validation and submission feedback
- Live analytics — Dashboard updates showing workflow metrics as they happen
- Chat integration — Built-in messaging for workflow collaboration
- Progress tracking — Real-time updates on long-running workflow processes
The notification system we implemented was just the beginning. As we continue to explore WebSockets in Nutrient Workflow, we’re excited about the enhanced user experiences and collaborative features they’ll enable.
Conclusion
WebSockets transform the way applications handle real-time communication. By replacing HTTP polling with persistent connections, they provide instant updates with minimal overhead — perfect for modern, data-intensive applications like Nutrient Workflow.
The implementation is straightforward with libraries like Socket.io, and the benefits are immediate: better user experience, reduced server load, and the foundation for advanced real-time features.
Whether you’re building notification systems, collaborative tools, or live dashboards, WebSockets offer a robust solution for real-time communication that scales with your application’s needs. By leveraging WebSockets, applications can move beyond repetitive HTTP requests to deliver real-time updates, reduce server load, and provide a more responsive, engaging experience — laying the foundation for advanced features and seamless user interactions.
Streamline your business with real-time automation and collaboration.