


How to build a Nuxt.js image viewer
Table of contents
Nuxt.js(opens in a new tab) is a modern framework built on top of Vue.js(opens in a new tab) that enables server-side rendering, powerful routing, and streamlined state management. Combined with Nutrient Web SDK, you can build a client-side viewer for rendering and interacting with image files directly in the browser — no plugins or external tools required.
What is a Nuxt.js image viewer?
A Nuxt.js image viewer lets you render and view image documents in a web browser without the need to download it to your hard drive or use an external application like an image reader.
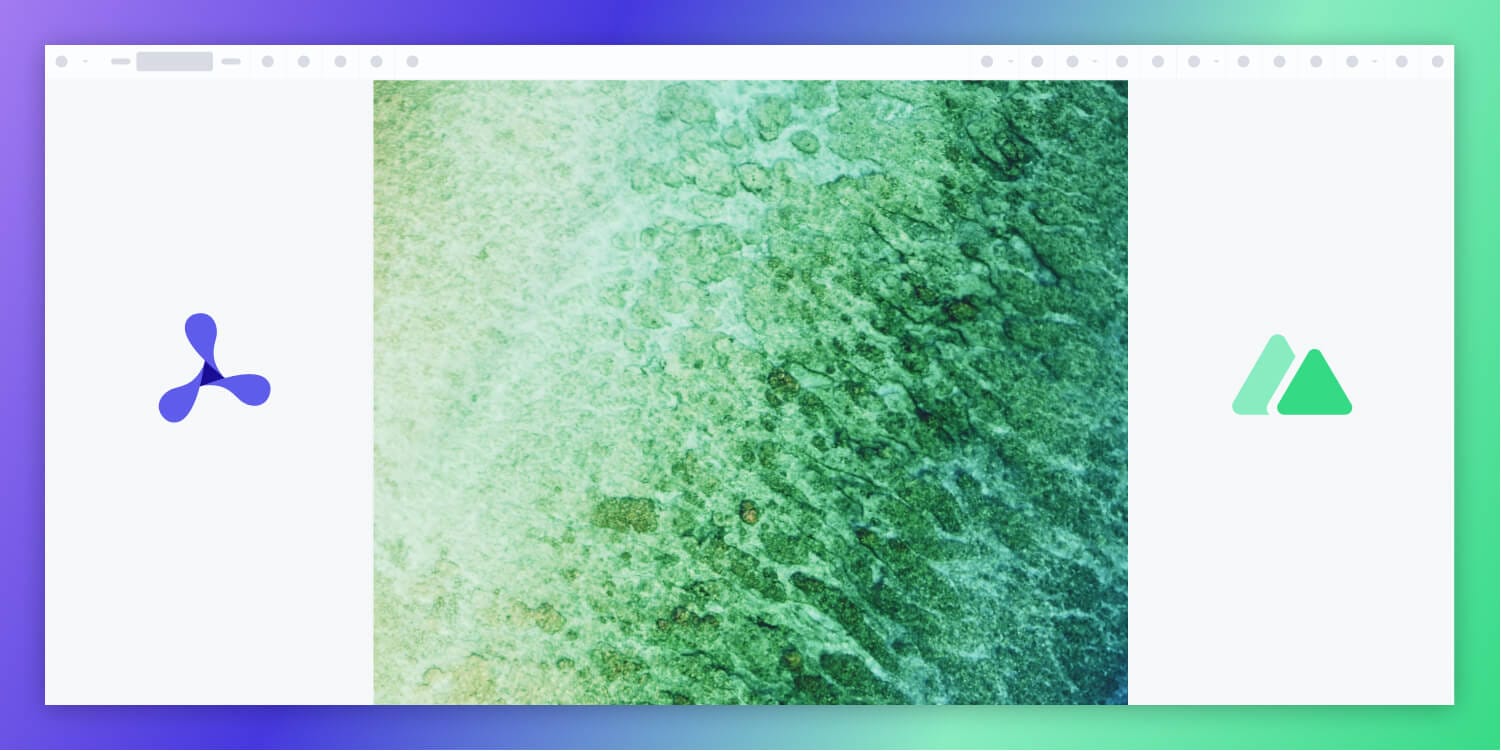
Nutrient Nuxt.js image viewer
We offer a commercial Nuxt.js image viewer library that can easily be integrated into your web application.
- A prebuilt and polished UI for an improved user experience
- 15+ prebuilt annotation tools to enable document collaboration
- Support for more file types with client-side PDF, MS Office, and image viewing
- Dedicated support from engineers to speed up integration
Example of our Nuxt.js image viewer
To see our image viewer(opens in a new tab) in action, upload a JPG, PNG, or TIFF file by selecting Choose Example > Open Document (if you don’t see this, switch to the Standalone option). Once your image is displayed in the viewer, you can try drawing freehand, adding a note, or applying a crop or an eSignature.
Requirements to get started
To get started, you’ll need:
- Node.js(opens in a new tab) (this post uses version 16.13.0)
- A package manager for installing packages — you can use npm(opens in a new tab) or Yarn(opens in a new tab)
Step 1 — Set up your Nuxt.js project
Create a fresh Nuxt.js project using the official command-line interface (CLI):
npx create-nuxt-app nutrient-image-viewercd nutrient-image-viewerUse the default settings when prompted.
Now, open your app.vue and replace the default Nuxt content with:
<template> <div> <NuxtPage /> </div></template>This enables Nuxt to render pages from the /pages directory.
Step 2 — Install the Nutrient SDK
Install the Nutrient SDK as a project dependency:
npm i @nutrient-sdk/viewerpnpm add @nutrient-sdk/vieweryarn add @nutrient-sdk/viewerStep 3 — Copy the SDK assets to the public directory
Create a js folder inside your public directory:
mkdir -p public/jsThen copy the viewer distribution files:
cp -R ./node_modules/@nutrient-sdk/viewer/dist/ public/js/nutrient/Ensure your structure looks like this:
/public /js /nutrient nutrient-viewer.js nutrient-viewer-lib/To automate the copy process, add this to your package.json scripts:
"scripts": { "copy-assets": "cp -R ./node_modules/@nutrient-sdk/viewer/dist/ public/js/nutrient/", "dev": "npm run copy-assets && nuxt dev", "build": "npm run copy-assets && nuxt build"}Step 4 — Add an image file
Place an image file like image.png in your public directory. You can use our demo image as an example.
/public image.pngStep 5 — Create a component wrapper
Here’s what the code will do:
- Create a
NutrientContainer.vuecomponent that dynamically loads Nutrient Web SDK. - The component receives an
imageFileprop. - The viewer initializes inside the
.image-containerdiv once the component is mounted.
Create components/NutrientContainer.vue:
<template>  <div class="image-container"></div></template>
<script>export default {  name: 'NutrientContainer',  props: {    imageFile: {      type: String,      required: true,    },  },  mounted() {    this.loadNutrient().then((instance) => {      this.$emit('loaded', instance);    });  },  watch: {    imageFile(val) {      if (val) {        this.loadNutrient();      }    },  },  methods: {    async loadNutrient() {      import('@nutrient-sdk/viewer').then((Nutrient) => {        Nutrient.unload('.image-container');        return Nutrient.load({          document: this.imageFile,          container: '.image-container',          baseUrl: 'http://localhost:3000/js/nutrient/',        });      });    },  },};</script>
<style scoped>.image-container {  height: 100vh;}</style>
Step 6 — Use the component on the homepage
Create pages/index.vue and add the following:
<template>  <div id="app">    <label for="file-upload" class="custom-file-upload">      Open Image    </label>    <input      id="file-upload"      type="file"      @change="openDocument"      class="btn"    />    <NutrientContainer      :imageFile="imageFile"      @loaded="handleLoaded"    />  </div></template>
<script>import NutrientContainer from '../components/NutrientContainer.vue';
export default {  name: 'app',  components: {    NutrientContainer,  },  data() {    return {      imageFile: '/image.png',    };  },  methods: {    handleLoaded(instance) {      console.log('Nutrient loaded:', instance);    },    openDocument(event) {      if (this.imageFile && this.imageFile.startsWith('blob:')) {        window.URL.revokeObjectURL(this.imageFile);      }      this.imageFile = window.URL.createObjectURL(        event.target.files[0],      );    },  },};</script>
<style>#app {  font-family: Avenir, Helvetica, Arial, sans-serif;  text-align: center;  color: #2c3e50;  margin: 0;}
input[type='file'] {  display: none;}
.custom-file-upload {  border: 1px solid #ccc;  border-radius: 4px;  padding: 10px 12px;  cursor: pointer;  background: #4a8fed;  color: #fff;  font-size: 16px;  font-weight: bold;}</style>
Step 7 — Run the application
Start the development server:
npm run devVisit http://localhost:3000 in your browser, where you’ll see the image rendered in the Nutrient viewer.
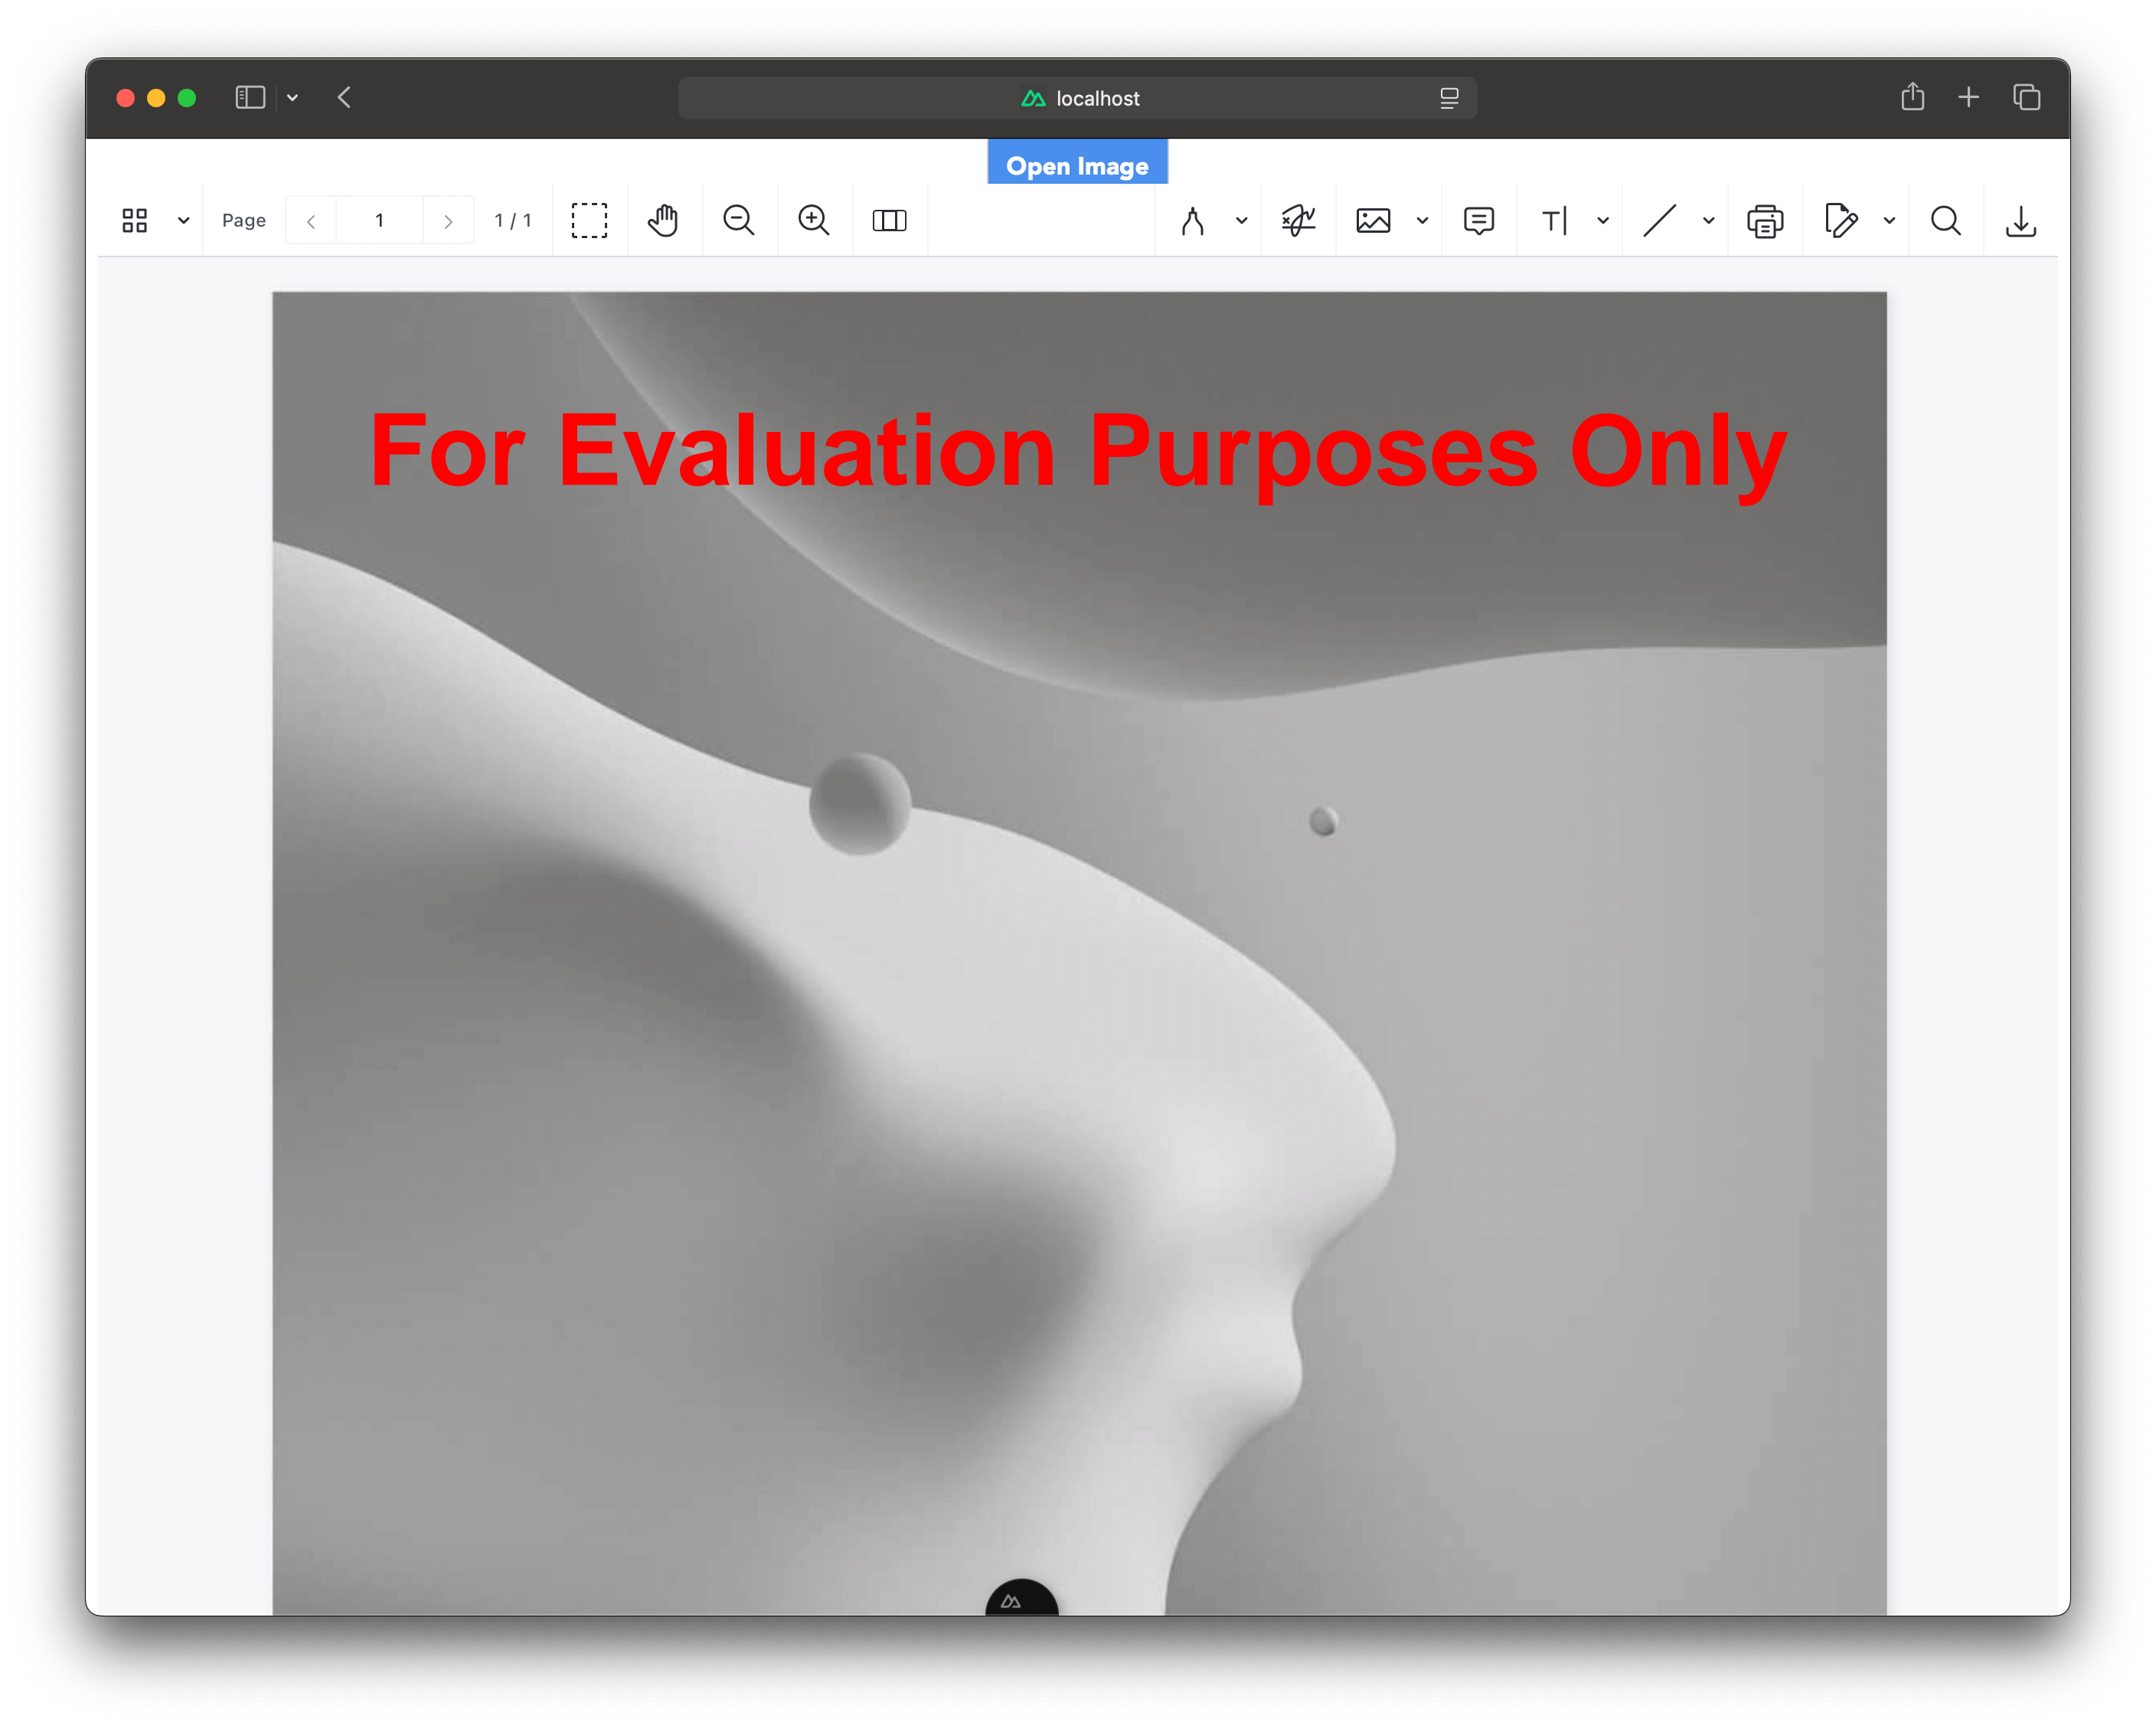
In the demo application, you can open different image files by clicking the Open Image button. You can add signatures, annotations, stamps, and more.
You can find the example on GitHub(opens in a new tab).
Adding even more capabilities
Once you’ve deployed your viewer, you can start customizing it to meet your specific requirements or easily add more capabilities. To help you get started, here are some of our most popular Nuxt.js guides:
- Adding annotations
- Editing documents
- Filling PDF forms
- Adding signatures to documents
- Real-time collaboration
- Redaction
- UI customization
Conclusion
You now have a fully working Nuxt.js image viewer powered by Nutrient Web SDK. From here, you can explore advanced features like annotations, redactions, UI customization, or even real-time collaboration using our SDK guides.
You can also integrate our JavaScript image viewer using web frameworks like Angular and React.js. To see a list of all web frameworks, start your free trial. Or, launch our demo(opens in a new tab) to see our viewer in action.
FAQ
Nutrient Web SDK is a JavaScript library for viewing, annotating, editing, and signing PDF and image documents entirely in the browser using WebAssembly.
Yes. Nutrient Web SDK works with Nuxt.js and other Vue-based frameworks. You just need to expose the viewer assets and load the SDK dynamically on the client side.
You can customize the toolbar, theme, layout, and available tools using the SDK’s configuration options or by writing your own UI layer.
Absolutely. Nutrient supports PDF, JPG, PNG, and TIFF formats, among others. You can display both images and multipage PDFs using the same viewer.
Nutrient offers a free trial and paid licenses for production use.