



How to build a TypeScript PDF viewer with PDF.js

Table of contents

This tutorial compares two approaches for building a TypeScript PDF viewer: Mozilla’s PDF.js (open source) and Nutrient Web SDK (commercial). The PDF.js implementation requires setting up a TypeScript project with webpack, installing PDF.js, and rendering PDFs to a canvas element. The Nutrient SDK provides a complete UI with 30+ features, including annotations, text editing, and signatures. Choose PDF.js for simple viewing needs with full control over implementation, or Nutrient SDK for production-ready functionality without building the interface yourself.
In this tutorial, we’ll show how to build a TypeScript PDF viewer with PDF.js(opens in a new tab), one of the most popular open source libraries for rendering PDF files in the browser.
Developers prefer TypeScript(opens in a new tab) for its type safety. As a superset of JavaScript, TypeScript adds static typing, enabling you to catch errors at compile time rather than run time.
The first part of this tutorial will walk through how to render a PDF in the browser with PDF.js and TypeScript. The result is a basic viewer that displays PDF pages on a canvas — you’ll need to build navigation, zoom controls, and any interactive features yourself.
In the second part, you’ll build a PDF viewer with the Nutrient TypeScript PDF library. Nutrient provides a complete viewer with a working UI, rather than a rendering foundation you build on top of.
Nutrient includes features you’d otherwise need to implement yourself:
- A ready-to-use UI with page navigation, zoom, search, and thumbnails
- 15+ annotation tools (highlights, comments, signatures) without additional code
- Text editing, page manipulation, and form filling built in
- Support for MS Office and image files, not just PDFs
Requirements
To get started, you’ll need:
- Node.js(opens in a new tab)
- A package manager for installing the Nutrient library. You can use npm(opens in a new tab) or Yarn(opens in a new tab). When you install Node.js,
npmis installed by default. - TypeScript
You can install(opens in a new tab) TypeScript globally by running the following command:
npm install -g typescriptBuilding a TypeScript PDF viewer with PDF.js
PDF.js is a JavaScript library built by Mozilla, and it enables you to create a full-featured PDF viewer in the browser using JavaScript and the HTML5 <canvas>(opens in a new tab) element. You can integrate PDF.js with different JavaScript frameworks and libraries like React, Angular, and Vue.js.
Getting started
Create a new folder on your computer and change your directory to the project:
Terminal window mkdir typescript-pdf-viewercd typescript-pdf-viewerNext, run
npm init --yesto create apackage.jsonfile.Create a new
tsconfig.jsonconfiguration file at the root of your project:
tsc --initYou can customize the rules you want the TypeScript compiler to follow. Here’s an example configuration:
{ "compilerOptions": { "target": "esnext", "module": "es6", "esModuleInterop": true, "forceConsistentCasingInFileNames": true, "strict": true, "skipLibCheck": true, "removeComments": true, "preserveConstEnums": true, "sourceMap": true, "noImplicitAny": true, "strictNullChecks": true, "moduleResolution": "node" }, "include": ["src/**/*"]}With this configuration, the compiled JavaScript code will target the latest version of ECMAScript standards for JavaScript, and it’ll use the ES6 import and export modules. The include array tells TypeScript to compile everything in the src folder.
Installing PDF.js and configuring webpack
You’ll use webpack(opens in a new tab) to bundle your project. Start by installing the necessary
devdependencies:Terminal window npm i -D webpack webpack-cli webpack-dev-server ts-loader typescript html-webpack-plugin cross-env copy-webpack-plugin clean-webpack-pluginHere’s what’s installed:
webpack— The webpack bundler.webpack-cli— Command-line interface for webpack.webpack-dev-server— A local server to run webpack in the browser with live reloading.ts-loader— A package that teaches webpack how to compile TypeScript.typescript— The TypeScript compiler.clean-webpack-plugin— A plugin that cleans the output directory before building.copy-webpack-plugin— A plugin that copies files and directories to the output directory.html-webpack-plugin— A plugin that generates an HTML file from a template.cross-env— A package that allows you to set environment variables.
After the installation, your
package.jsonfile will look like this:"devDependencies": {"clean-webpack-plugin": "^4.0.0","copy-webpack-plugin": "^12.0.2","cross-env": "^7.0.3","html-webpack-plugin": "^5.6.0","ts-loader": "^9.5.1","typescript": "^5.6.3","webpack": "^5.95.0","webpack-cli": "^5.1.4","webpack-dev-server": "^5.1.0"},Now, configure webpack by creating a
webpack.config.jsfile at the root of your project. This will define how your project is built:webpack.config.js const path = require('path');const HtmlWebpackPlugin = require('html-webpack-plugin');const CopyWebpackPlugin = require('copy-webpack-plugin');const CleanPlugin = require('clean-webpack-plugin');module.exports = {entry: path.resolve(__dirname, './src/index.ts'),output: {path: path.resolve(__dirname, 'dist'),filename: '[name].js',},devtool: 'inline-source-map',mode: 'development',module: {rules: [// All files with a `.ts` or `.tsx` extension will be handled by `ts-loader`.{test: /\.tsx?$/,use: { loader: 'ts-loader' },exclude: /node_modules/,},{test: /\.mjs$/,include: /node_modules/,type: 'javascript/auto',},],},resolve: {extensions: ['.ts', '.tsx', '.js'],},plugins: [new CleanPlugin.CleanWebpackPlugin(),// Automatically insert <script src="[name].js"></script> into the page.new HtmlWebpackPlugin({template: './src/index.html',}),// Copy the PDF file and PDF.js worker to the output path.new CopyWebpackPlugin({patterns: [{from: './src/example.pdf',to: './example.pdf',},{from: './node_modules/pdfjs-dist/build/pdf.worker.mjs',to: './main.worker.js',},],}),],};This configuration specifies that your entry point is
src/index.ts, and the output will be placed in thedistfolder. The.mjsrule is important for handling the PDF.js worker, and you’re copying both the PDF file and the worker to the output directory.Install
pdfjs-distas a dependency:
npm install pdfjs-distSince pdfjs-dist provides its own type definitions, you don’t need to install extra TypeScript typings.
Rendering a PDF
After setting up the project with webpack and TypeScript, you can start using PDF.js.
Create the
srcdirectory, and inside it, create anindex.htmlfile:Terminal window mkdir src && touch src/index.htmlIn the
index.htmlfile, add a<canvas>element where the PDF will be rendered:<!DOCTYPE html><html lang="en"><head><title>PDF.js Example</title></head><body><canvas id="pdf"></canvas></body></html>Now, create an
index.tsfile inside thesrcdirectory. This file will contain the logic for rendering the PDF:
import * as pdfjsLib from 'pdfjs-dist';
pdfjsLib.GlobalWorkerOptions.workerSrc = './main.worker.js';
(async () => {  const loadingTask = pdfjsLib.getDocument('example.pdf');  const pdf = await loadingTask.promise;
  // Load the first page.  const page = await pdf.getPage(1);
  const scale = 1;  const viewport = page.getViewport({ scale });
  // Set the canvas dimensions.  const canvas = document.getElementById('pdf') as HTMLCanvasElement;  const context = canvas.getContext('2d');  canvas.height = viewport.height;  canvas.width = viewport.width;
  // Render the page into the canvas.  const renderContext = {    canvasContext: context!,    viewport: viewport,    canvas: canvas,  };  await page.render(renderContext);  console.log('Page rendered!');})();
Running the project
Add some scripts to your
package.jsonfile to build and run the project:"scripts": {"build": "cross-env NODE_ENV=production webpack --config webpack.config.js","dev": "webpack serve --config webpack.config.js","start": "serve -l 8080 ./dist"}Place the PDF file (
example.pdf) in thesrcdirectory before running the project.To run the project:
- For development with live reloading, use:
npm run dev- To serve the built files, use:
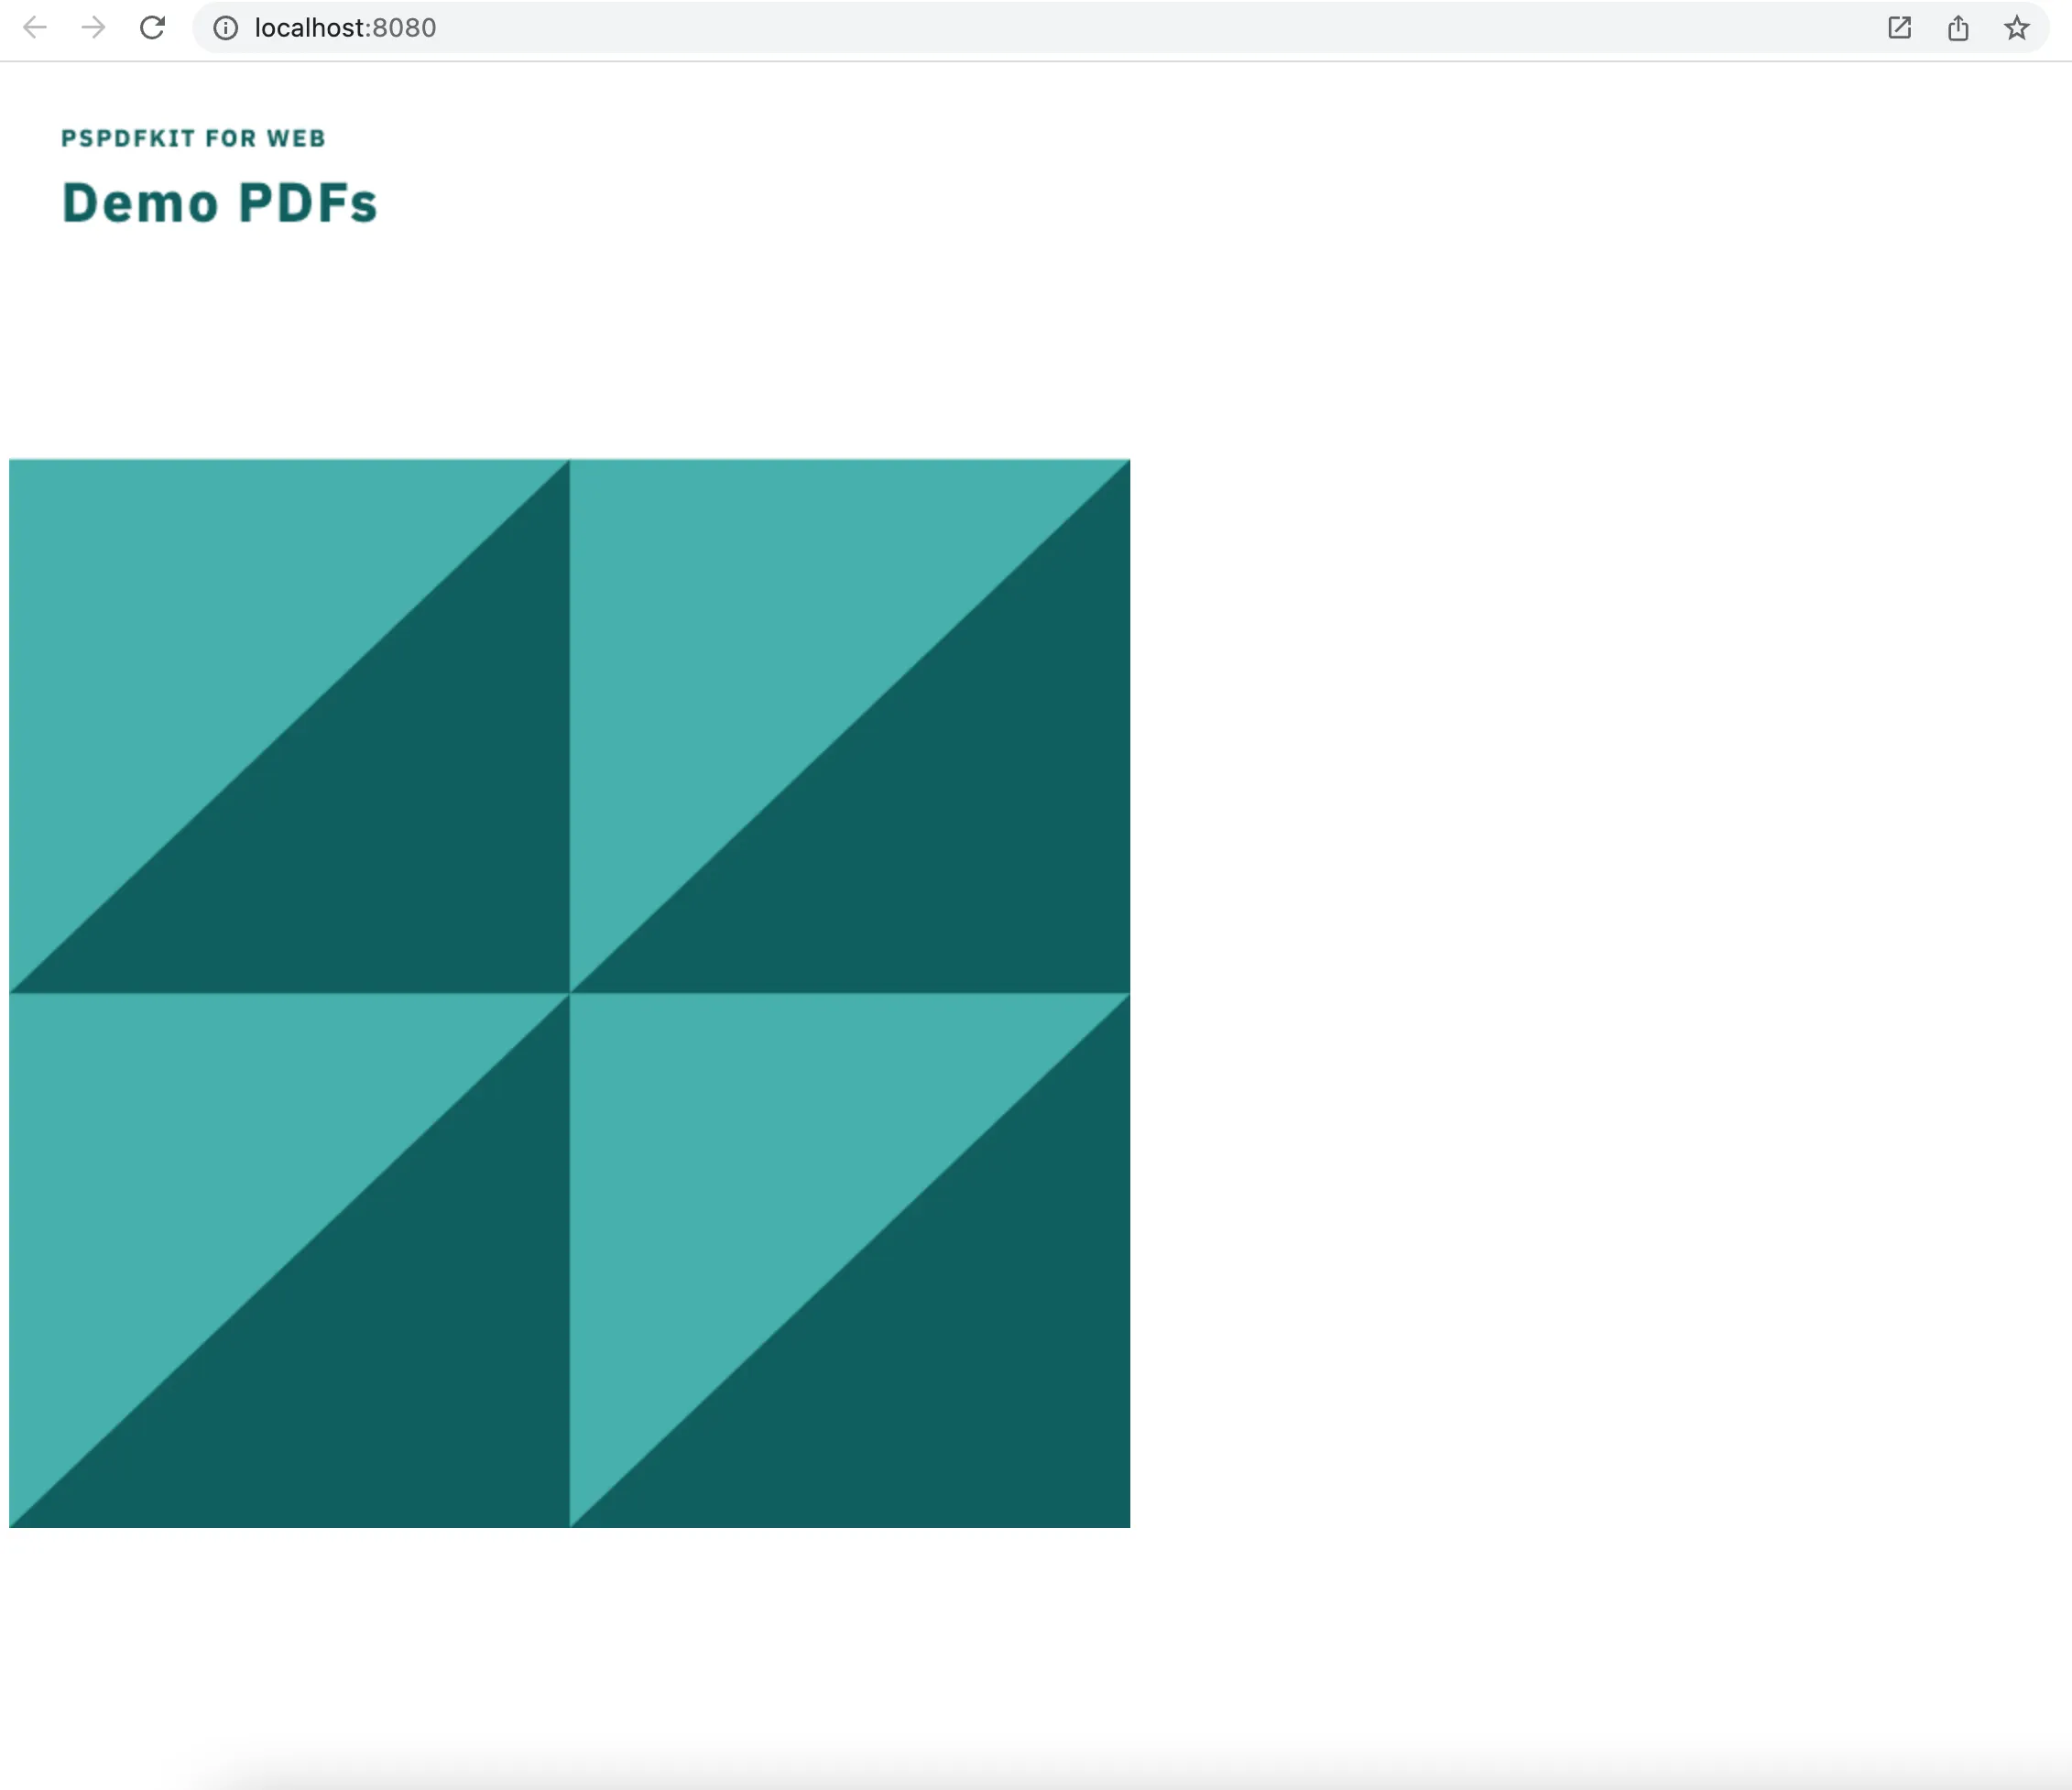
npm startNavigate to http://localhost:8080 to see the PDF rendered in your browser!
You can access the full code on GitHub(opens in a new tab).
At this point, you have a working PDF renderer. To build a complete viewer, you’d still need to implement page navigation, zoom controls, text selection, search, and any annotation features your users expect. PDF.js provides the rendering engine; the UI and interaction layer is up to you.
Building a TypeScript PDF viewer with Nutrient
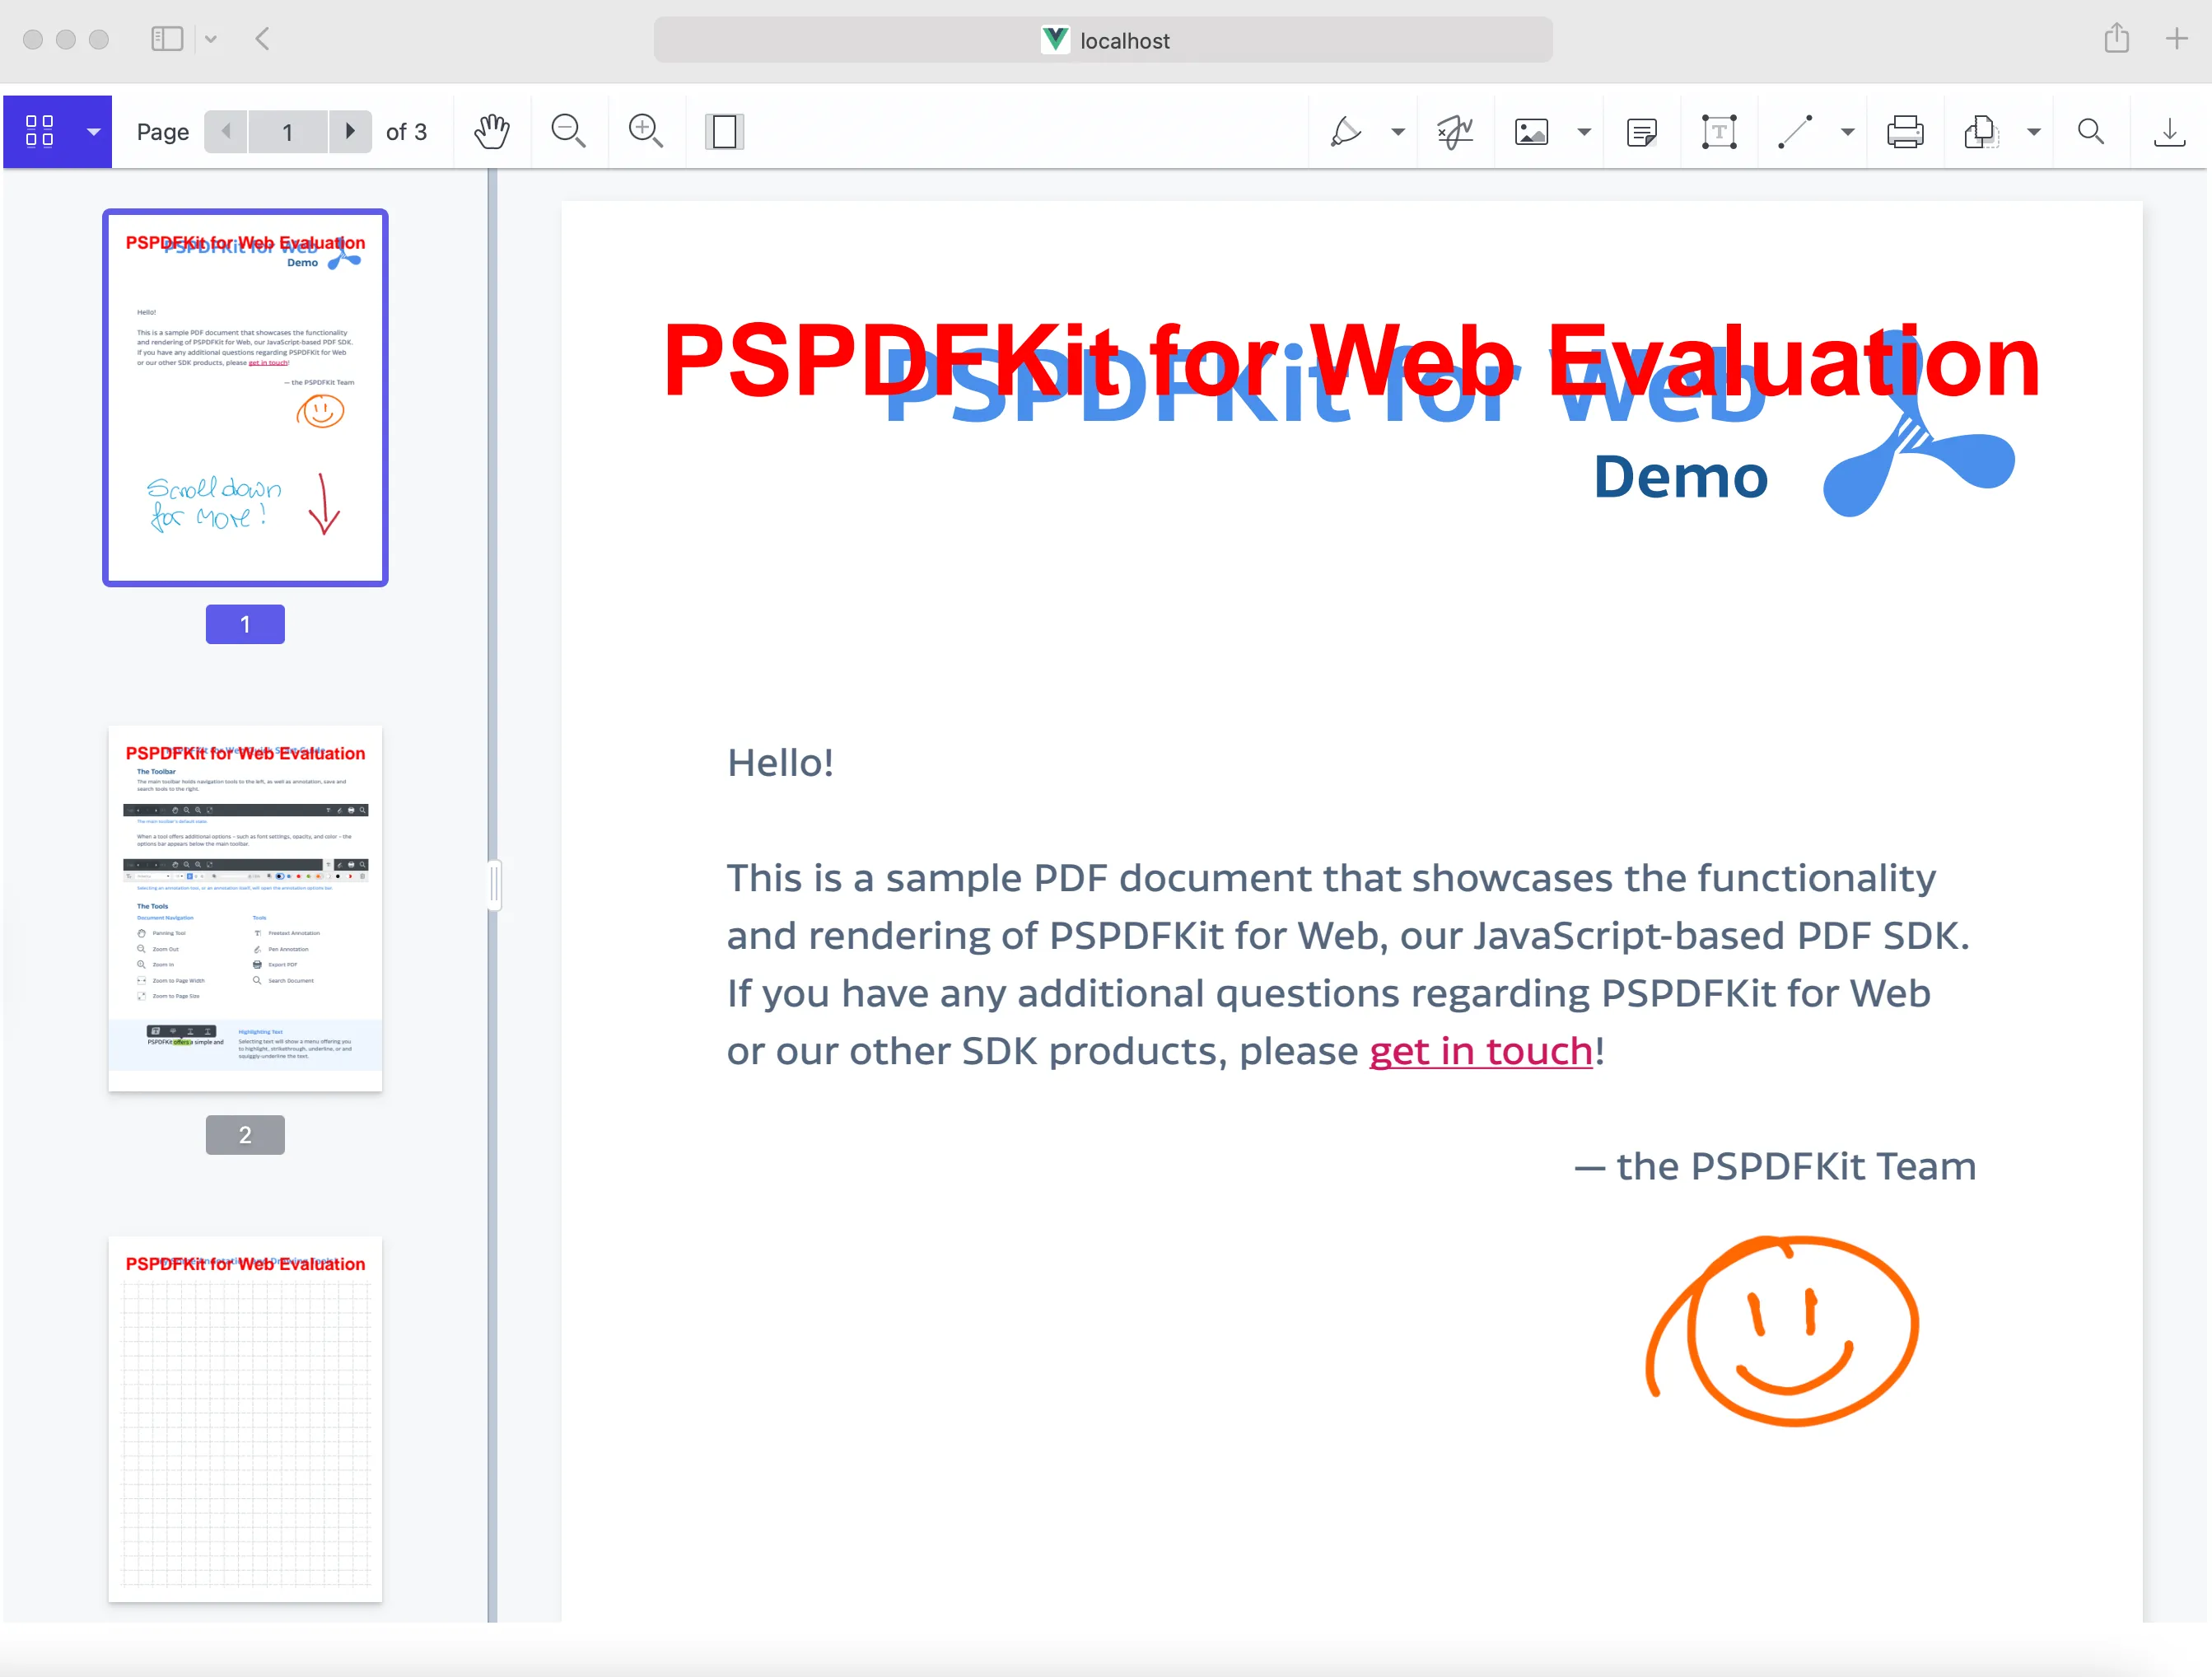
Nutrient provides a complete viewer component rather than a rendering library. The setup is similar (install a package, configure webpack, mount the viewer), but the result includes a full UI with navigation, zoom, search, annotations, and form filling already working.
Getting started
Create a new folder and change your directory to it:
Terminal window mkdir typescript-nutrient-viewercd typescript-nutrient-viewerSimilar to what you did above, create a
package.jsonfile by runningnpm init --yes.Create a
tsconfig.jsonfile and use the following configuration:
{ "compilerOptions": { "removeComments": true, "preserveConstEnums": true, "module": "commonjs", "target": "es5", "sourceMap": true, "noImplicitAny": true, "esModuleInterop": true }, "include": ["src/**/*"]}Installing Nutrient and configuring webpack
Install the Nutrient Web SDK library as a dependency with
npmoryarn:Terminal window npm install @nutrient-sdk/viewerInstall the necessary dependencies for webpack, create a
configdirectory, and place yourwebpackconfiguration file inside it:Terminal window mkdir config && touch config/webpack.jsIf you’re using webpack 4, use the example file(opens in a new tab). If you’re using the latest version of webpack — currently
^5.72.0(opens in a new tab) — use the following configuration:
const path = require('path');const HtmlWebpackPlugin = require('html-webpack-plugin');const CopyWebpackPlugin = require('copy-webpack-plugin');
const filesToCopy = [  // Nutrient files.  {    from: './node_modules/@nutrient-sdk/viewer/dist/nutrient-viewer-lib',    to: './nutrient-viewer-lib',  },  // Application CSS.  {    from: './src/index.css',    to: './index.css',  },  // Example PDF.  {    from: './assets/example.pdf',    to: './example.pdf',  },];
/** * webpack main configuration object. */const config = {  entry: path.resolve(__dirname, '../src/index.ts'),  mode: 'development',  devtool: 'inline-source-map',  output: {    path: path.resolve(__dirname, '../dist'),    filename: '[name].js',  },  resolve: {    extensions: ['.ts', '.tsx', '.js'],  },  module: {    rules: [      // All files with a `.ts` or `.tsx` extension will be handled by `ts-loader`.      {        test: /\.tsx?$/,        loader: 'ts-loader',        exclude: /node_modules/,      },    ],  },  plugins: [    // Automatically insert <script src="[name].js"></script> into the page.    new HtmlWebpackPlugin({      template: './src/index.html',    }),
    // Copy the WASM/ASM and CSS files to the `output.path`.    new CopyWebpackPlugin({ patterns: filesToCopy }),  ],
  optimization: {    splitChunks: {      cacheGroups: {        // Creates a `vendor.js` bundle that contains external libraries (including `nutrient-viewer.js`).        vendor: {          test: /node_modules/,          chunks: 'initial',          name: 'vendor',          priority: 10,          enforce: true,        },      },    },  },};
module.exports = config;
Displaying the PDF
Add the PDF document you want to display to the
assetsdirectory. You can use our demo document as an example.Create an
index.htmlfile inside thesrcdirectory and add the following code:<!DOCTYPE html><html><head><title>Nutrient Web SDK — TypeScript example</title><link rel="stylesheet" href="index.css" /></head><body><div class="container"></div></body></html>This adds an empty
<div>element to where Nutrient will be mounted.Declare the height of this element in your CSS file like this:
.container {height: 100vh;}Now, create an
index.tsfile inside thesrcdirectory:
import NutrientViewer from '@nutrient-sdk/viewer';
function load(document: string) {  console.log(`Loading ${document}...`);  NutrientViewer.load({    document,    container: '.container',  })    .then((instance) => {      console.log('Nutrient loaded', instance);    })    .catch(console.error);}
load('example.pdf');
Here, you’ve imported the NutrientViewer library and created a function that loads the PDF document.
Running the project
Now, write some scripts in the
package.jsonfile to start your server:"scripts": {"build": "cross-env NODE_ENV=production webpack --config config/webpack.js","prestart": "npm run build","dev": "tsc","start": "serve -l 8080 ./dist"},Run
npm startto start the server. Navigate tohttp://localhost:8080to see the contents of thedistdirectory.
Opening different PDF files
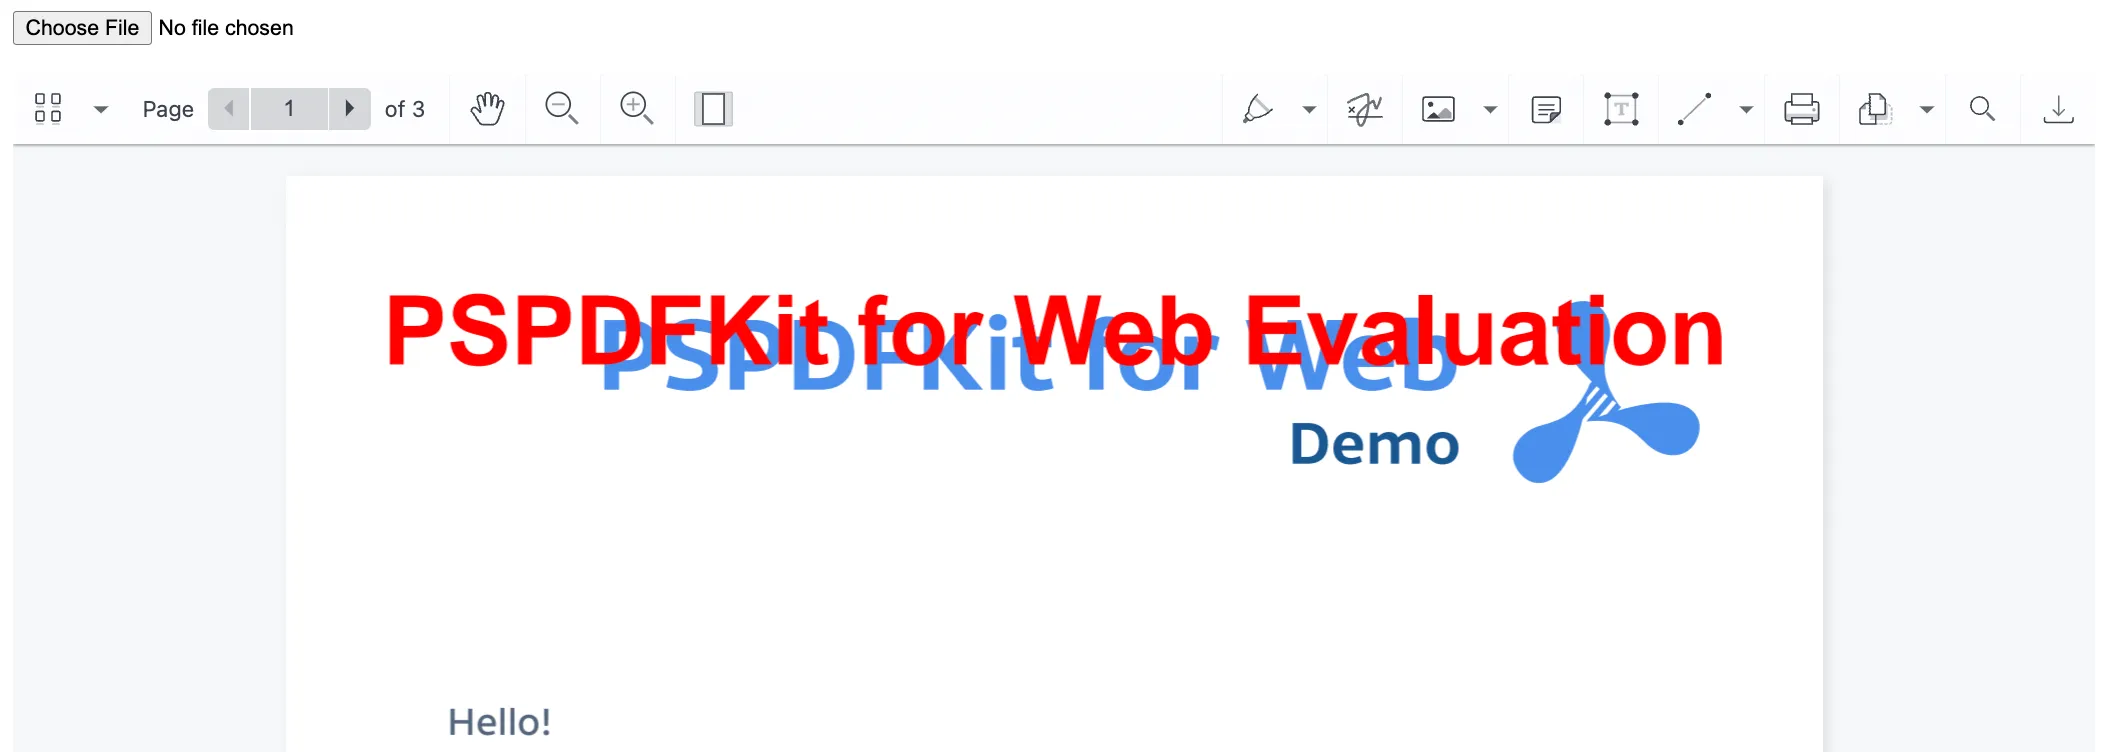
The current viewer is loading the PDF file you have in the assets/example.pdf file. But you can also open different PDF files by adding an input field with the file type on the index.html file:
<div>  <input type="file" class="chooseFile" accept="application/pdf" /></div>
<div class="container"></div>
Now, go to the index.ts file and add the following code:
interface HTMLInputEvent extends Event {  target: HTMLInputElement & EventTarget;}
let objectUrl = '';
document.addEventListener('change', function (event: HTMLInputEvent) {  if (    event.target &&    event.target.className === 'chooseFile' &&    event.target.files instanceof FileList  ) {    NutrientViewer.unload('.container');
    if (objectUrl) {      URL.revokeObjectURL(objectUrl);    }
    objectUrl = URL.createObjectURL(event.target.files[0]);    load(objectUrl);  }});
Here, you’ve added a change event listener to the <input> element. When the user selects a file, you’ll unload the current PDF and load the new one.
If you want to learn how to add annotations to your application, check out the blog post on how to open and annotate PDFs in a TypeScript app. You can see the example project with annotation support on GitHub(opens in a new tab).
Adding even more capabilities
After deploying your viewer, you can customize it or add more capabilities. Here are some popular TypeScript guides:
- Adding annotations
- Editing documents
- Filling PDF forms
- Adding signatures to documents
- Real-time collaboration
- Redaction
- UI customization
Conclusion
Both approaches produce a TypeScript PDF viewer, but with different outcomes. PDF.js gives you a rendering foundation. You control every aspect of the UI, but you build it yourself. Nutrient gives you a working viewer from the start, with less control over the underlying rendering.
PDF.js works well when you need basic PDF display and want full customization. Nutrient works well when you need annotations, form filling, or document editing without building those features yourself. For a full comparison between the two, see Nutrient as a PDF.js alternative.
We created similar how-to blog posts using different web frameworks and libraries:
- How to build an Angular PDF viewer with PDF.js
- How to build a Vue.js PDF viewer with PDF.js
- How to build a React PDF viewer with PDF.js
- How to build a Bootstrap 5 PDF viewer with PDF.js
- How to build an Electron PDF viewer with PDF.js
- How to build a jQuery PDF viewer with PDF.js
- How to build a JavaScript PDF viewer with PDF.js
To get started with our TypeScript PDF viewer, try it for free, or launch our web demo.
FAQ
- Set up a project with Node.js, TypeScript, and webpack. 2. Install and configure PDF.js. 3. Render a PDF file in a
canvaselement using TypeScript.
Nutrient Web SDK offers a prebuilt UI, annotation tools, document editing capabilities, support for various file types, and dedicated engineering support.
- Create a new project folder and set up the project with Node.js and TypeScript. 2. Install Nutrient and configure webpack. 3. Integrate Nutrient into your application to display and interact with PDF documents.
You can access the full code for the PDF.js example on GitHub(opens in a new tab) and the Nutrient example on GitHub(opens in a new tab).