Add PDF functionality with MAUI
This guide walks you through the steps necessary to integrate Nutrient MAUI SDK into your desktop or mobile project. By the end, you’ll be able to present a PDF document in the Nutrient user interface (UI).
Requirements
- For developing on Windows, you need Visual Studio 2022 17.3 or greater. For more information, refer to the guide for prerequisites for MAUI installation on Windows(opens in a new tab).
- For developing on a Mac, you need Visual Studio Code. For more information, refer to the guide for prerequisites for MAUI installation on Mac(opens in a new tab).
Creating a new project
If you already have an existing MAUI project, skip to the step for adding the Nutrient dependency to your project. Otherwise, create a new one by following the steps below.
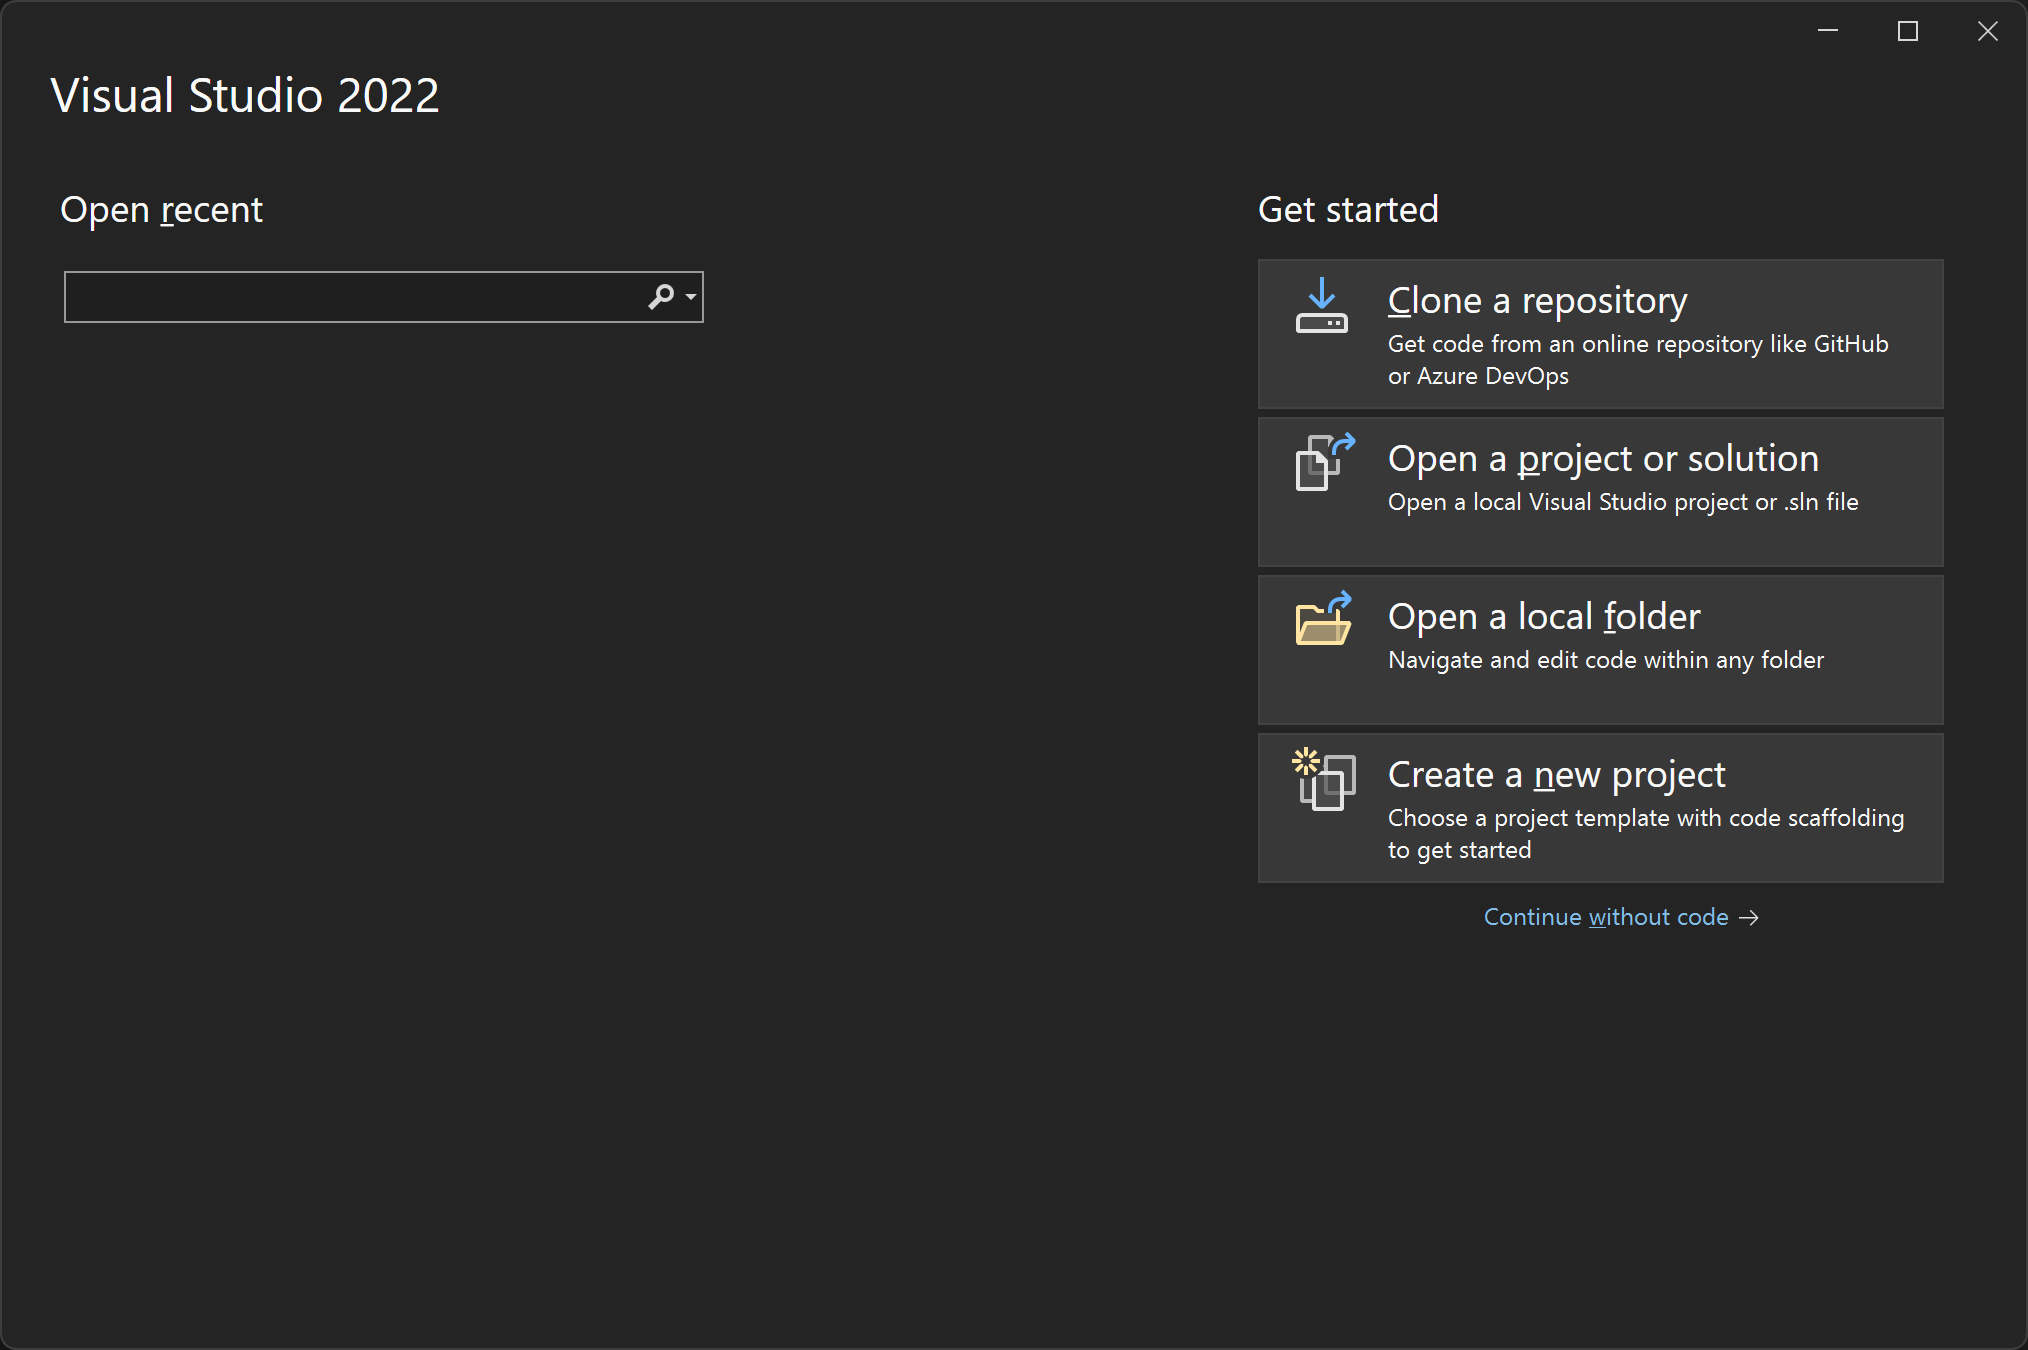
Open Visual Studio and select Create a new project.
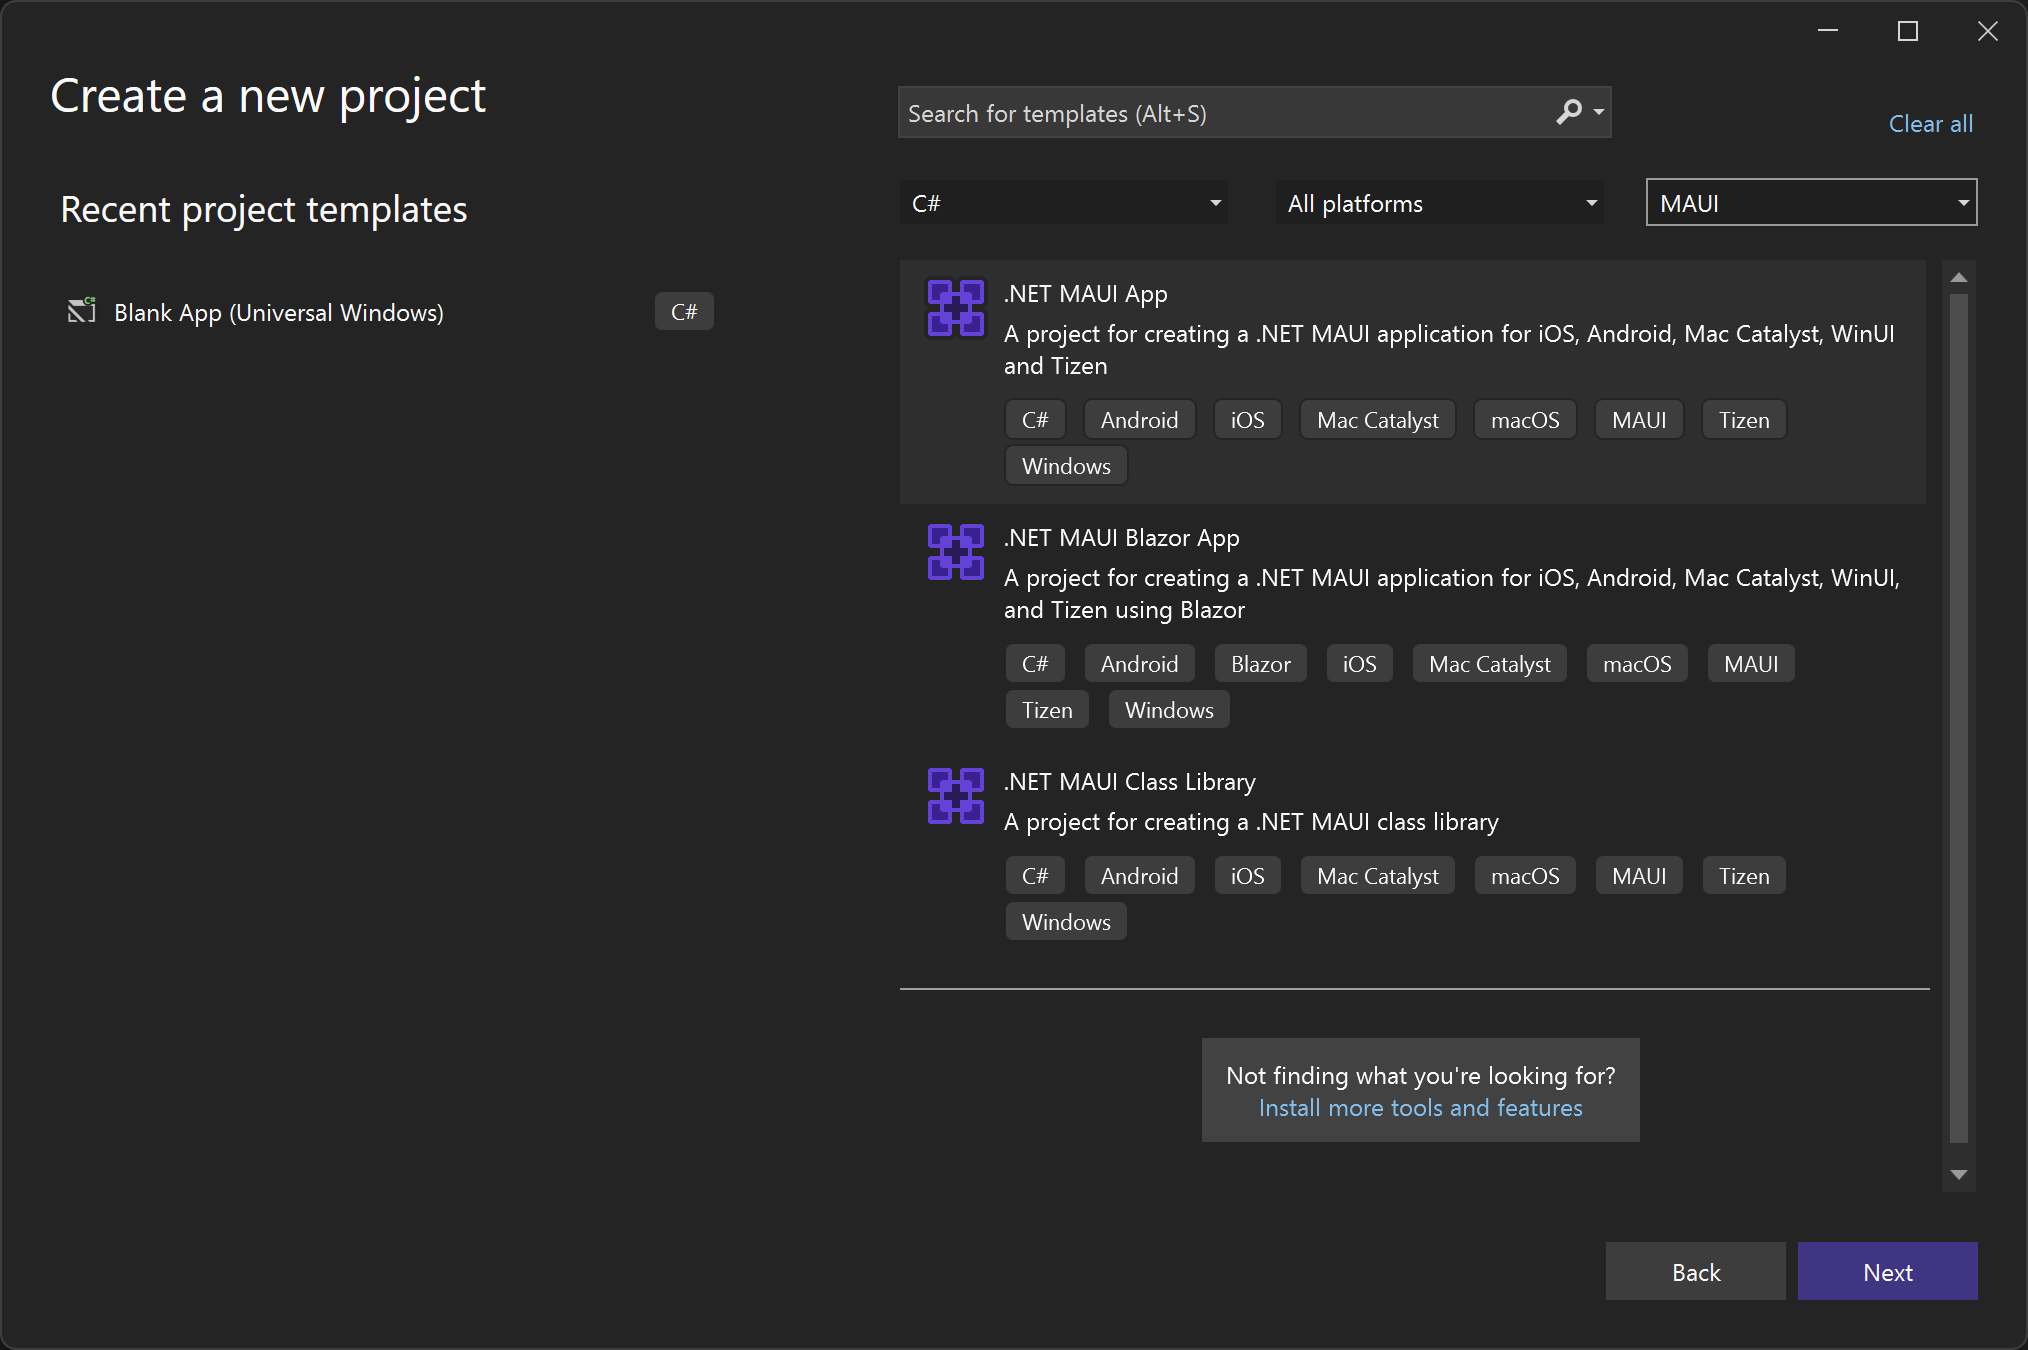
In the new project wizard, select .NET MAUI App and click Next.
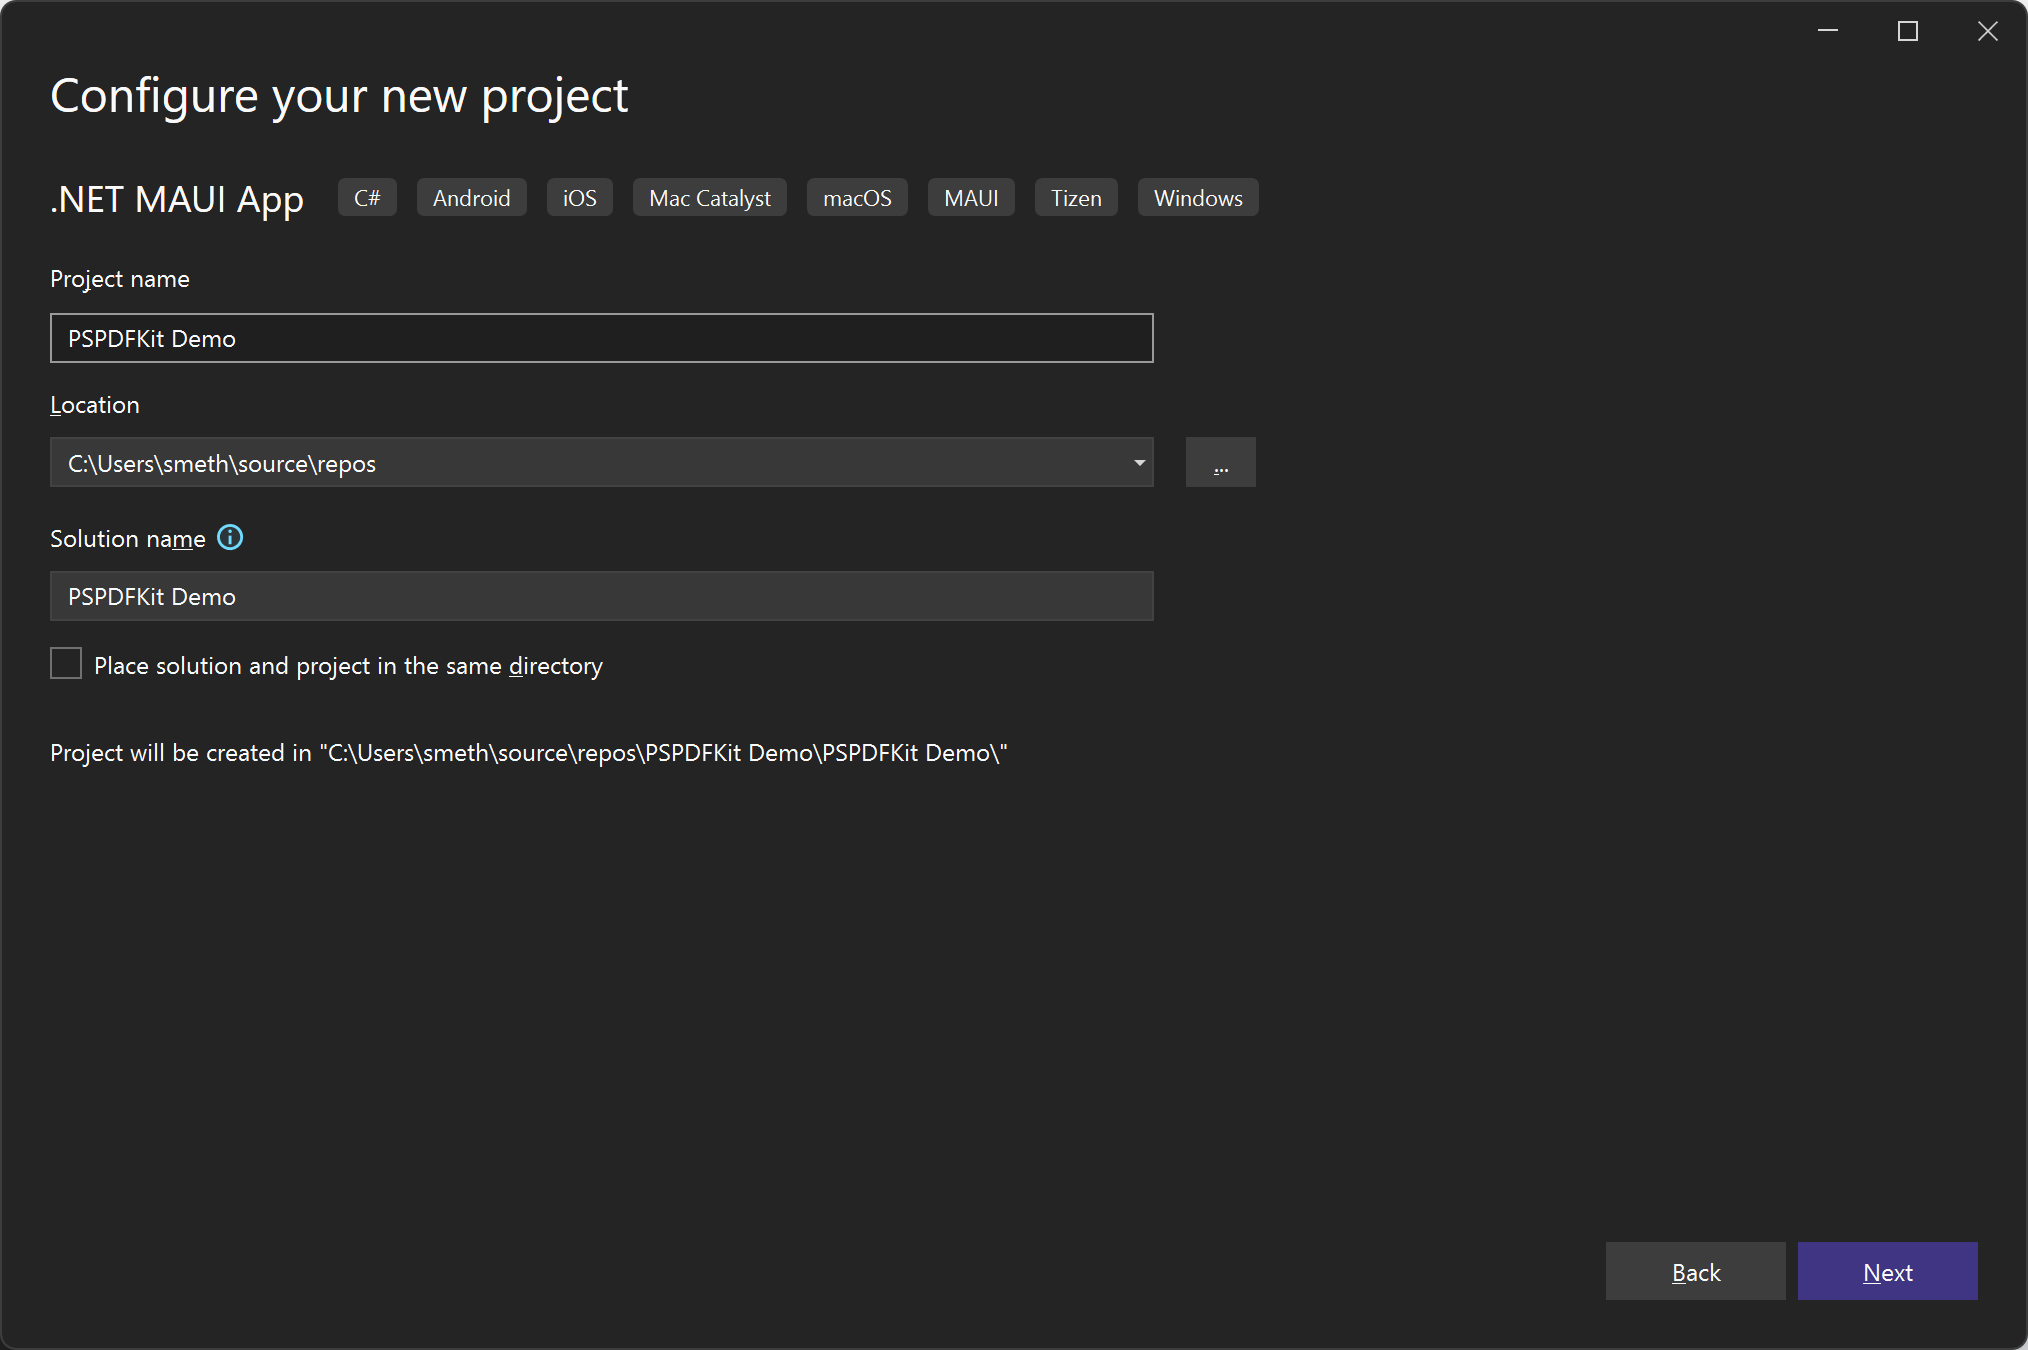
Configure your project by setting the name and location, as shown in the image below.
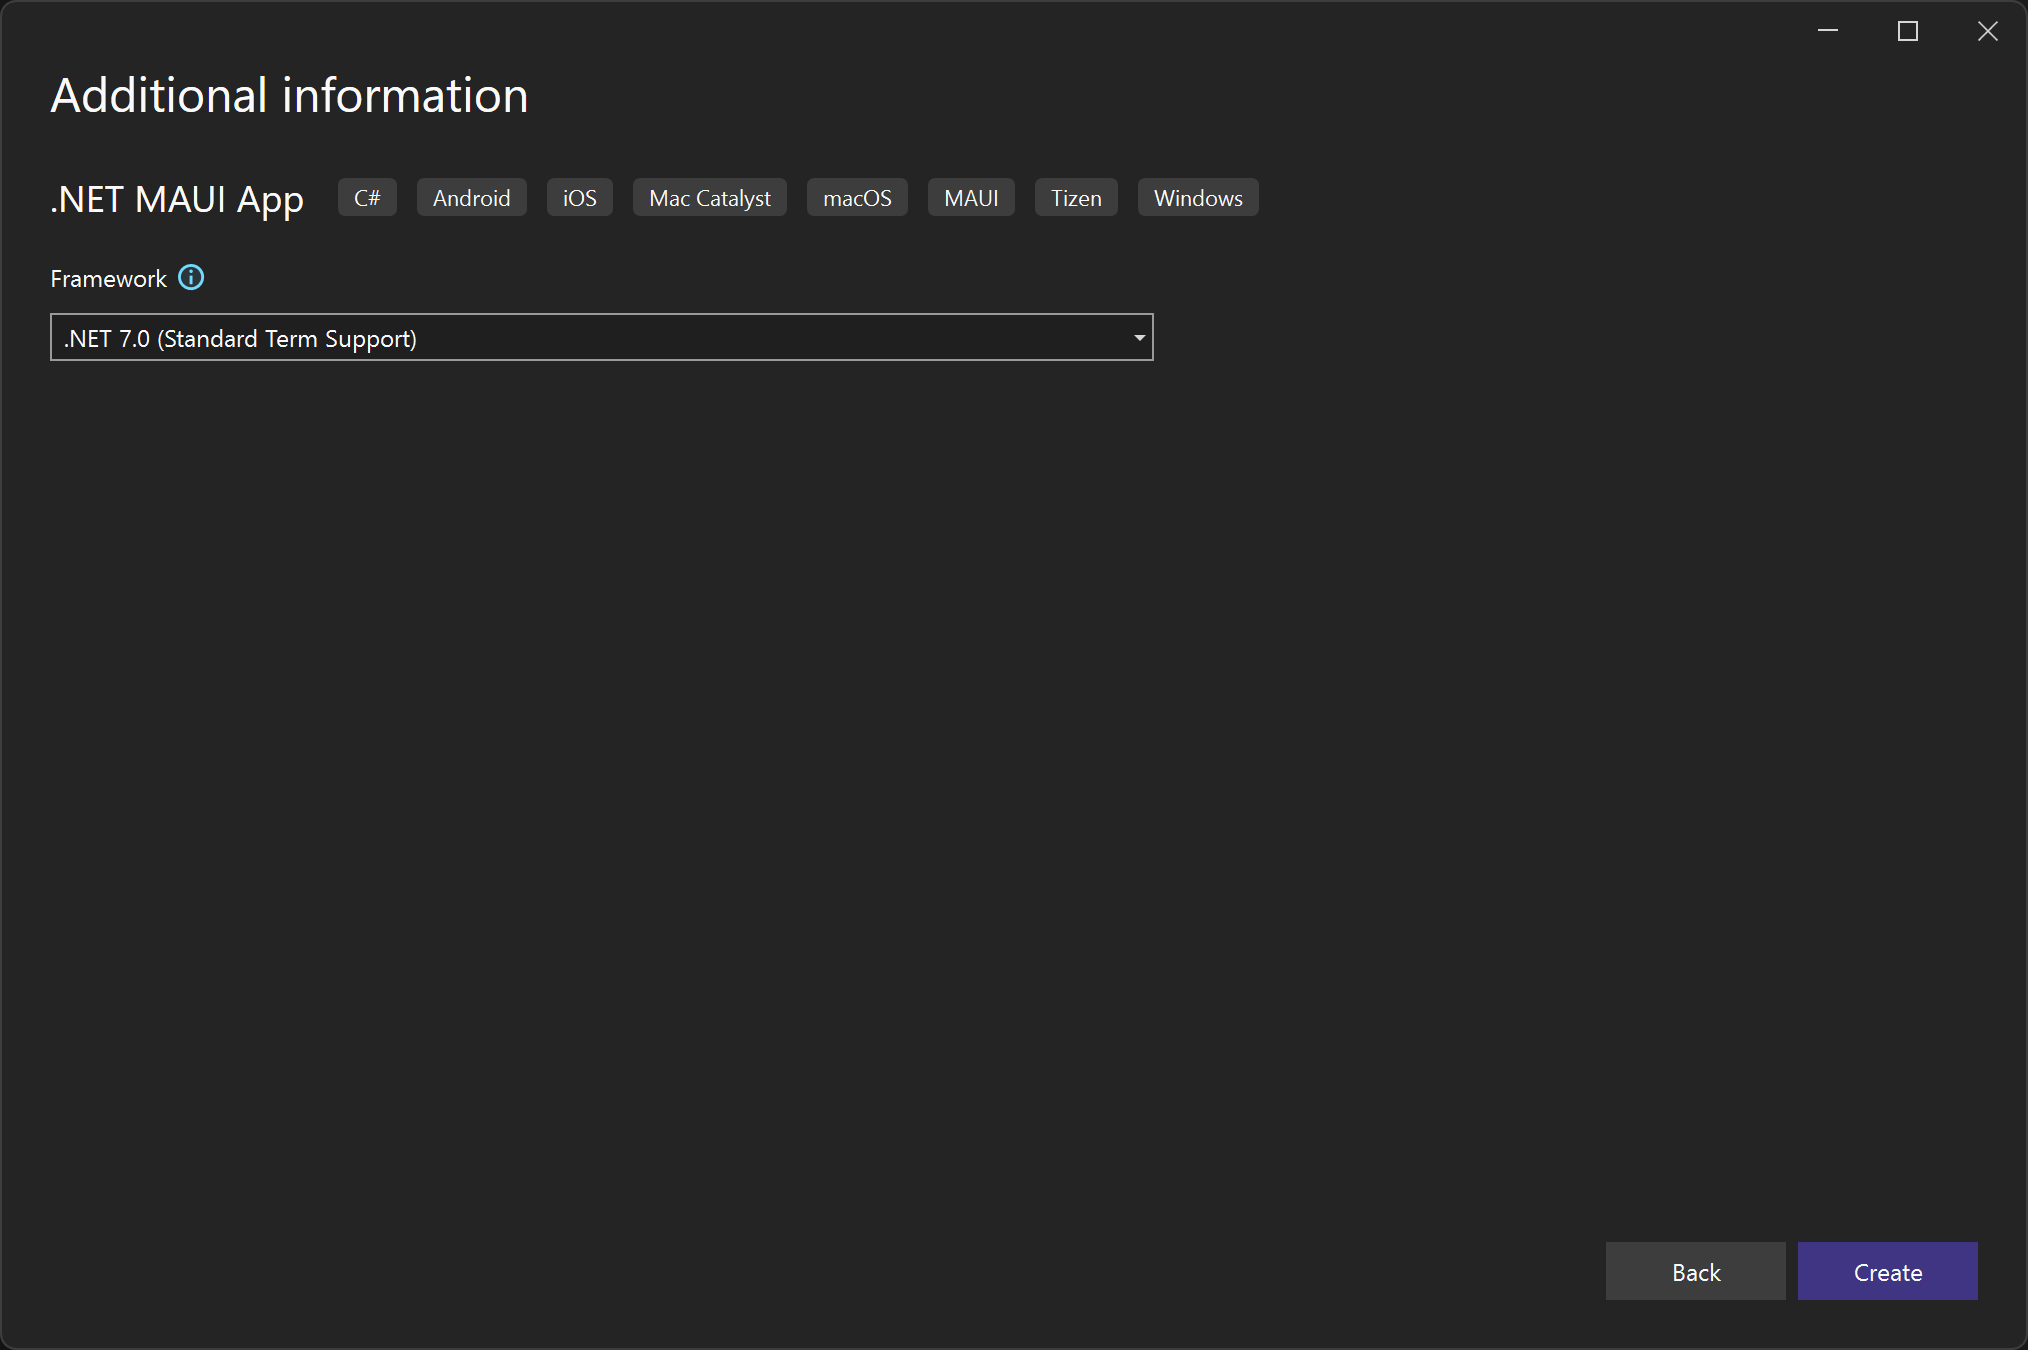
Specify the target framework. This example uses the default.
Open a terminal and run the following command to create a new MAUI project:
Terminal window dotnet new maui -n "Nutrient Demo"Navigate to the project directory:
Terminal window cd "Nutrient Demo"
Adding the Nutrient dependency to your project
Double-click the project name to access the project file. It’ll look similar to the image below.
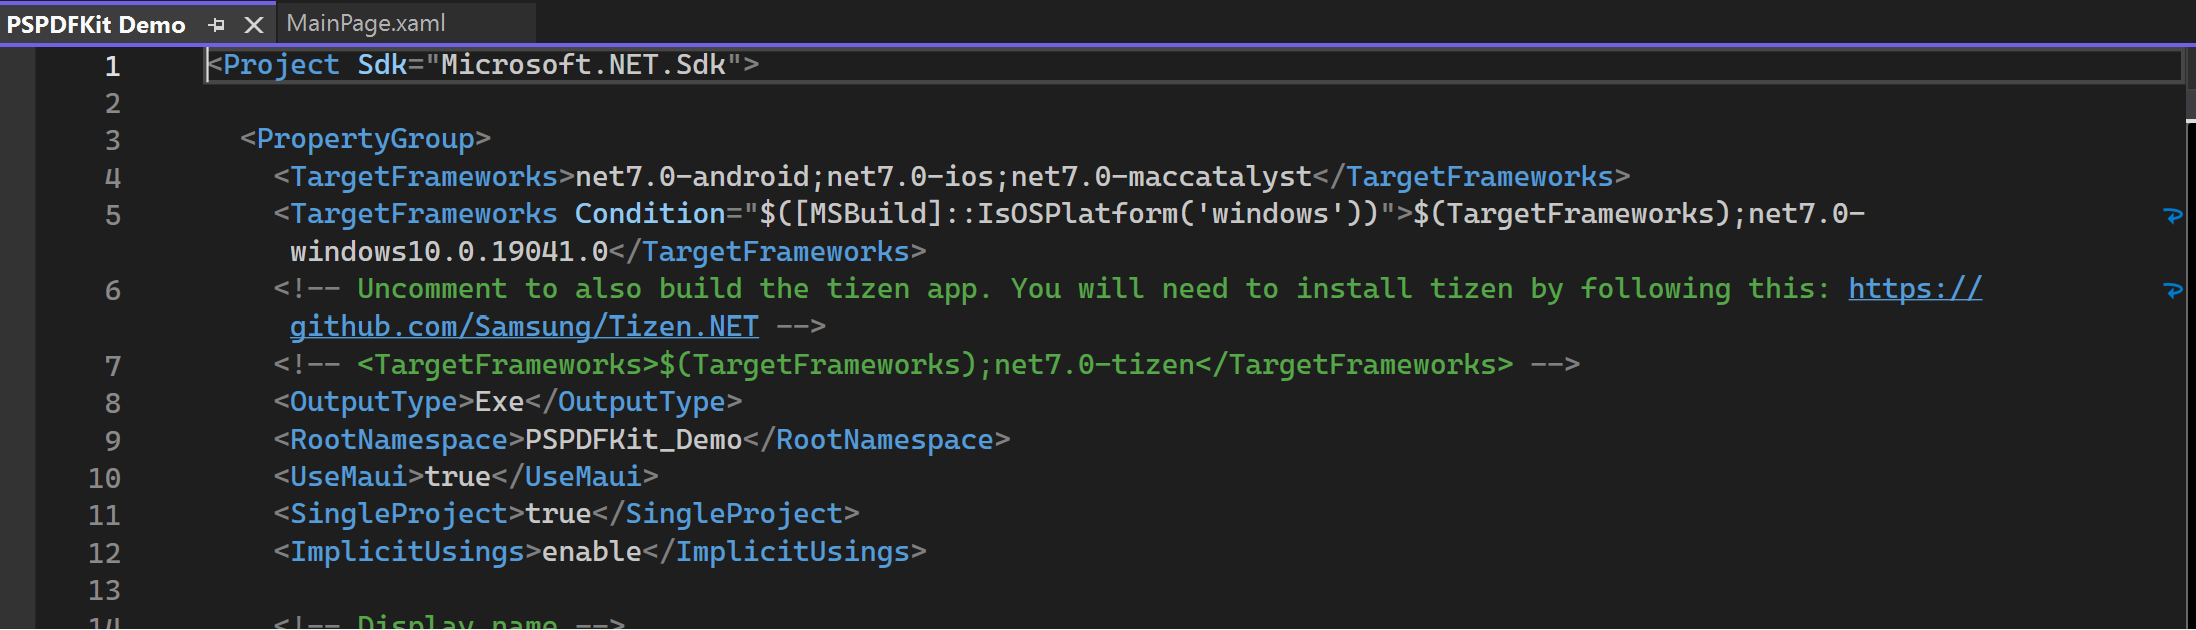
Change the first line from
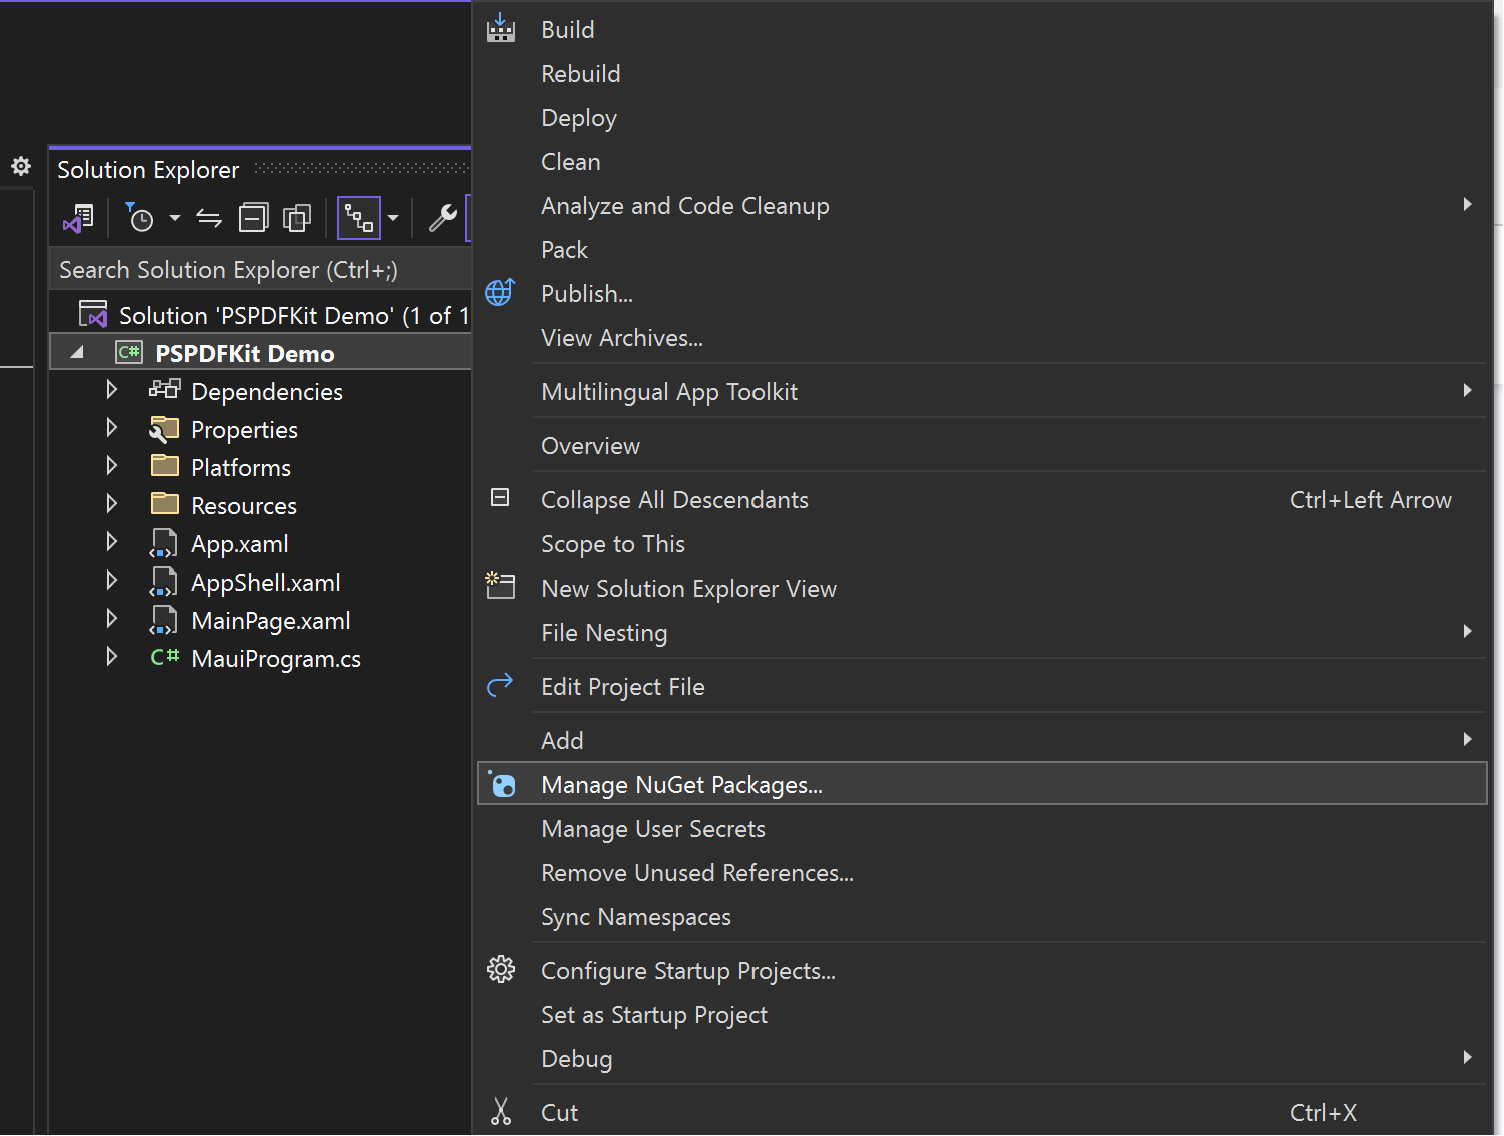
<Project Sdk="Microsoft.NET.Sdk">to<Project Sdk="Microsoft.NET.Sdk.Razor">and save the project file.Open your app’s solution, and in the Solution Explorer, right-click your project and click the Manage NuGet Packages… menu item. This will open the NuGet Package Manager for your solution.
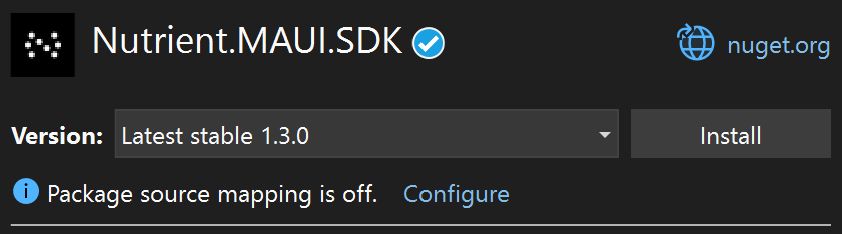
Search for
Nutrient.MAUI.SDK, and you’ll find the package on nuget.org(opens in a new tab).On the right side, in the panel describing the package, click Install to install the package.
Once the package is installed, click
MauiProgram.csand call theRegisterPSPDFKitSdk()method on the builder. The resultingCreateMauiAppfunction will look similar to the one shown below:public static MauiApp CreateMauiApp(){var builder = MauiApp.CreateBuilder();builder.UseMauiApp<App>().RegisterPSPDFKitSdk() // added.ConfigureFonts(fonts =>{fonts.AddFont("OpenSans-Regular.ttf", "OpenSansRegular");fonts.AddFont("OpenSans-Semibold.ttf", "OpenSansSemibold");});#if DEBUGbuilder.Logging.AddDebug();#endifreturn builder.Build();}
Open your project file (
Nutrient Demo.csproj) and change the first line from<Project Sdk="Microsoft.NET.Sdk">to<Project Sdk="Microsoft.NET.Sdk.Razor">.Add the Nutrient NuGet package to your project:
Terminal window dotnet add package Nutrient.MAUI.SDKOpen
MauiProgram.csand call theRegisterPSPDFKitSdk()method on the builder. The resultingCreateMauiAppfunction will look similar to the one shown below:public static MauiApp CreateMauiApp(){var builder = MauiApp.CreateBuilder();builder.UseMauiApp<App>().RegisterPSPDFKitSdk() // added.ConfigureFonts(fonts =>{fonts.AddFont("OpenSans-Regular.ttf", "OpenSansRegular");fonts.AddFont("OpenSans-Semibold.ttf", "OpenSansSemibold");});#if DEBUGbuilder.Logging.AddDebug();#endifreturn builder.Build();}
Displaying a PDF
In the
Resources/Rawfolder, create anAssetsfolder and add a PDF file nameddemo.pdf.This is a special folder, and it has to be named
Assets. PDFs located in this folder can be loaded in the application using a specially designed API,LoadDocumentFromAssetsAsync.Open
MainPage.xaml, remove all the content ofContentPage, and paste the following XML as its content:<pspdfkit:PDFView x:Name="PDFView" />You’ll see a green line under
pspdfkit:PDFView. If you hover over it, you’ll be given the option for potential fixes. Apply the suggested fix, which will add the following namespace to<ContentPage>:xmlns:pspdfkit="clr-namespace:PSPDFKit.Sdk;assembly=Sdk"If you’ve purchased a license and assigned it to a bundle ID, you can add it to the correct platform here:
<pspdfkit:PDFView x:Name="PDFView"License="{OnPlatformAndroid={StaticResource AndroidLicenseKey},iOS={StaticResource iOSLicenseKey},MacCatalyst={StaticResource MacCatalystLicenseKey},WinUI={StaticResource WindowsLicenseKey}}" />If not, omitting the
Licenseproperty will initialize thePDFViewin trial mode.To subscribe to the
Initializedevent ofPDFView, add the following code to theMainPage.xamlandMainPage.xaml.csfiles. In this event handler, use thePDFView.Controller.LoadDocumentFromAssetsAsyncfunction to load thedemo.pdffile that was added to theAssetsfolder:MainPage.xaml <pspdfkit:PDFView x:Name="PDFView" Initialized="OnPDFViewInitialized" />MainPage.xaml.cs private async void OnPDFViewInitialized(object sender, EventArgs e){try{var configuration = PDFView.Controller.CreateViewerConfiguration();await PDFView.Controller.LoadDocumentFromAssetsAsync("demo.pdf", configuration);}catch (Exception ex){// Handle exception.}}You must wait for initialization of the
PDFViewto be complete before usingPdfView.Controller.In the Build toolbar, choose Debug, and select the platform you’d like to build on — for example,
x86orx64.In the menu, select Build > Build Solution.
Start the application, and you’ll see
demo.pdfloaded inPDFView.
In the
Resources/Rawfolder, create anAssetsfolder and add a PDF file nameddemo.pdf.This is a special folder, and it has to be named
Assets. PDFs located in this folder can be loaded in the application using a specially designed API,LoadDocumentFromAssetsAsync.Open
MainPage.xaml, remove all the content ofContentPage, and paste the following XML as its content:<pspdfkit:PDFView x:Name="PDFView" />Add the following namespace to the
<ContentPage>element:xmlns:pspdfkit="clr-namespace:PSPDFKit.Sdk;assembly=Sdk"If you’ve purchased a license and assigned it to a bundle ID, you can add it to the correct platform here:
<pspdfkit:PDFView x:Name="PDFView"License="{OnPlatformAndroid={StaticResource AndroidLicenseKey},iOS={StaticResource iOSLicenseKey},MacCatalyst={StaticResource MacCatalystLicenseKey},WinUI={StaticResource WindowsLicenseKey}}" />If not, omitting the
Licenseproperty will initialize thePDFViewin trial mode.To subscribe to the
Initializedevent ofPDFView, add the following code to theMainPage.xamlandMainPage.xaml.csfiles. In this event handler, use thePDFView.Controller.LoadDocumentFromAssetsAsyncfunction to load thedemo.pdffile that was added to theAssetsfolder:MainPage.xaml <pspdfkit:PDFView x:Name="PDFView" Initialized="OnPDFViewInitialized" />MainPage.xaml.cs private async void OnPDFViewInitialized(object sender, EventArgs e){try{var configuration = PDFView.Controller.CreateViewerConfiguration();await PDFView.Controller.LoadDocumentFromAssetsAsync("demo.pdf", configuration);}catch (Exception ex){// Handle exception.}}You must wait for initialization of the
PDFViewto be complete before usingPdfView.Controller.Build the project:
Terminal window dotnet buildRun the application on your target platform:
Terminal window dotnet build -t:Run -f net10.0-android # For Androiddotnet build -t:Run -f net10.0-ios # For iOSdotnet build -t:Run -f net10.0-maccatalyst # For macOSdotnet build -t:Run -f net10.0-windows10.0.19041.0 # For WindowsYou’ll see
demo.pdfloaded inPDFView.
Next steps
- Add AI capabilities to Nutrient document viewer
- Customize the UI and other SDK functionality
- Convert Microsoft office documents to PDF
- Add annotations to your document