


How to build a Blazor image viewer
Table of contents
Blazor(opens in a new tab) is a modern web UI framework from Microsoft that allows you to build interactive frontends using C# instead of JavaScript. Combined with Nutrient viewer, a powerful web SDK for displaying and annotating documents, you can easily render and interact with documents, including image files, directly in the browser.
By using Blazor, developers build frontend applications with C#, HTML, and Razor templates(opens in a new tab). Blazor apps are composed of reusable web UI components that can then be used inside your applications.
Hosting models
Blazor offers three hosting models(opens in a new tab):
- Blazor Server — The app runs on the server, and UI interactions are handled over a real-time SignalR(opens in a new tab) connection.
- Blazor WebAssembly (WASM) — The app is fully downloaded and runs in the browser via WebAssembly.
- Blazor Hybrid — Combines Blazor with .NET MAUI to build cross-platform desktop and mobile apps using native device capabilities.
Blazor Hybrid is production-ready and supported in .NET 6 and later. It’s ideal when you want to build native apps while leveraging Blazor components. For browser-based scenarios, Blazor Server and Blazor WASM(opens in a new tab) are more common.
In this tutorial, you’ll use the Blazor WebAssembly (WASM) hosting model to create an image viewer that runs entirely in the browser.
What is Blazor WASM?
Blazor WASM and Blazor Server reuse code and libraries from each other. Client-side code or C# code can run directly in the browser using WebAssembly.
Alternatively, Blazor can run your client logic on the server. The client UI events are sent back to the server using SignalR(opens in a new tab), which is a real-time messaging framework for ASP.NET.
Once execution completes, the required UI changes are sent to the client and merged into the DOM.
What is WebAssembly?
WebAssembly(opens in a new tab) (WASM) is a low-level instruction format that allows developers to compile languages other than JavaScript (such as C++ or Rust) into a format that’s “understandable” by JavaScript virtual machines.
What is a Blazor image viewer?
A Blazor image viewer lets you render and view image documents in a web browser without the need to download it to your hard drive or use an external application like a PDF reader.
Nutrient Blazor image viewer
We offer a commercial Blazor image viewer library that can easily be integrated into your web application. It comes with 30+ features that let you view, annotate, edit, and sign documents directly in your browser. Out of the box, it has a polished and flexible UI that you can extend or simplify based on your unique use case.
- A prebuilt and polished UI for an improved user experience
- 15+ prebuilt annotation tools to enable document collaboration
- Support for more file types with client-side PDF, MS Office, and image viewing
- Dedicated support from engineers to speed up integration
Example of our Blazor image viewer
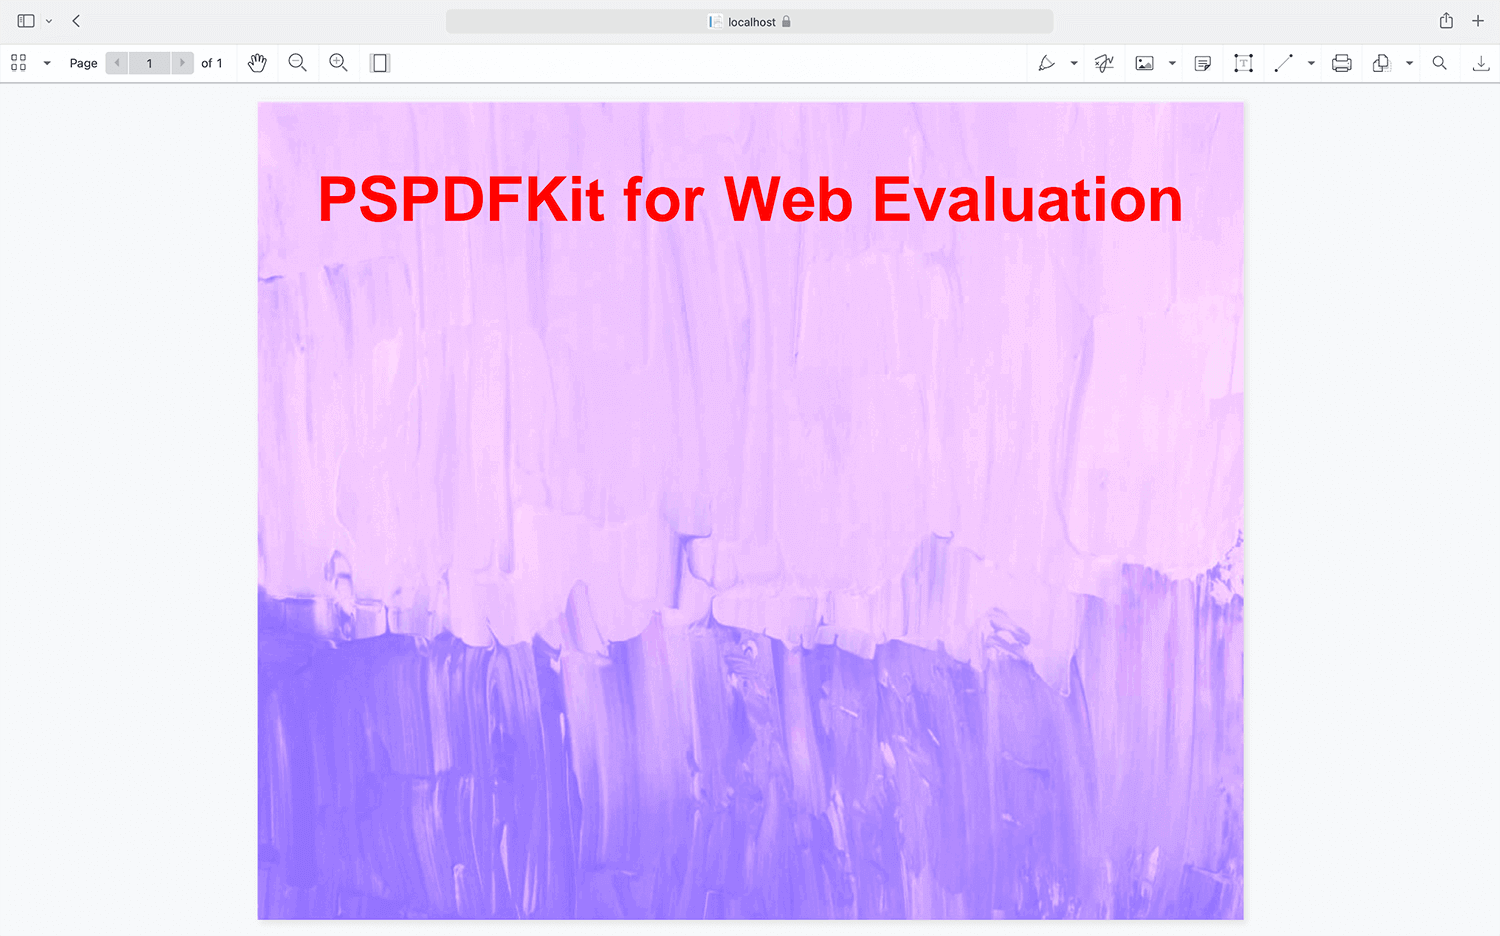
To see our image viewer in action, upload a JPG, PNG, or TIFF file by selecting Choose Example > Standalone > Open Document. Once your image is displayed in the viewer, you can try drawing freehand, adding a note, or applying a crop or an eSignature.
Requirements to get started
To get started, you’ll need:
- .NET SDK 6.0 or later installed on your machine. You can download it from the .NET website(opens in a new tab).
1. Create a new Blazor WebAssembly project
Open a terminal and run the following command to create a new Blazor WASM project:
dotnet new blazorwasm -o Nutrient_BlazorWASMcd Nutrient_BlazorWASMblazorwasm is a template that creates the initial files and directory structure for a Blazor WebAssembly project.
2. Project structure overview
Your Blazor WASM project includes the following important files:
Pages/Home.razor— Your main page, where you’ll embed the image viewer.wwwroot/— A static assets folder where you’ll place your image file.wwwroot/index.html— The main entry point where you inject external scripts (like Nutrient SDK).
3. Adding Nutrient to your project
Nutrient Web SDK can be added to your project using a CDN. This is the easiest and quickest way to get started.
Use CDN installation
- Add the following
<script>tag at the bottom of yourwwwroot/index.html, just before the closing</body>tag:
<!-- Load Nutrient SDK via CDN --><script src="https://cdn.cloud.pspdfkit.com/pspdfkit-web@1.0.0/nutrient-viewer.js"></script>- Load the Nutrient SDK loading code to
wwwroot/index.htmlbefore the</body>tag:
<!-- Define the global JS interop function --><script> window.loadPDF = function (container, document) { NutrientViewer.load({ container, document, }).catch((error) => { console.error('Nutrient failed to load', error); }); };</script>This script defines a global JavaScript function called loadPDF that:
- Takes a CSS container (like
#container) and a document filename (likeimage.png). - Uses
NutrientViewer.load()to render the file inside the container. - Logs any errors if the viewer fails to load.
By attaching it to window, your Blazor C# code can call it using IJSRuntime.
Finally, your index.html file should look like this:
<!DOCTYPE html><html lang="en">  <head>    <meta charset="utf-8" />    <meta      name="viewport"      content="width=device-width, initial-scale=1.0"    />    <title>Nutrient_BlazorWASM</title>    <base href="/" />    <link      rel="stylesheet"      href="lib/bootstrap/dist/css/bootstrap.min.css"    />    <link rel="stylesheet" href="css/app.css" />    <link rel="icon" type="image/png" href="favicon.png" />    <link href="Nutrient_BlazorWASM.styles.css" rel="stylesheet" />  </head>
  <body>    <div id="app"></div>    <script src="_framework/blazor.webassembly.js"></script>
    <script src="https://cdn.cloud.pspdfkit.com/pspdfkit-web@1.0.0/nutrient-viewer.js"></script>
    <script>      window.loadPDF = function (container, document) {        NutrientViewer.load({          container,          document,        }).catch((error) => {          console.error('Nutrient failed to load', error);        });      };    </script>  </body></html>
4. Display an image document
- Add the image you want to display to the
wwwrootdirectory. You can use our demo image as an example.
wwwroot/├── image.png├── index.html- Open
Pages/Home.razorand replace its contents with the following code:
@page "/"@inject IJSRuntime JS
<div id='container' style='width: 100vw; height: 100vh;'></div>
@code {    protected override async void OnAfterRender(bool firstRender)    {        if (firstRender)        {            await JS.InvokeVoidAsync("loadPDF", "#container", "image.png");        }    }}
This setup does the following:
@page "/"defines the root route for your app.IJSRuntime(opens in a new tab) allows Blazor to call JavaScript from C#.OnAfterRenderensures JavaScript is only run after the initial page render.- The
loadPDFfunction (defined inindex.html) is called to load and renderimage.pnginside the viewer container.
The <div id="container"> acts as the rendering target for Nutrient Web SDK. It fills the entire viewport (100vw × 100vh), giving your image viewer a fullscreen experience.
5. Serving the application
- Start the app in the root directory of your project:
dotnet watch run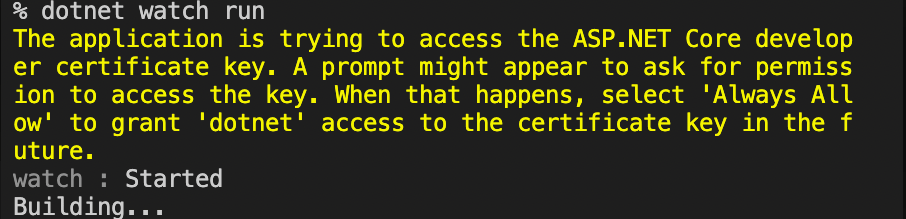
If you get a prompt asking for permissions, type your keychain and click Always Allow.
The server will start and will automatically restart when changes are made to the project.
You can access the source code for this tutorial on GitHub(opens in a new tab). Just navigate to the
wasmfolder. If you’re looking for the Blazor Server example, you can find the example project under theserverfolder or follow our getting started guide here.
Adding even more capabilities
Once you’ve deployed your viewer, you can start customizing it to meet your specific requirements or easily add more capabilities. To help you get started, here are some of our most popular Blazor guides:
- Adding annotations
- Editing documents
- Filling PDF forms
- Adding signatures to documents
- Real-time collaboration
- Redaction
- UI customization
Conclusion
You now have a functional image viewer running in your Blazor WebAssembly app using Nutrient Web SDK. With just a few lines of JavaScript interop(opens in a new tab) and an embedded viewer container, you can load and display image files like PNG, JPG, or TIFF directly in the browser.
Want to expand beyond images? The same viewer supports Office files and PDFs — all rendered directly in the browser. Be sure to explore advanced features like annotations, form filling, or eSignatures to bring full document functionality to your app.
You can also integrate our JavaScript image viewer using web frameworks like Angular and React.js. To see a list of all web frameworks, start your free trial. Or, launch our demo to see our viewer in action.
FAQ
Yes. The same Nutrient Web SDK used in this tutorial supports PDF, DOCX, XLSX, PPTX, and image files. Just change the file path and extension in your loadPDF() call.
No. Nutrient renders documents entirely in the browser using WebAssembly, so no server-side rendering is required.
Yes. Nutrient’s viewer is responsive and mobile-friendly, working across Chrome, Safari, Firefox, and Edge on all modern devices.
Absolutely. You can modify the toolbar, enable or disable features, and apply custom themes using the SDK’s JavaScript configuration options.
Add your image to the wwwroot folder of your Blazor project (e.g. wwwroot/image.png). Then reference the filename in your JavaScript or C# code.