


How to build a jQuery image viewer
Table of contents

While jQuery(opens in a new tab) isn’t as widely used as it once was, it remains one of the most accessible ways to add interactivity and document viewing to web applications. Meanwhile, Nutrient Web SDK supports rendering PDF, JPEG, PNG, and TIFF files in-browser with support for annotations, signatures, and editing.
Why use Nutrient Web SDK with jQuery
jQuery simplifies DOM manipulation, AJAX, and event handling, making it an ideal companion for quickly embedding a document viewer into any project. Nutrient complements this with:
- A polished and responsive UI out of the box
- 30+ tools for annotations, redactions, signatures, and editing
- Support for image formats (JPG, PNG, TIFF) and PDFs
- Secure and efficient WebAssembly rendering
Example of our jQuery image viewer
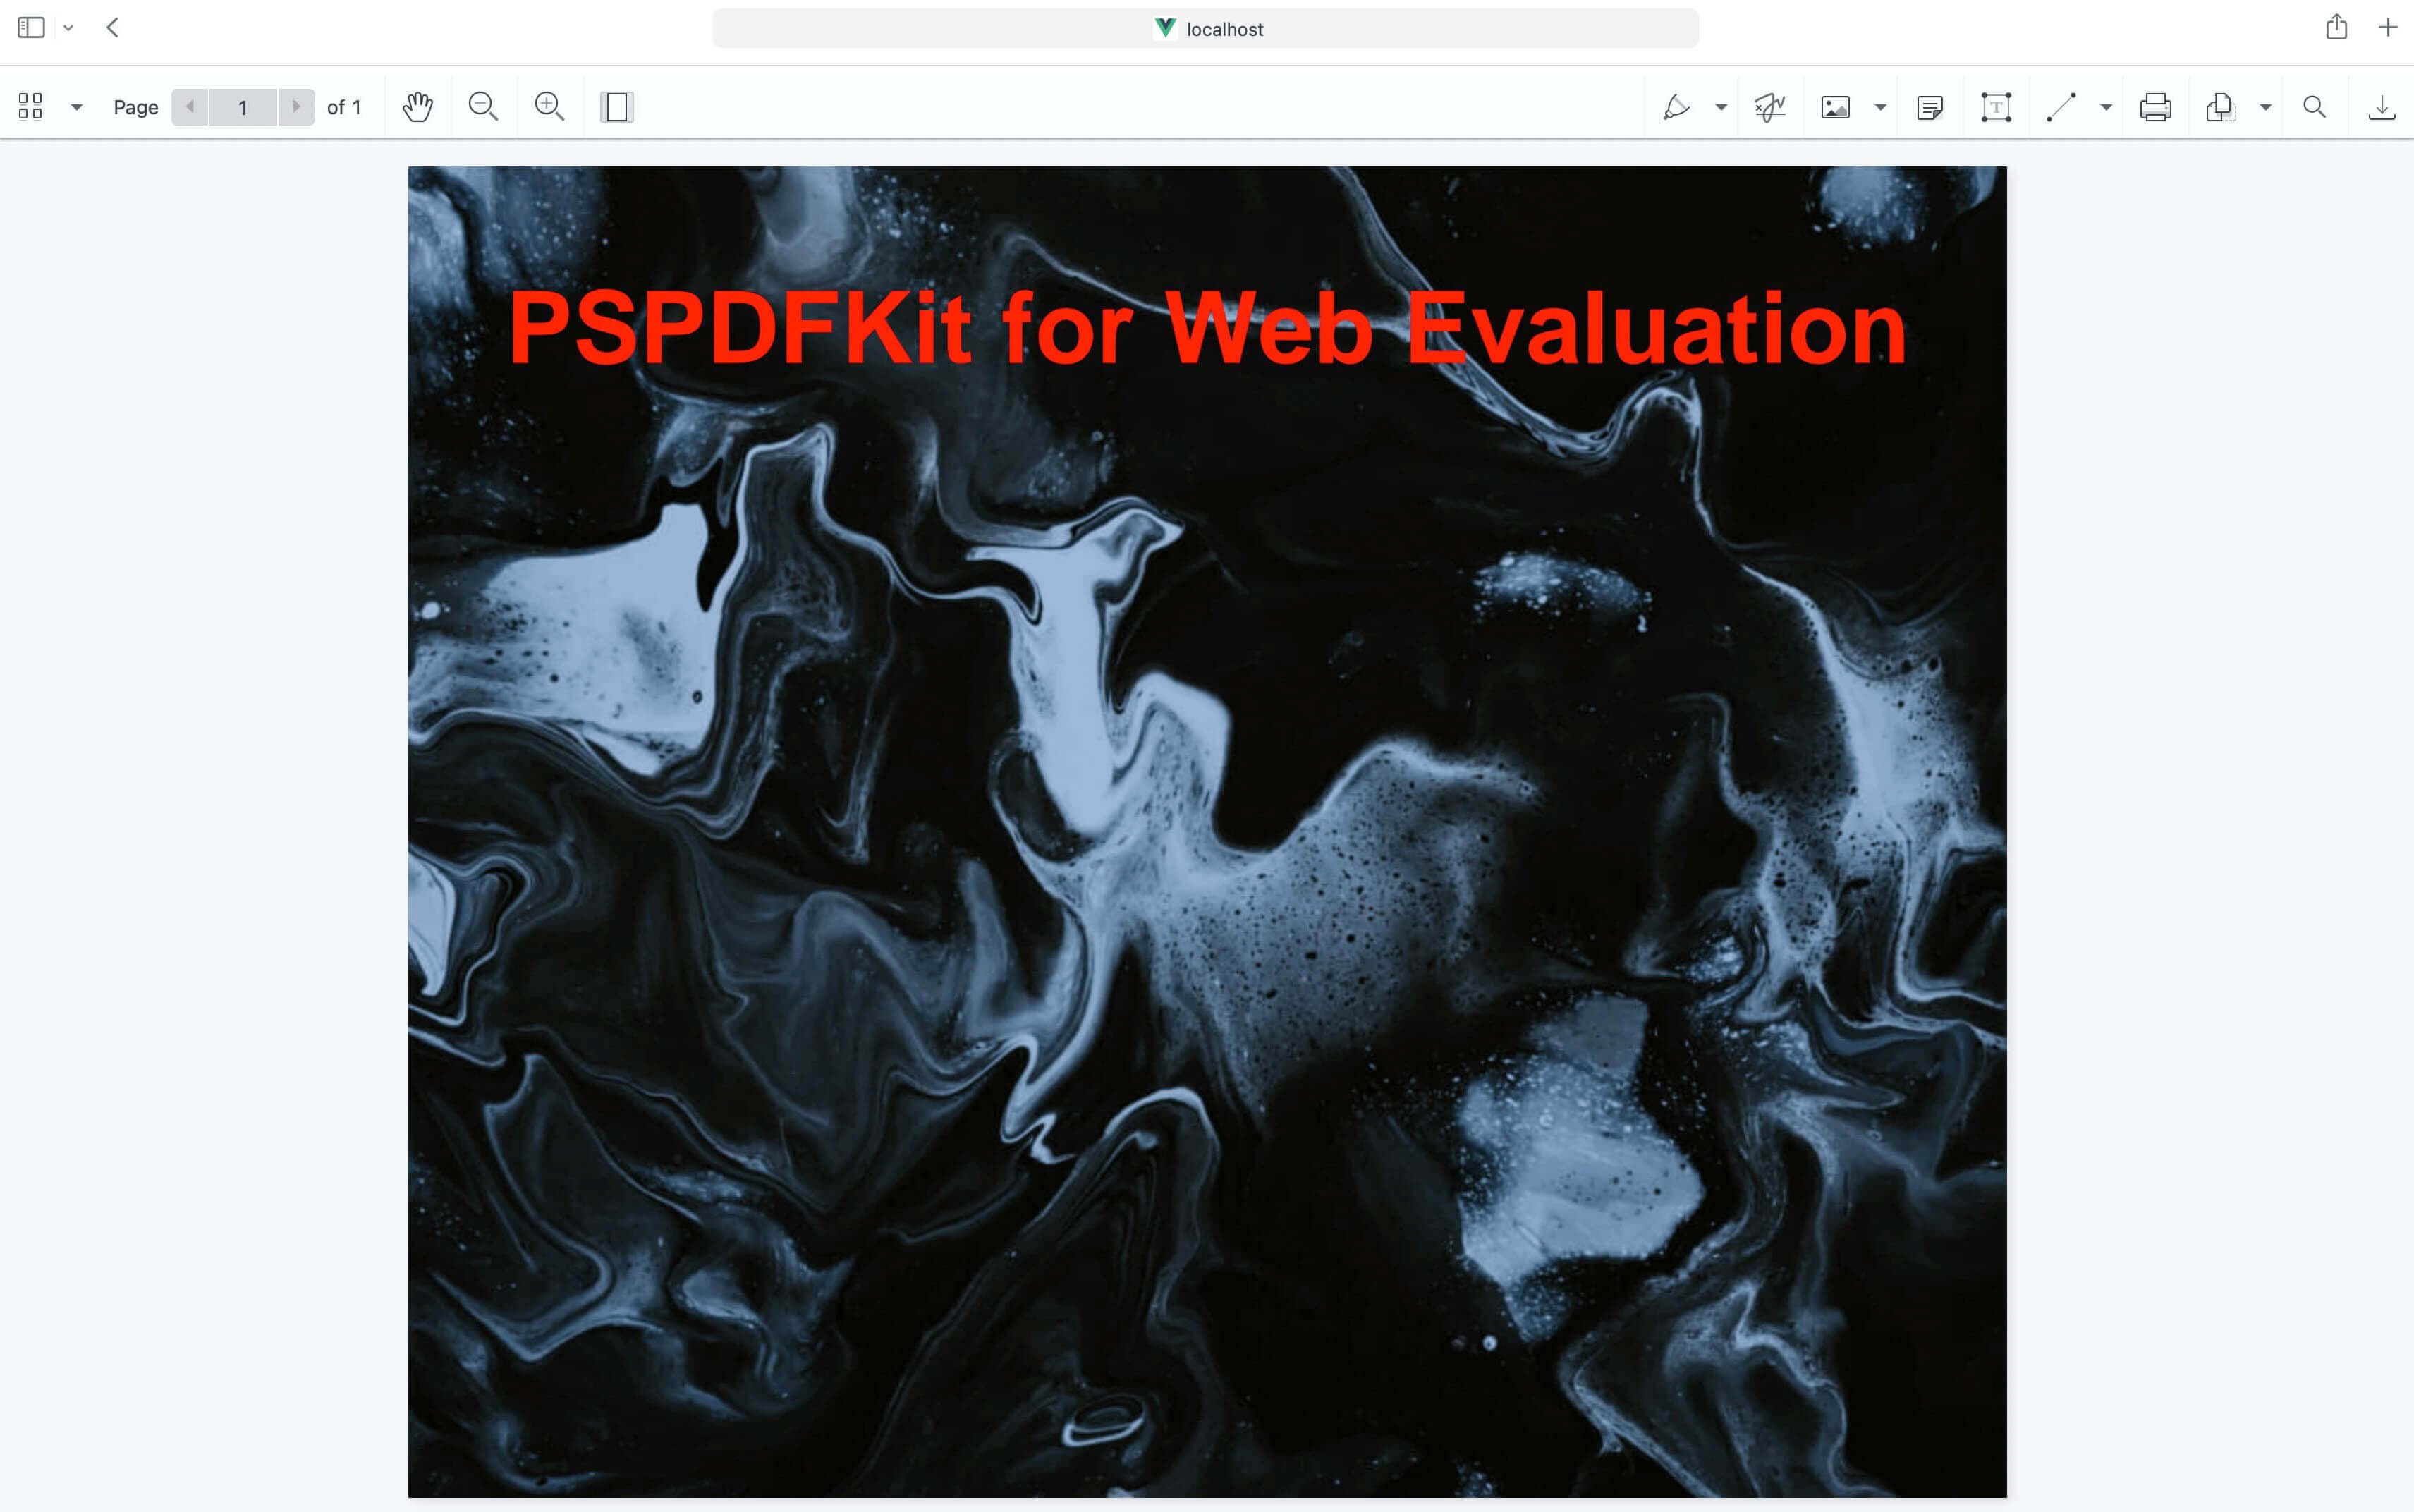
To see our image viewer in action, upload a JPG, PNG, or TIFF file by selecting Choose Example > Open Document. Once your image is displayed in the viewer, you can try drawing freehand, adding a note, or applying a crop or an eSignature.
Requirements to get started
To get started, you’ll need:
- Node.js(opens in a new tab)
- A package manager for installing Nutrient. You can use npm(opens in a new tab) or Yarn(opens in a new tab).
Step 1 — Install the SDK
First, install Nutrient Web SDK using your package manager:
npm i @nutrient-sdk/viewerpnpm add @nutrient-sdk/vieweryarn add @nutrient-sdk/viewerStep 2 — Add the SDK to your project
Copy the SDK distribution files into your assets directory:
cp -R ./node_modules/@nutrient-sdk/viewer/dist/ ./assets/Your assets/ folder should now contain:
nutrient-viewer.jsnutrient-viewer-lib/(contains fonts, wasm, etc.)
Ensure your server supports WebAssembly with the correct MIME type: Content-Type: application/wasm. You can read more in our troubleshooting guide.
Step 3 — Add a container for the viewer
In your HTML file (index.html), add a container element where the viewer will render:
<div id="nutrient" style="width: 100%; height: 100vh;"></div>Step 4 — Add jQuery
Include jQuery in your page via a CDN(opens in a new tab):
<script src="https://ajax.googleapis.com/ajax/libs/jquery/3.7.1/jquery.min.js"></script>Step 5 — Load the viewer in jQuery
- Add the image you want to display to your project’s directory. You can use our demo image as an example.
- Create a new file called
index.js. This file will load Nutrient Web SDK and initialize the viewer inside the#nutrientcontainer you added earlier in your HTML:
import './assets/nutrient-viewer.js';
// Set the path to where the viewer assets (like fonts and wasm) are located.const baseUrl = `${window.location.protocol}//${window.location.host}/assets/`;
$(document).ready(function () {  NutrientViewer.load({    baseUrl, // Points to the folder containing 'nutrient-viewer-lib'.    container: '#nutrient', // The DOM element where the viewer will be mounted.    document: 'image.jpg', // The file to render. This can be a PDF, JPEG, PNG, or TIFF.  })    .then((instance) => {      console.log('Nutrient loaded', instance);    })    .catch((error) => {      console.error(error.message);    });});
Make sure you have an image file in your project’s root directory named image.jpg. You can use any image file you want, but this example uses the demo image.
- Then, import this module into your HTML file:
<script type="module" src="index.js"></script>Final HTML example
Here’s a complete index.html file that renders the viewer:
<!DOCTYPE html><html lang="en">  <head></head>  <body>    <!-- Viewer container -->    <div id="nutrient" style="width: 100%; height: 100vh;"></div>
    <!-- jQuery CDN -->    <script src="https://ajax.googleapis.com/ajax/libs/jquery/3.7.1/jquery.min.js"></script>
    <!-- Initialize viewer -->    <script type="module" src="index.js"></script>  </body></html>
Serving the viewer locally
To test the viewer locally, use the serve CLI tool:
npm install --global serveserve -l 8080 .Then open http://localhost:8080(opens in a new tab) in your browser. You’ll see your PDF or image rendered in the viewer.
Adding even more capabilities
Once you’ve deployed your viewer, you can start customizing it to meet your specific requirements or easily add more capabilities. To help you get started, here are some of our most popular jQuery guides:
- Adding annotations
- Editing documents
- Filling PDF forms
- Adding signatures to documents
- Real-time collaboration
- Redaction
- UI customization
You can also explore our complete Web SDK guides to unlock more features.
Conclusion
That’s it. You now have a jQuery-powered image viewer running in your browser using Nutrient Web SDK. It’s powerful, fast, and fully customizable.
We created similar how-to blog posts using different web frameworks and libraries:
- How to build an Angular image viewer
- How to build a JavaScript image viewer
- How to build a React image viewer
To get started with our jQuery image viewer, try it for free, or launch our web demo.
Want to explore more?
FAQ
Yes. Nutrient Web SDK supports JPG, PNG, TIFF, and PDF files. You can load any of these formats by updating the document property when calling NutrientViewer.load().
Yes. Since the SDK uses WebAssembly, it must be served from an HTTP or HTTPS server. You can use tools like serve or the Live Server extension for local testing.
Yes. The SDK provides a rich set of tools for annotating images — including drawing, stamping, commenting, and redacting — all directly in the browser.
Absolutely. Nutrient Web SDK’s UI is fully customizable. You can show or hide tools, change button layouts, or build your own toolbar using its JavaScript API.
Yes. You can allow users to upload a file or select one dynamically. Then call NutrientViewer.load() with the selected file path or blob URL.