


How to build a PDFium image viewer
Table of contents
PDFium(opens in a new tab) is Google’s open source PDF rendering engine, widely used in Chromium and other applications. At Nutrient, we leverage PDFium to render PDFs in our commercial PDF viewers.
With Nutrient Web SDK, you can render PDF and image formats (JPG, PNG, TIFF) entirely in the browser with a modern, annotation-ready UI.
In addition to our JavaScript integration, you can also deploy our PDFium-based viewer on other platforms, including iOS, Android, Windows, and Mac Catalyst.
What is a JavaScript image viewer?
A JavaScript image viewer lets you display and interact with images (e.g. scanned documents, photos) in the browser. With client-side rendering, users don’t need to download files or install native software.
This is especially useful in document-heavy workflows such as claims processing, compliance checks, or remote inspections.
Why use the Nutrient image viewer?
Our PDFium-based image viewer can easily be integrated into your web application. It comes with 30+ features that let you view, annotate, edit, and sign documents directly in your browser. Out of the box, it has a polished and flexible UI that you can extend or simplify based on your unique use case.
- A prebuilt and polished UI for an improved user experience
- 15+ prebuilt annotation tools to enable document collaboration
- Support for more file types with client-side PDF, MS Office, and image viewing
- Dedicated support from engineers to speed up integration
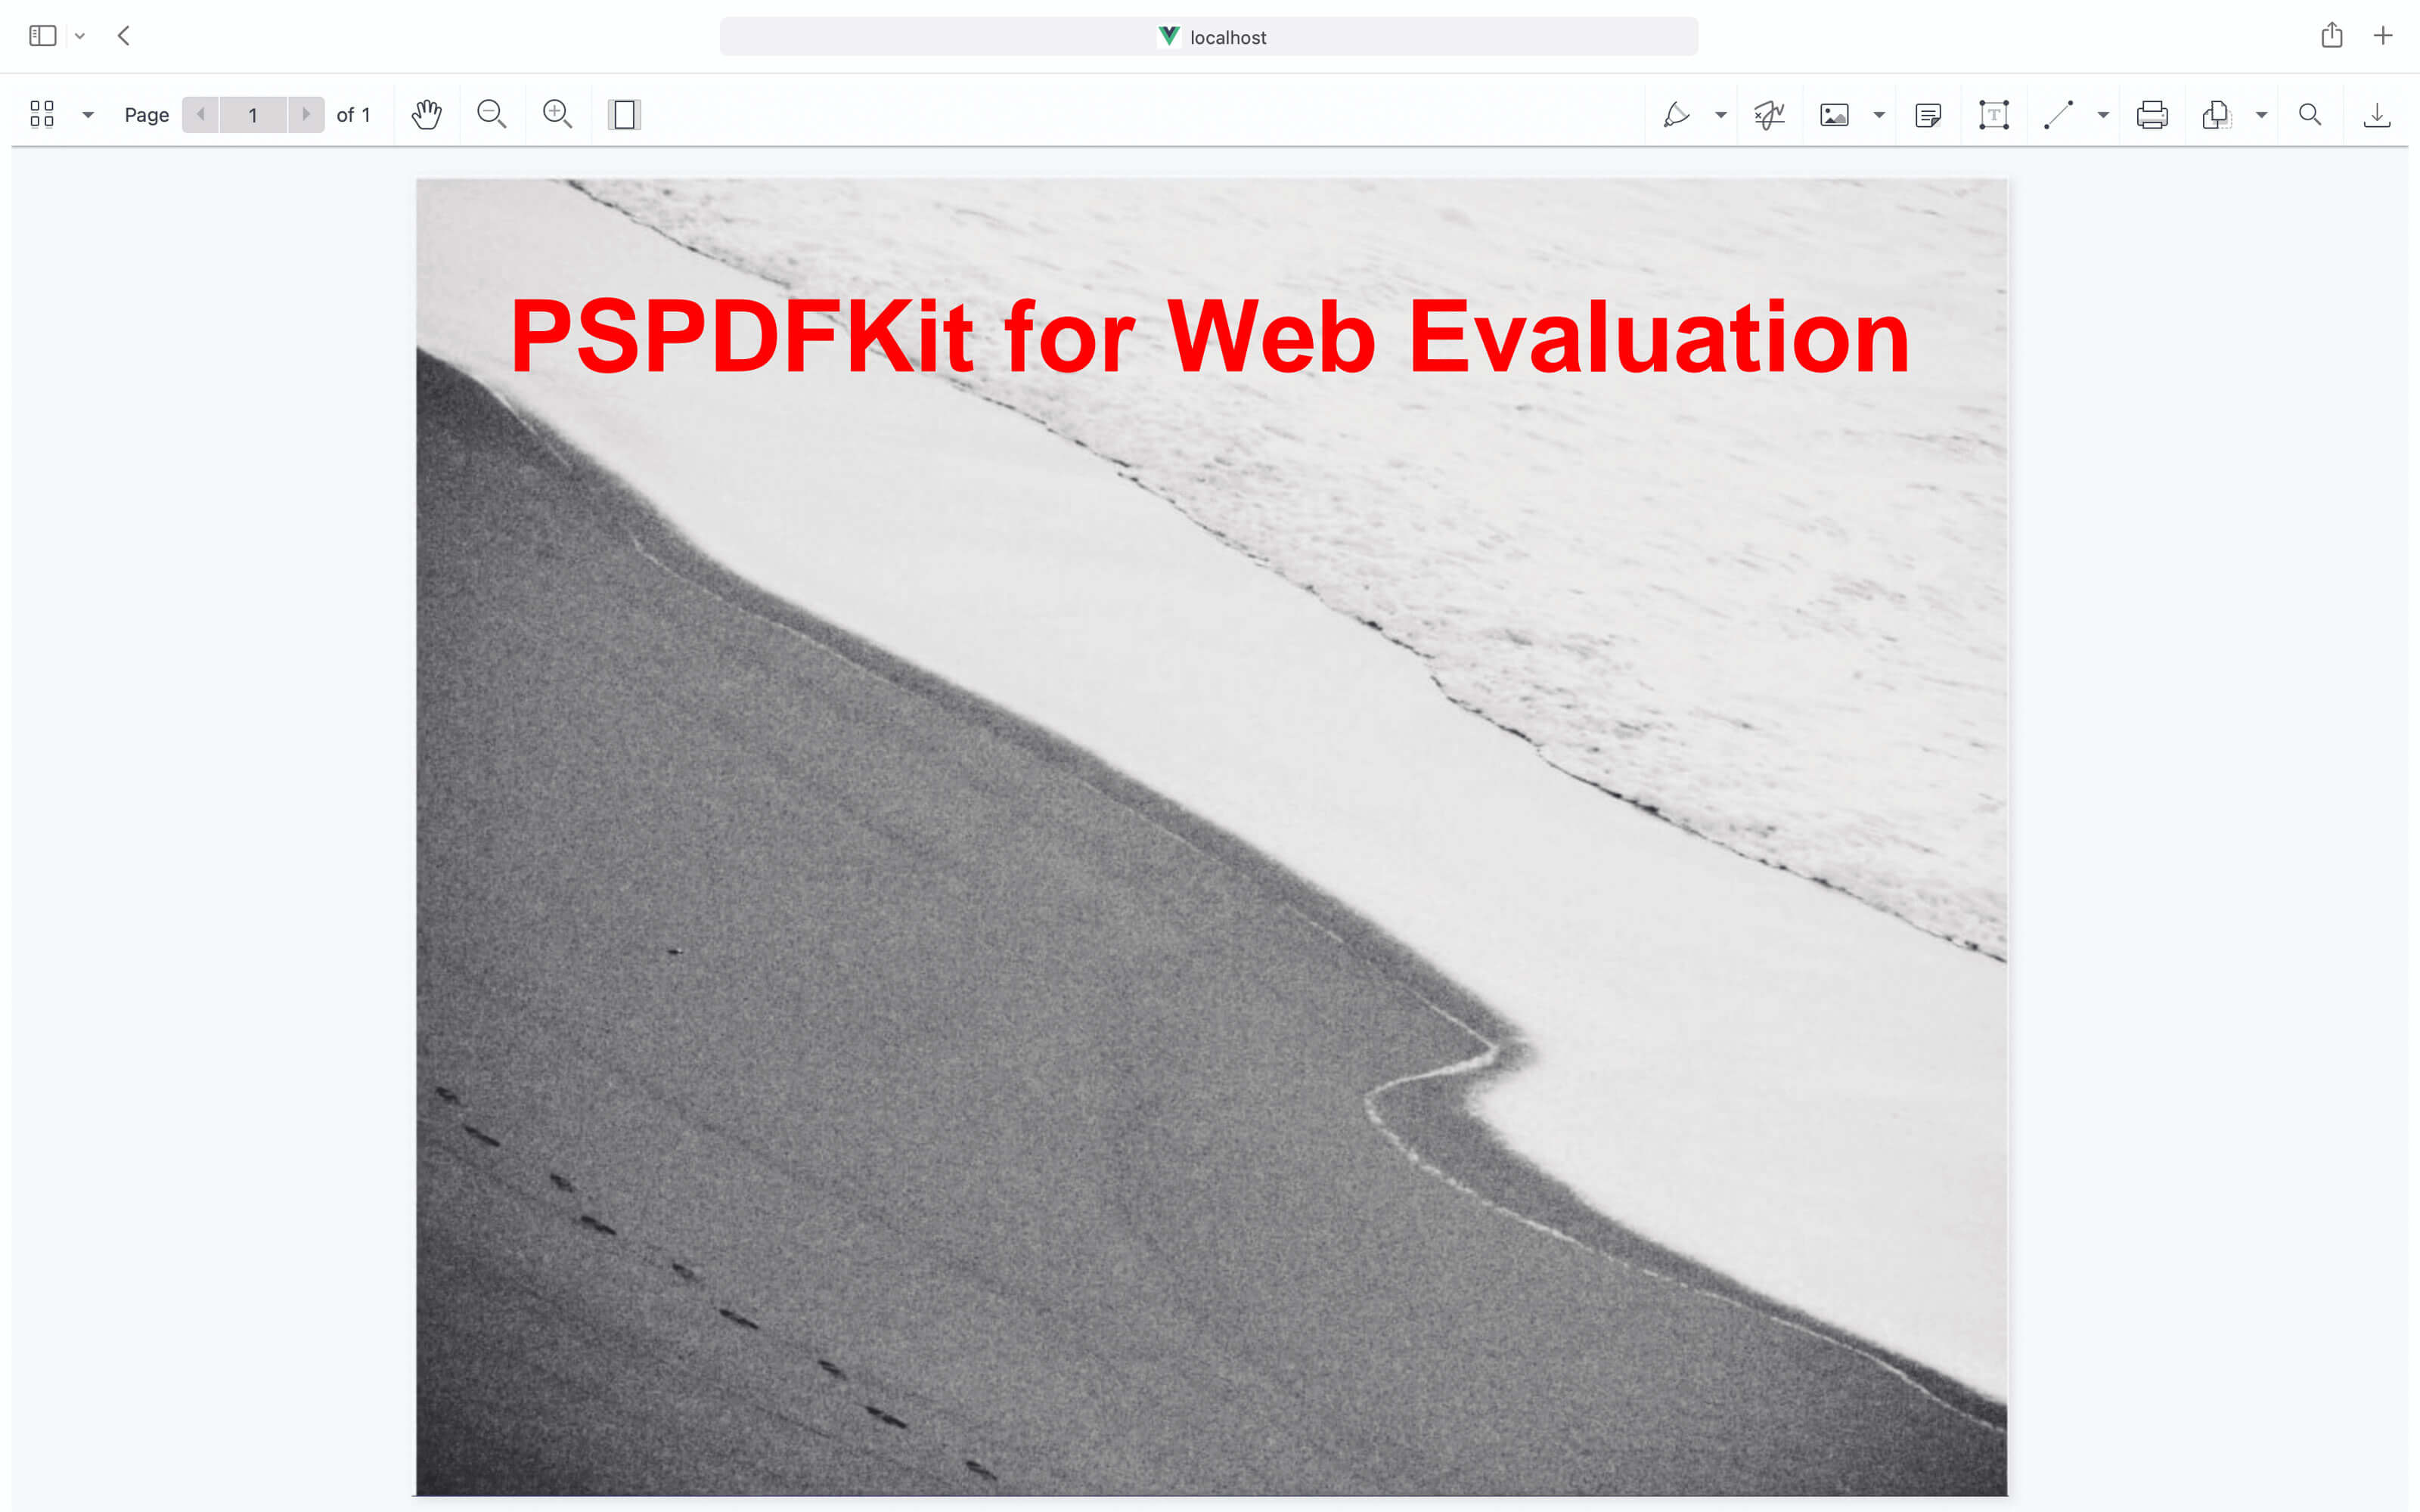
Example of the Nutrient image viewer
To see our image viewer(opens in a new tab) in action, upload a JPG, PNG, or TIFF file by selecting Choose Example > Open Document (if you don’t see this, switch to the Standalone option). Once your image is displayed in the viewer, you can try drawing freehand, adding a note, or applying a crop or an eSignature.
Requirements
To get started, you’ll need:
- The latest stable version of Node.js(opens in a new tab).
- A package manager compatible with npm(opens in a new tab). This guide contains usage examples for the npm client(opens in a new tab) (installed with Node.js by default).
Step 1 — Install the Nutrient SDK
Install the SDK package:
npm i @nutrient-sdk/viewerpnpm add @nutrient-sdk/vieweryarn add @nutrient-sdk/viewerStep 2 — Copy SDK assets to your project
Copy the SDK distribution files to assets/ in your project root. This is where the viewer will look for the files it needs to render documents.:
cp -R ./node_modules/@nutrient-sdk/viewer/dist/ ./assets/Step 3 — Add your image
Copy your target image (e.g. image.jpg) to the project root. You can use our demo image as an example.
Step 4 — Create a simple HTML interface
Create an index.html file:
<!DOCTYPE html><html>  <head>    <title>Nutrient image viewer</title>    <meta      name="viewport"      content="width=device-width, initial-scale=1.0"    />  </head>  <body>    <div id="nutrient" style="width: 100%; height: 100vh;"></div>    <script src="./assets/nutrient-viewer.js"></script>    <script>      const baseUrl = `${window.location.protocol}//${window.location.host}/assets/`;
      window.NutrientViewer.load({        baseUrl,        container: '#nutrient',        document: 'image.jpg',      })        .then((instance) => console.log('Viewer loaded', instance))        .catch((err) => console.error(err.message));    </script>  </body></html>
Step 5 — Serve the project
Install the static server package:
npm install -g serveRun it in the root of your project:
serve -l 8080 .Then visit http://localhost:8080 in your browser.
Adding even more capabilities
Once you’ve deployed your viewer, you can start customizing it to meet your specific requirements or easily add more capabilities. To help you get started, here are some of our most popular JavaScript guides:
- Adding annotations
- Editing documents
- Filling PDF forms
- Adding signatures to documents
- Real-time collaboration
- Redaction
- UI customization
Conclusion
You now have a modern JavaScript image viewer running entirely in the browser using Nutrient Web SDK. It’s simple to integrate and ready for enterprise workflows.
You can also integrate our JavaScript image viewer using web frameworks like Angular, Vue.js, and React.js. To see a list of all web frameworks, start your free trial. Or, launch our demo(opens in a new tab) to see our viewer in action.
FAQ
The Nutrient PDF viewer supports PDF and image formats, including JPG, PNG, and TIFF. It’s optimized to render high-resolution and multipage documents entirely in the browser, using WebAssembly for fast and reliable performance.
No. Nutrient Web SDK is a purely client-side solution. Once you copy the viewer files into your project, everything works directly in the browser without any server-side rendering, processing, or API dependencies.
The viewer includes freehand ink, text highlights, sticky notes, stamps, and digital signatures. You can customize which tools are available via the configuration, tailoring the UI to suit your users’ workflows.
Yes. The Nutrient viewer is fully responsive and mobile-friendly. It supports standard gestures like pinch-to-zoom and swipe navigation, and it works well on modern browsers across iOS and Android devices.
You can call NutrientViewer.load() with a different file path at any time. This makes it easy to implement dynamic navigation or preview toggles without destroying the viewer instance.