How to build an Angular image viewer
Table of contents
What is an Angular image viewer?
An Angular image viewer lets you render and view images in a web browser without the need to download it to your hard drive or use an external application like an image reader.
Nutrient Angular image viewer
We offer a commercial Angular image viewer library that can easily be integrated into your web application. Our Angular viewer supports rendering JPEG, PNG, TIFF, and PDF files in any modern browser and on any mobile device without any plugins.
- A prebuilt and polished UI for an improved user experience
- 15+ prebuilt annotation tools to enable document collaboration
- Browser-based text editing, page cropping, merging, rotating, and more
- Support for more file types with client-side PDF, MS Office, and image viewing
- Dedicated support from engineers to speed up integration
Example of our Angular image viewer
To see our image viewer in action, upload a JPG, PNG, or TIFF file by selecting Choose Example > Open Document. Once your image is displayed in the viewer, you can try drawing freehand, adding a note, or applying a crop or an eSignature.
Requirements to get started
To get started, you’ll need:
- The latest version of Node.js(opens in a new tab).
- A package manager for installing the Angular command-line interface (CLI) and importing packages. You can use npm(opens in a new tab) or Yarn(opens in a new tab).
When you install Node.js, npm is installed by default.
Setup
Go to your terminal and install the Angular CLI(opens in a new tab). This will help you get up and running quickly with Angular:
npm install -g @angular/cliyarn global add @angular/cliNow, you can check the version of Angular:
ng versionBuilding an Angular image viewer
- Create a new project:
ng new nutrient-image-viewercd nutrient-image-viewer- Install the SDK:
npm install @nutrient-sdk/viewer- Update
angular.json:
"assets": [ "src/assets", { "glob": "**/*", "input": "./node_modules/@nutrient-sdk/viewer/dist/nutrient-viewer-lib/", "output": "./assets/nutrient-viewer-lib/" }]- Add the image you want to display to the
src/assetsdirectory. You can use our demo image as an example. - Replace
app.component.html:
<div class="app"> <div class="nutrient-container"></div></div>- Replace
app.component.ts:
import { Component } from "@angular/core";import NutrientViewer from "@nutrient-sdk/viewer";
@Component({  selector: "app-root",  standalone: true,  templateUrl: "./app.component.html",  styleUrls: ["./app.component.css"],})export class AppComponent {  title = "Nutrient Viewer";
ngAfterViewInit(): void { NutrientViewer.load({ baseUrl: `${location.protocol}//${location.host}/assets/`, document: "/assets/image.png", container: ".nutrient-container", }).then((instance) => { (window as any).instance = instance; }); }}- Add styles in
app.component.cssto ensure full height:
:host { height: 100%;}.app { position: fixed; width: 100%; height: 100%; top: 0; left: 0;}.nutrient-container { height: 100%;}- Start the app:
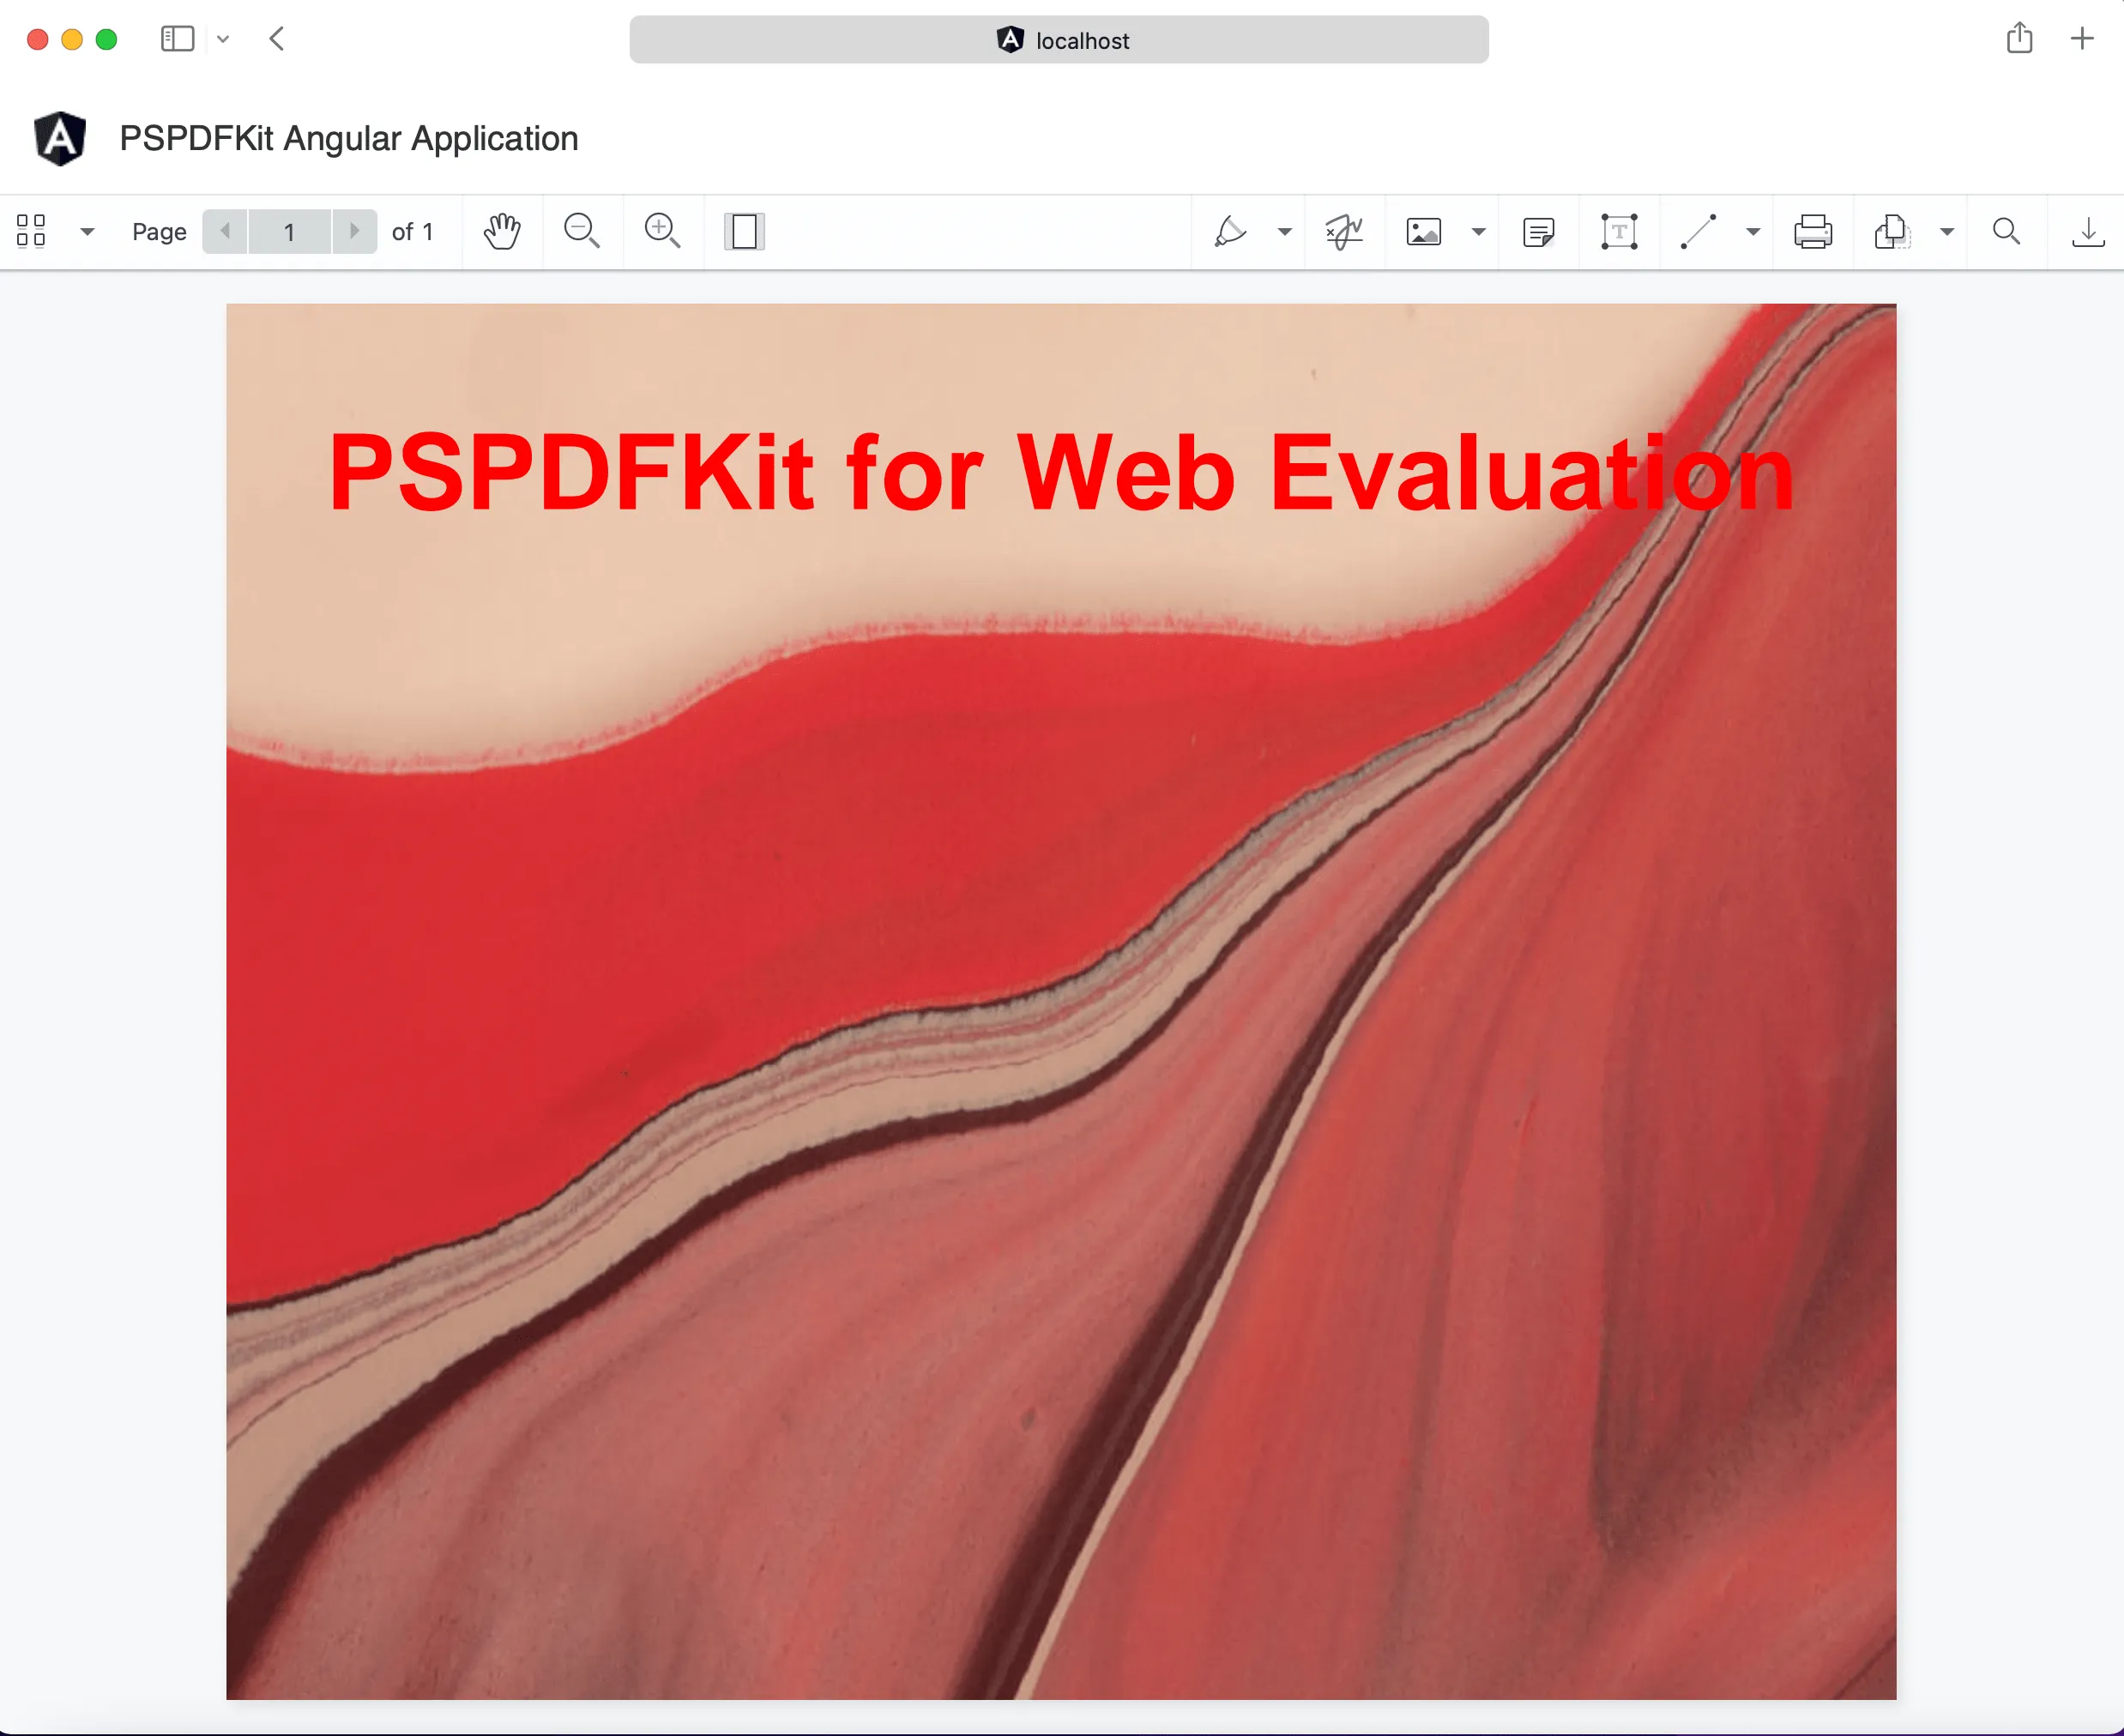
npm startYou’ll see the image rendered using Nutrient Web SDK.
Adding even more capabilities
Once you’ve deployed your viewer, you can start customizing it to meet your specific requirements or easily add more capabilities. To help you get started, here are some of our most popular Angular guides:
- Adding annotations
- Editing documents
- Filling PDF forms
- Adding signatures to documents
- Real-time collaboration
- Redaction
- UI customization
Conclusion
You should now have our Angular image viewer up and running in your web application. If you hit any snags, don’t hesitate to reach out to our Support team for help.
We created similar how-to blog posts using different web frameworks and libraries:
- How to build a JavaScript image viewer
- How to build a jQuery image viewer
- How to build a React image viewer
To see a list of all web frameworks, start your free trial. Or, launch our demo to see our viewer in action.


