


Top 10 Python PDF generator libraries: Complete guide for developers (2026)
Table of contents

One Python SDK for generation, conversion, OCR, and forms - install with pip.
10 Python PDF libraries for different use cases:
- Add forms, annotations, signatures → Nutrient API
- Generate basic PDFs → FPDF2
- Design complex layouts and charts → ReportLab
- Convert HTML/CSS to PDF → PDFKit, WeasyPrint, or Playwright
- Build rich documents with tables and barcodes → borb
- Read, extract, or manipulate existing PDFs → PyMuPDF
- Turn images into PDFs → img2pdf (with optional Pillow preprocessing)
How to generate a PDF in Python
To generate a PDF in Python, follow these steps:
- Choose a library — Pick based on your use case: FPDF for simple documents, ReportLab for complex layouts, WeasyPrint or PDFKit for HTML to PDF, or Nutrient API for enterprise workflows with forms and signatures.
- Install and configure — Install via
pip(e.g.pip install fpdf2). Then import and initialize the library in your script. - Build your document — Add pages, text, images, and formatting using the library’s API — or pass an HTML template directly for HTML-to-PDF libraries.
- Export the PDF — Call the library’s output or save method to write the file to disk or return it from a web endpoint.
Python PDF libraries fall into three categories:
- Canvas-based (FPDF2, ReportLab, borb, PyMuPDF) — You position text, images, and shapes with code. Maximum control, more verbose.
- HTML to PDF (WeasyPrint, PDFKit, xhtml2pdf, Playwright) — You write HTML/CSS and the library renders it to PDF. Faster to prototype if you know web tech.
- Cloud APIs (Nutrient) — You send files to a REST endpoint and get a PDF back. No local dependencies, but requires a network call.
The sections below compare 10 Python PDF libraries across these categories.
Need more than generation? Our best Python PDF libraries comparison covers reading, extraction, OCR, forms, and digital signatures.
1. Nutrient API
Nutrient DWS API generates, customizes, and processes PDFs at scale. It handles form filling, signatures, annotations, OCR, and merging via a cloud REST API — no local rendering engines required.
Key features
- HTML to PDF — CSS, custom fonts, headers/footers, and page numbers
- Document conversion — Convert Office files (Word, Excel, PowerPoint), images, and Markdown to PDF
- PDF operations — Form filling, digital signatures, annotations, watermarking, OCR, merging, compression, and redaction
- Accessibility — PDF/UA auto-tagging for accessible documents
- Platform-agnostic — Call from Python, JavaScript, or any HTTP client
- SOC 2 Type 2 audited and GDPR compliant — Documents processed in memory, never stored
Getting started
- Sign up — Visit the Nutrient website(opens in a new tab) and sign up for an account.
- Request an API key — After signing up, obtain an API key from the dashboard.
- Pricing — Credit-based. Free trial available.
Example: Generate a PDF from HTML
import requestsimport json
# Define the HTML part of the document.instructions = { 'parts': [ { 'html': 'index.html' } ]}
# Send the request to the Nutrient API.response = requests.request( 'POST', 'https://api.nutrient.io/build', headers={ 'Authorization': 'Bearer {YOUR_API_KEY}' # Replace with your API key. }, files={ 'index.html': open('index.html', 'rb'), }, data={ 'instructions': json.dumps(instructions) }, stream=True)
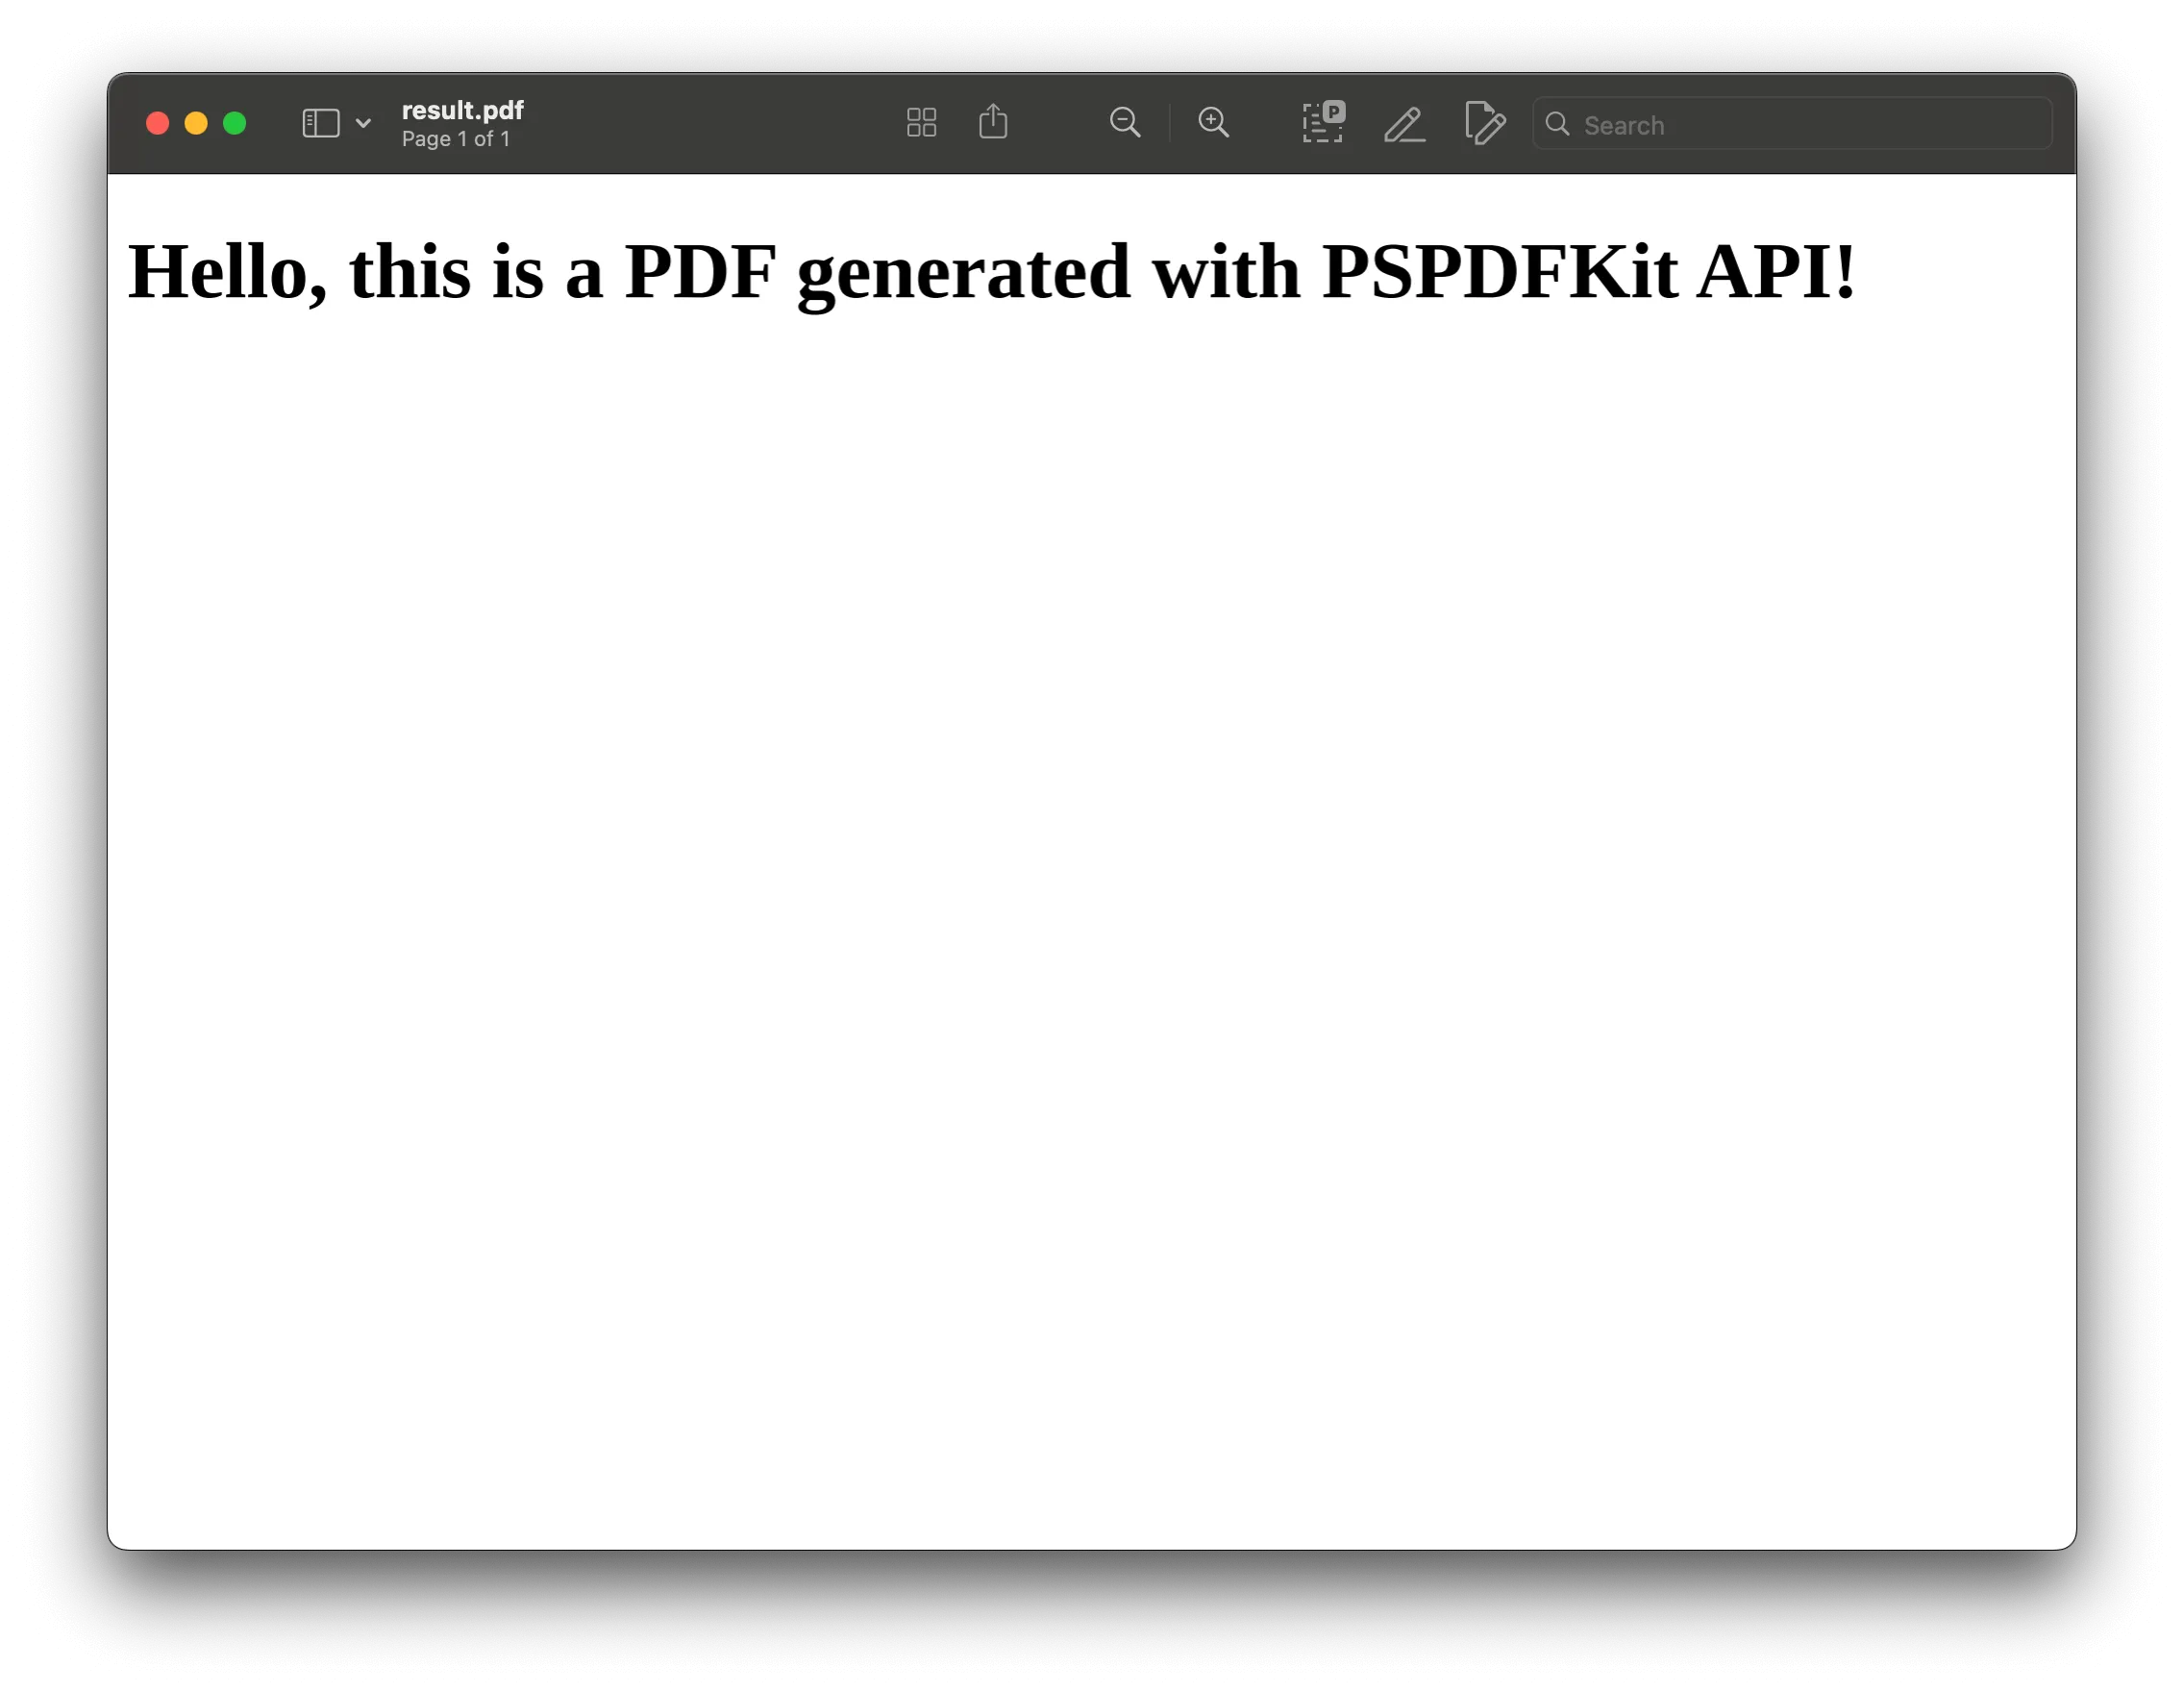
# Save the resulting PDF.if response.ok: with open('result.pdf', 'wb') as fd: for chunk in response.iter_content(chunk_size=8096): fd.write(chunk)else: print(response.text) exit()The instructions dictionary tells the API to generate a PDF from index.html. The script sends a POST request with the HTML content, and if the response succeeds, saves the result as result.pdf.
Advanced usage
- Dynamic content — Combine with data sources to generate invoices, reports, or certificates
- Other Nutrient services — Use with annotation, form filling, or OCR
- Batch processing — Handle large-scale PDF generation
Why use Nutrient API
- 30+ PDF tools — Conversion, watermarking, OCR, form processing, digital signatures, compression, and redaction in one API
- Credit-based pricing — Form filling costs 1 credit, OCR costs 3 credits, digital signatures cost 10 credits. Combine multiple operations in a single request
- Python client — Official async Python client with type hints, available via
pip install nutrient-dws - Rate limit — 100 requests per minute per API key
Sign up for a free account(opens in a new tab) to test the API.
Official Python client for Nutrient Processor API
Nutrient offers an official Python client(opens in a new tab), available via pip install nutrient-dws. It requires Python 3.10+.
The client provides:
- Direct methods —
merge_pdfs,ocr_pdf,watermark_pdf,compress_pdf,extract_text - Builder pattern — Chain multiple operations: add parts → apply actions → set output → execute
- Input flexibility — File paths, bytes, file-like objects, and remote URLs
- Async and type-safe — Full type hints with async/await support
- Error handling — Specific exceptions for validation, API, authentication, and network errors
The Python client doesn’t expose HTML-to-PDF generation directly. Use requests to call the /build endpoint for HTML conversion. Then use the client for further processing.
2. FPDF Python: Create PDFs with pure Python
FPDF(opens in a new tab) (fpdf2) is a lightweight, dependency-free library for building PDFs from scratch. The original fpdf package is abandoned — fpdf2 is the actively maintained fork with the same API.
Key features
- Quick text and image insertion — Add paragraphs, pictures, and simple lines.
- Multipage support — Loop through pages with just a few commands.
- Basic formatting — Set fonts, colors, and alignments easily.
- Fast and small — No dependencies, works in minimal environments.
Best for: Simple multipage documents or image-rich flyers that only need basic text, images, and custom formatting.
Installation
Install fpdf2 using pip:
pip install fpdf2Usage example
Create a PDF with FPDF:
from fpdf import FPDF
# Create an instance of an FPDF class.pdf = FPDF()
# Add a page.pdf.add_page()
# Set the font.pdf.set_font("Helvetica", size=12)
# Add a cell.pdf.cell(200, 10, text="Hello, this is a PDF generated using FPDF!", new_x="LMARGIN", new_y="NEXT", align='C')
# Save the PDF.pdf.output("output.pdf")
print("PDF generated successfully!")
This creates a one-page PDF with centered text and saves it to output.pdf.
Advanced example: Multipage PDF with images
The script below generates a three-page PDF, with each page containing custom text and an embedded image. Place an image file (e.g. example.jpg) in the same directory as your script:
from fpdf import FPDF
# Create an instance of an FPDF class.pdf = FPDF()
# Add multiple pages.for i in range(3): pdf.add_page()  # Add a new page. pdf.set_font("Helvetica", size=16)  # Set the font for text. pdf.cell(200, 10, text=f"Page {i+1}", new_x="LMARGIN", new_y="NEXT", align='C')  # Add text to the page. pdf.image("example.jpg", x=10, y=30, w=100)  # Add an image to the page.
# Output the PDF to a file.pdf.output("multi_page.pdf")
print("Multipage PDF with images generated successfully!")
Run the script:
python generate_pdf.pyThis will generate a multi_page.pdf file in the same directory. Each page will have custom text and the example.jpg image placed at specified coordinates.
Try Nutrient API for free and generate PDFs in minutes.
3. Generating PDFs with ReportLab: Charts, tables, and complex layouts
ReportLab(opens in a new tab) is an open source library for creating PDFs with text, images, charts, and graphics.
Key features
- PDF generation — Text, images, charts, and custom graphics
- Advanced graphics — Lines, shapes, curves, and illustrations
- Document templates — Consistent layout across documents
- Custom fonts and styles — Full control over fonts, colors, and styles
Best for: Complex layouts with charts, graphics, and custom typography — reports, brochures, or invoices.
Licensing
ReportLab has a free community edition under the ReportLab Open Source License. A commercial edition is available with additional features and support.
Installation
To install ReportLab, use pip:
pip install reportlabAlternatively, if you’re using a system like Anaconda, you can install it via conda:
conda install -c conda-forge reportlabUsage example
Generate a PDF with ReportLab:
from reportlab.lib.pagesizes import letterfrom reportlab.pdfgen import canvas
# Create a PDF file.c = canvas.Canvas("example.pdf", pagesize=letter)
# Draw some text.c.drawString(100, 750, "Hello, this is a PDF generated with ReportLab!")
# Save the PDF.c.save()
In this example, a PDF file named example.pdf is created with a simple line of text.
More advanced features
ReportLab offers more advanced features, outlined below.
Adding graphics
You can draw more than just text — for example, lines, shapes, and even custom images:
from reportlab.lib.pagesizes import letterfrom reportlab.pdfgen import canvas
c = canvas.Canvas("example_graphics.pdf", pagesize=letter)
# Draw a line.c.line(50, 700, 550, 700)
# Draw a rectangle.c.rect(50, 600, 200, 100)
# Draw an image.c.drawImage("example_image.jpg", 300, 500, width=100, height=100)
c.save() 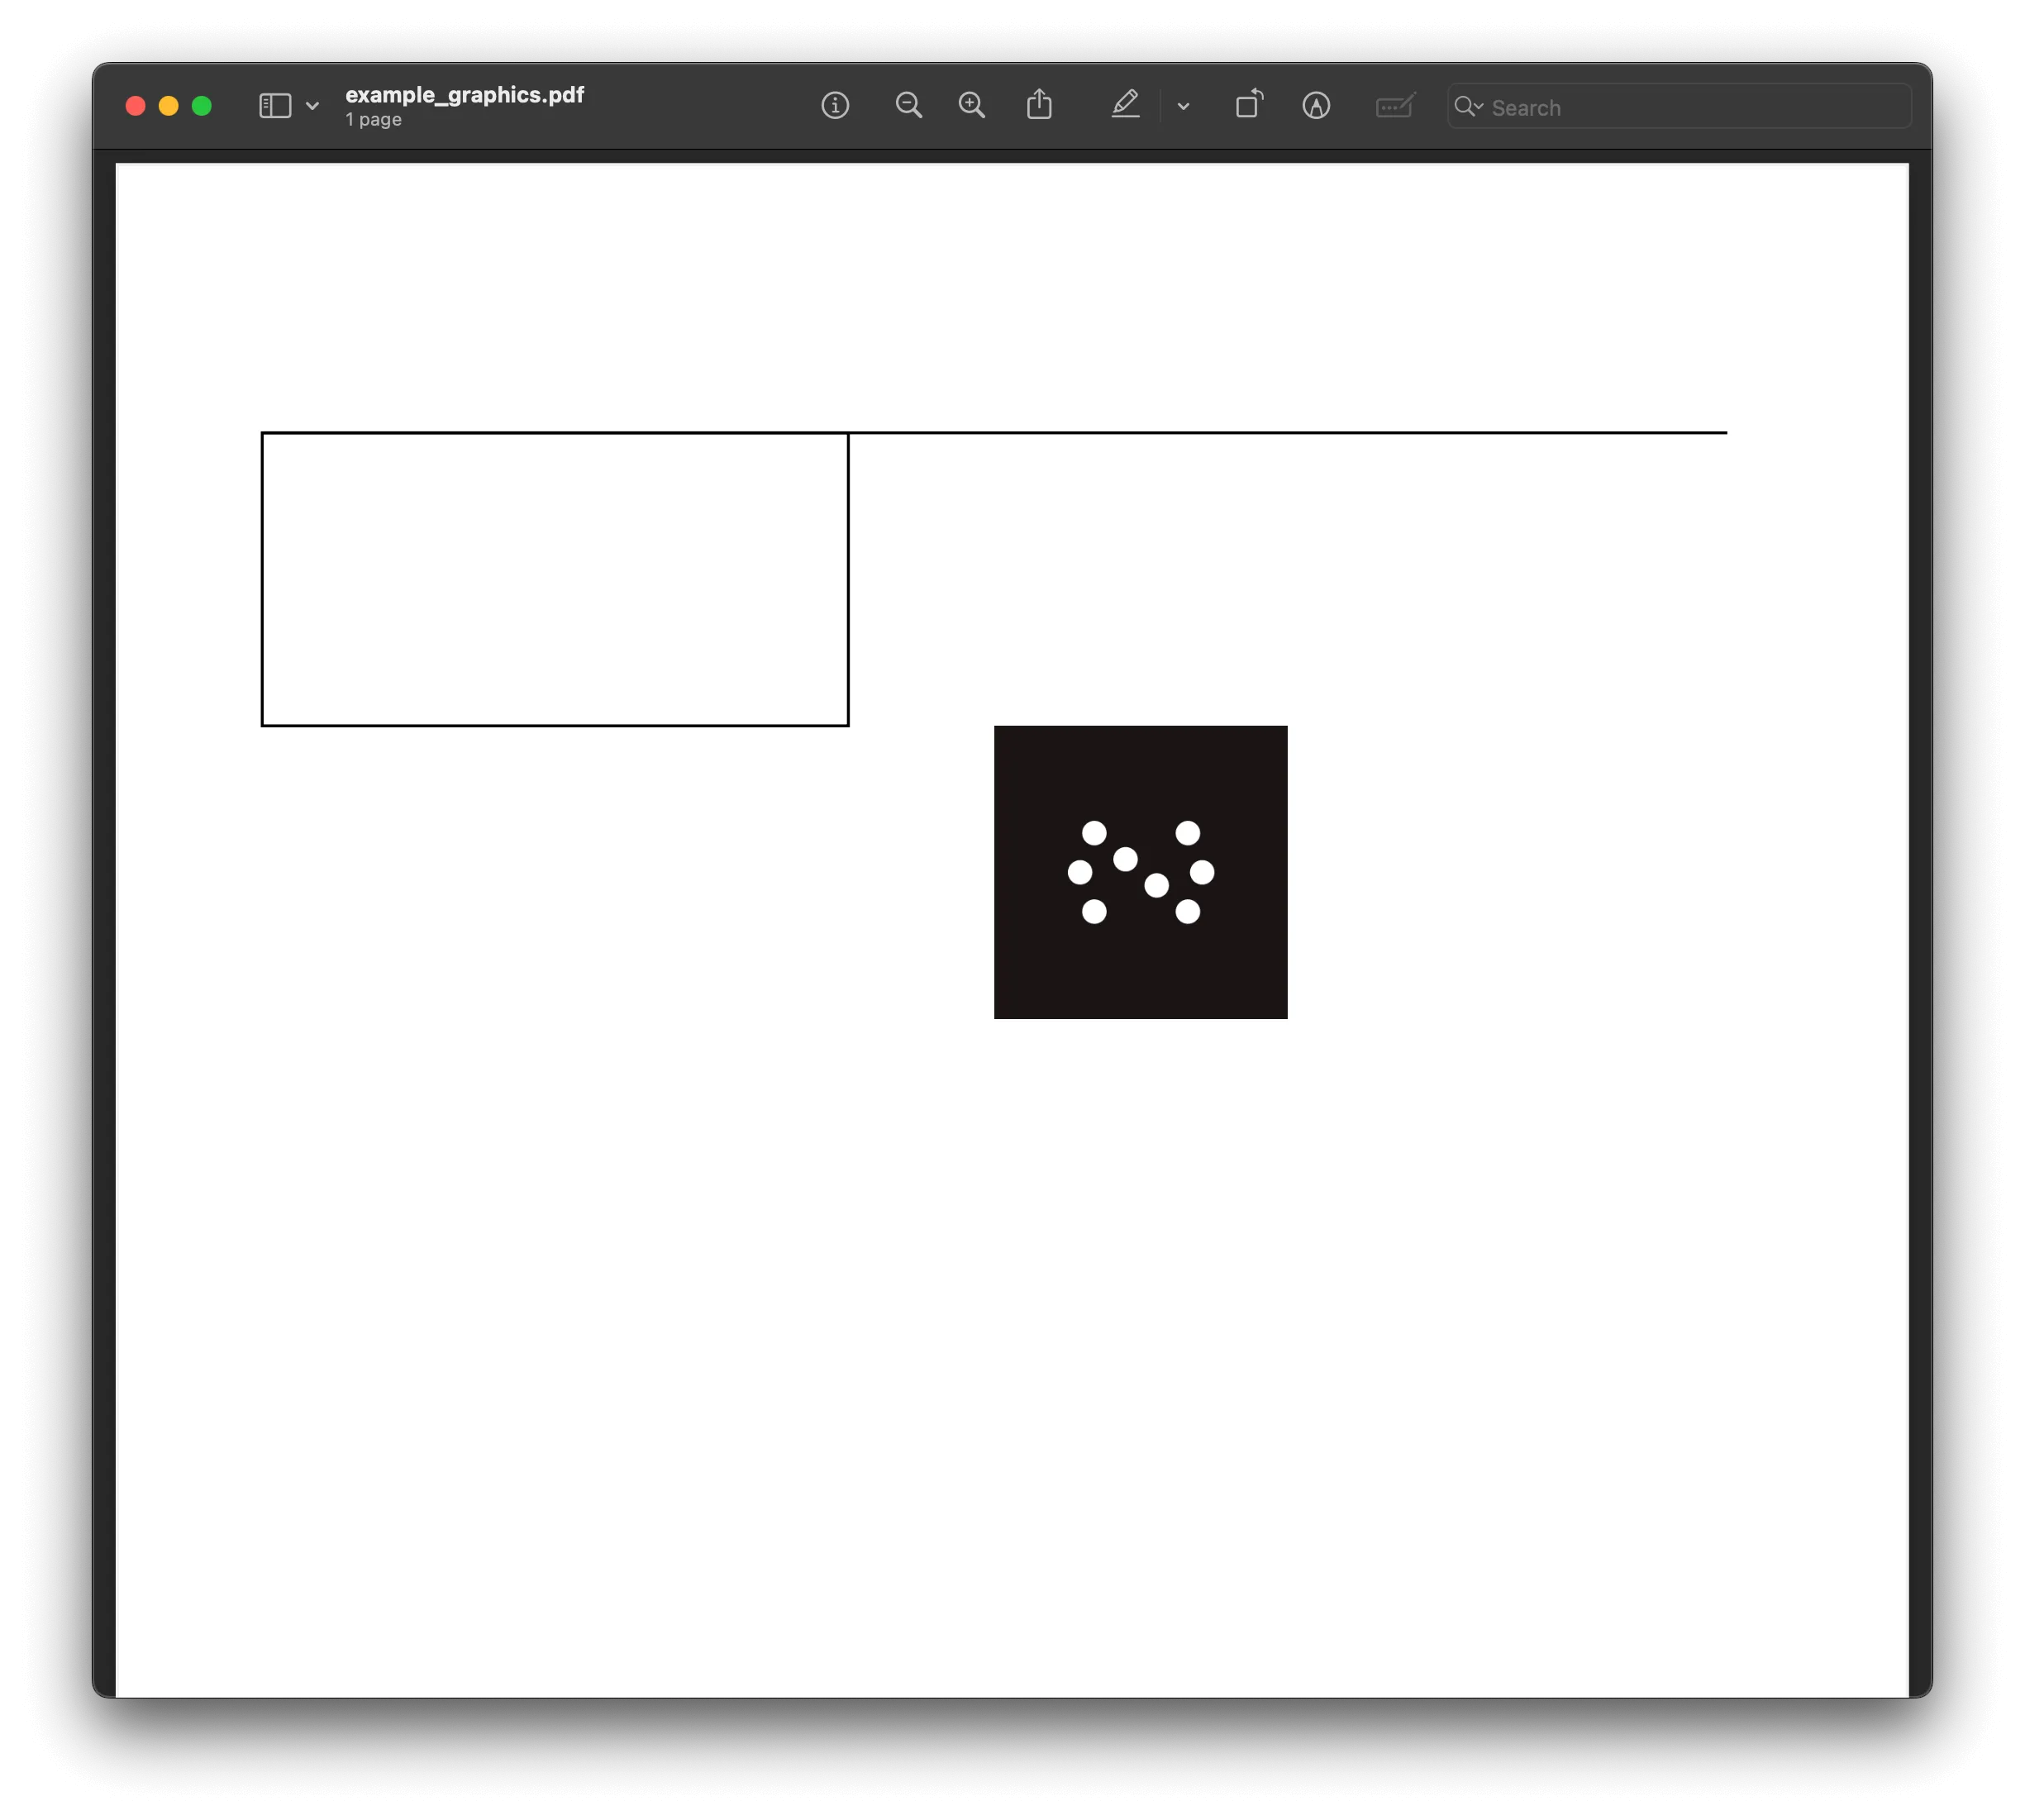
Creating charts
You can also generate various types of charts using ReportLab’s reportlab.graphics.charts module. It enables you to create bar charts, line charts, and pie charts with extensive customization.
ReportLab works well for detailed reports with charts, graphs, and complex page layouts. For simpler PDFs, consider FPDF or img2pdf.
4. Generating PDFs with PDFKit: Convert HTML to PDF in Python
PDFKit(opens in a new tab) is a thin Python wrapper around wkhtmltopdf(opens in a new tab), letting you generate pixel-perfect PDFs directly from HTML/CSS. Note that wkhtmltopdf was archived in January 2023 and is no longer receiving updates, so this stack is best for existing integrations rather than new builds.
Key features
- Full HTML/CSS ↔︎ PDF conversion — Supports media queries, page breaks, and inline JavaScript execution.
- Complex layout handling — Preserves grids, tables, and layered elements without extra tweaking.
- Drop-in integration — Call one function (
pdfkit.from_file/string/url) and deploy on any system that haswkhtmltopdfinstalled.
Best for: Converting webpages or HTML templates into styled PDFs — perfect for reports, ebooks, and other web-native documents.
Installation
To use PDFKit, install both the pdfkit library and the wkhtmltopdf tool. Follow the steps below to set it up.
Install the PDFKit library:
Terminal window pip install pdfkitDownload and install
wkhtmltopdffrom its official website(opens in a new tab), or use a package manager:macOS (Homebrew):
Terminal window brew install wkhtmltopdfUbuntu/Debian:
Terminal window sudo apt-get install wkhtmltopdfWindows: Download the installer from the official website(opens in a new tab) and follow the installation instructions.
Converting HTML to PDF
Here’s a simple guide for converting an HTML file into a PDF:
import pdfkit
# Specify the path to your HTML file.html_file = 'example.html'
# Define the output PDF file name.output_pdf = 'output.pdf'
# Convert HTML to PDF.pdfkit.from_file(html_file, output_pdf)
To learn more about converting HTML to PDF using Python, check out our blog post:
5. Generating PDFs with WeasyPrint
WeasyPrint(opens in a new tab) is a Python library that turns modern HTML and CSS into print-ready PDFs while faithfully preserving the source layout and styles.
Key features
- Accurate HTML/CSS rendering — Handles flexbox, grid, media queries, and other modern web layouts.
- Rich styling support — Full CSS3, responsive design, and custom fonts.
- Unicode and multilingual — Reliable output for RTL and non-Latin scripts.
- SVG embedding — Renders inline or linked SVG graphics without rasterization.
Best for: Web content conversion, styled reports, invoices, receipts, and ebooks from HTML and CSS.
Installation
Install WeasyPrint via pip:
pip install weasyprintWeasyPrint requires Pango for text layout. On Ubuntu/Debian:
sudo apt-get install libpango-1.0-0 libpangoft2-1.0-0 libharfbuzz-subset0Usage example
Generate a styled PDF with WeasyPrint:
from weasyprint import HTML
# Define HTML content.html_content = '''<!DOCTYPE html><html><head>    <title>Sample PDF</title>    <style>        body { font-family: Arial, sans-serif; }        h1 { color: #333; }    </style></head><body>    <h1>Hello, this is a PDF generated using WeasyPrint!</h1>    <p>This PDF is created from HTML content with CSS styling.</p></body></html>'''
# Convert HTML to PDF.HTML(string=html_content).write_pdf("output.pdf")
print("PDF generated successfully!")
In this example, HTML(string=html_content).write_pdf("output.pdf") converts the provided HTML content into a PDF file named output.pdf.
To learn more about WeasyPrint, visit our blog post on how to generate a PDF from HTML using Python.
6. Generating PDFs with borb
borb(opens in a new tab) is a modern, pure-Python library for both creating and manipulating PDFs.
It has high-level layout primitives (Paragraph, Table, Chart) and low-level drawing commands.
Key features
- Rich layout engine — Paragraphs, images, tables, barcodes, SVG, pie and bar charts.
- Interactive elements — Forms, annotations, document outlines.
- Post-processing — Merge, split, redact, encrypt existing PDFs.
Best for: Complex pages (tables, charts, barcodes) and PDF manipulation (merge, split, encrypt) with no external binaries.
Installing borb
borb can be installed via pip:
pip install borbUsage example
from borb.pdf import Document, Page, PDF, SingleColumnLayout, Paragraph
# 1. Create the document and a page.doc  = Document()page = Page()doc.append_page(page)
# 2. Choose a layout manager for that page.layout = SingleColumnLayout(page)
# 3. Add content via the layout.layout.append_layout_element(Paragraph("Hello, borb!"))
# 4. Serialize to a PDF file.PDF.write(doc, "borb_hello.pdf")
7. Generating PDFs with img2pdf
img2pdf(opens in a new tab) is a tiny utility for stitching images into a single, lossless PDF.
Key features
- Any image ↔︎ PDF — Handles JPEG, PNG, TIFF, and more.
- Batch combine — Merge dozens of images into one document in file order.
- Lossless output — Keeps original pixels; no reencoding artifacts.
- Fast and minimal — Pure Python, no heavy dependencies.
Best for: Bundling images — such as scans, photos, and graphics — into a single, lossless PDF when you don’t need additional text or formatting.
Installation
Install via pip:
pip install img2pdfUsage example
Convert images to PDF:
import img2pdf
# List of image file paths.image_files = ['image1.jpg', 'image2.png', 'image3.tiff']
# Convert images to PDF.with open('output.pdf', 'wb') as f:    f.write(img2pdf.convert(image_files))
print("PDF generated successfully!")
In this example, img2pdf.convert() takes a list of image file paths and writes them into a PDF file named output.pdf.
Try Nutrient API for free and generate PDFs in minutes.
Preprocessing with Pillow
Pillow(opens in a new tab) lets you resize, crop, rotate, and convert images before passing them to img2pdf.
Key features
- Image editing — Resize, crop, rotate, filter, or watermark images
- Format conversion — Convert TIFF, BMP, or RAW to JPEG/PNG
- Works with img2pdf — Pass processed images to
img2pdf.convert(...)
Best for: Preprocessing images before converting to PDF.
Installation
Install both libraries:
pip install Pillow img2pdfCode examples
Example 1: Preprocess and convert a single image
from PIL import Imageimport img2pdf
# Open an image using Pillow.image = Image.open('input.jpg')
# Resize the image (optional).image = image.resize((800, 600))
# Convert the image to another format if needed (optional).image = image.convert('RGB')
# Save the modified image temporarily.image.save('modified_image.jpg')
# Convert the modified image to PDF.with open('output.pdf', 'wb') as f:    f.write(img2pdf.convert('modified_image.jpg'))
print("PDF generated successfully!")
Example 2: Preprocess and combine multiple images
from PIL import Imageimport img2pdf
# List of image file paths.image_files = ['image1.jpg', 'image2.png', 'image3.tiff']
# Preprocess images.processed_images = []for image_file in image_files:    image = Image.open(image_file)    image = image.resize((800, 600))  # Resize image (optional).    image = image.convert('RGB')  # Convert format (optional).    processed_image_path = f'processed_{image_file}'    image.save(processed_image_path)    processed_images.append(processed_image_path)
# Convert preprocessed images to PDF.with open('output.pdf', 'wb') as f:    f.write(img2pdf.convert(processed_images))
print("PDF generated successfully!")
8. Generating PDFs with xhtml2pdf
xhtml2pdf(opens in a new tab) converts HTML and CSS to PDF with a single function call.
Best for: Styled invoices, browser-ready reports, marketing flyers, or offline documents generated straight from web templates.
Key features
- Layout-faithful HTML → PDF — Preserves CSS, page breaks, and headers and footers.
- Embedded assets — Packs fonts and images so the PDF matches the original design.
- Multipage and complex structures — Handles tables, floats, and long documents with ease.
Installation
To use xhtml2pdf, you can install it via pip:
pip install xhtml2pdfUsage example
Here’s a simple example of how to convert an HTML file to a PDF using xhtml2pdf:
from xhtml2pdf import pisa
# Define a function to convert HTML to PDF.def convert_html_to_pdf(source_html, output_filename):    # Open output file for writing (binary mode).    with open(output_filename, "wb") as output_file:        # Convert HTML to PDF.        pisa_status = pisa.CreatePDF(source_html, dest=output_file)
    # Return `true` if the conversion was successful.    return pisa_status.err == 0
# HTML content to be converted.html_content = """<!DOCTYPE html><html lang="en"><head>    <meta charset="UTF-8">    <title>Sample PDF</title>    <style>        h1 { color: #2E86C1; }        p { font-size: 14px; }    </style></head><body>    <h1>Hello, PDF!</h1>    <p>This is a PDF generated from HTML using xhtml2pdf.</p></body></html>"""
# Convert HTML to PDF.if convert_html_to_pdf(html_content, "output.pdf"):    print("PDF generated successfully!")else:    print("PDF generation failed!")
In this example, xhtml2pdf is used to convert a simple HTML string into a PDF file named output.pdf. The library handles the HTML structure and CSS styling, enabling you to produce a well-formatted PDF.
9. Generating PDFs with Playwright
Playwright(opens in a new tab) is Microsoft’s browser automation library. It can launch headless Chromium, Firefox, or WebKit and render any HTML page to PDF server-side — with full CSS3 support, including flexbox, grid, and @media print.
Key features
- Full CSS3 rendering — Flexbox, grid, media queries, custom fonts, and JavaScript execution.
- Multiple browsers — Chromium (default), Firefox, and WebKit.
- Pixel-perfect output — Uses the same rendering engine as the browser.
- Headers, footers, page breaks — Full control via
page.pdf()options.
Best for: Server-side HTML-to-PDF generation with complex CSS layouts when you need the same rendering fidelity as a real browser.
Installation
pip install playwrightplaywright install chromiumUsage example
from playwright.sync_api import sync_playwright
with sync_playwright() as p:    browser = p.chromium.launch()    page = browser.new_page()
    page.set_content("""    <html>    <head><style>        body { font-family: sans-serif; }        h1 { color: #2E86C1; }    </style></head>    <body>        <h1>Invoice</h1>        <p>Generated with Playwright</p>    </body>    </html>    """)
    page.pdf(path="output.pdf", format="A4")    browser.close()
Playwright requires a headless browser binary (~150 MB), which makes it heavier to deploy than pure-Python alternatives. It works well on servers and Docker containers but isn’t suitable for client-side or serverless environments with tight size limits.
10. Reading and creating PDFs with PyMuPDF
PyMuPDF(opens in a new tab) is a high-performance Python binding for MuPDF. It’s primarily known for reading and manipulating PDFs, but it can also create documents from scratch.
Key features
- Fast text and image extraction — Extracts text, images, and metadata at high speed.
- PDF creation — Create new PDFs with text, images, and vector drawings.
- Page manipulation — Merge, split, rotate, crop, and reorder pages.
- Annotations — Add highlights, stamps, and free text annotations.
- OCR integration — Built-in Tesseract OCR support for scanned PDFs.
Best for: Reading and manipulating existing PDFs, extracting text/images, and fast batch processing. Also suitable for creating simple PDFs from scratch.
Licensing
PyMuPDF uses the AGPL-3.0 license. Commercial use in closed-source projects requires a commercial license from Artifex(opens in a new tab).
Installation
pip install pymupdfUsage example
import pymupdf
# Create a new PDF.doc = pymupdf.open()page = doc.new_page()
# Insert text.page.insert_text((72, 72), "Hello, PyMuPDF!", fontsize=16)
# Save.doc.save("output.pdf")doc.close()
PyMuPDF can also extract text from existing PDFs:
import pymupdf
doc = pymupdf.open("existing.pdf")for page in doc:    print(page.get_text())
Comparison: Which Python PDF library is right for you?
| Library | Type | Ease of use | CSS support | Deployment complexity | License |
|---|---|---|---|---|---|
| Nutrient API | Cloud API | High | Full CSS3 | None (cloud) | Commercial |
| FPDF2 | Canvas | Easy | None | pip only | MIT |
| ReportLab | Canvas | Moderate | None | pip only | BSD / Commercial |
| PDFKit | HTML to PDF | Moderate | Full | Needs wkhtmltopdf binary (archived Jan 2023) | MIT |
| WeasyPrint | HTML to PDF | Moderate | Full CSS3 | Needs Pango system libs | BSD 3-Clause |
| borb | Canvas | Moderate | None | pip only | AGPL / Commercial |
| img2pdf | Image to PDF | Easy | None | pip only | GNU LGPL |
| xhtml2pdf | HTML to PDF | Easy | CSS 2.1 + some CSS3 | pip only | Apache |
| Playwright | HTML to PDF | Moderate | Full CSS3 | Needs browser binary (~150 MB) | Apache |
| PyMuPDF | Canvas + read | Moderate | None | pip only (C extension) | AGPL / Commercial |
Recommendations
- Nutrient API — Production apps needing forms, signatures, annotations, OCR, and support
- Playwright — Full CSS3 rendering server-side when you need pixel-perfect output
- WeasyPrint — HTML/CSS rendering with no browser binary
- PDFKit — Existing integrations only; wraps wkhtmltopdf, which was archived in January 2023
- xhtml2pdf — Simple HTML to PDF, pure Python
- ReportLab — Custom graphics, charts, and complex layouts
- FPDF2 — Basic PDFs with no dependencies
- borb — Rich documents with tables, barcodes, and charts
- PyMuPDF — Reading, extracting, and manipulating existing PDFs
- img2pdf — Fast lossless image-to-PDF conversion
Quick guide
- Simple PDF generation → FPDF2 or img2pdf
- HTML/CSS conversion → WeasyPrint or Playwright (PDFKit for existing wkhtmltopdf integrations only)
- Complex layouts and charts → ReportLab
- Read/manipulate existing PDFs → PyMuPDF
- Production apps with forms and signatures → Nutrient API
Common issues while generating PDFs in Python
Here are some problems you may run into when generating PDFs in Python, along with solutions and best practices.
1. Handling large documents
- Problem — Generating large PDFs with many pages, images, or complex content can lead to high memory consumption and slow processing times.
- Solutions and best practices:
- Incremental PDF writing — Instead of generating an entire document in memory, write pages to disk incrementally with streaming options using libraries like
reportlab. - Optimize image sizes — Compress and resize images before adding them to a PDF to reduce memory usage.
- Chunk processing — Divide content generation into smaller chunks and process them sequentially to avoid memory overload.
- Incremental PDF writing — Instead of generating an entire document in memory, write pages to disk incrementally with streaming options using libraries like
Example
pdf = FPDF()for _ in range(1000): # Instead of loading all pages at once, process incrementally. pdf.add_page() pdf.cell(200, 10, text="Chunk processing example", new_x="LMARGIN", new_y="NEXT")pdf.output("large_output.pdf")This example generates 1,000 pages, processing each one incrementally without loading all pages at once, improving memory usage.
2. Managing memory usage
- Problem — Memory leaks or excessive memory consumption when processing multiple PDF files or handling large datasets.
- Solutions and best practices:
- Use generators — Leverage Python generators to process data lazily instead of loading everything into memory at once.
- Garbage collection — Explicitly clear unused objects using
gc.collect()after processing large chunks of data. - Use streaming APIs — Libraries like
pdfkitsupport streaming outputs instead of storing content in memory.
Example
import gcfrom fpdf import FPDF
pdf = FPDF()pdf.add_page()pdf.set_font("Helvetica", size=12)pdf.cell(200, 10, text="Memory management example", new_x="LMARGIN", new_y="NEXT")pdf.output("output.pdf")
# Clear memory.del pdfgc.collect()
This example creates a PDF and then explicitly clears the memory by deleting the object and invoking garbage collection to optimize memory usage.
3. Ensuring cross-platform compatibility
- Problem — PDF output may look different on various operating systems due to font availability or encoding issues.
- Solutions and best practices:
- Embed fonts — Use built-in font embedding features in libraries like
FPDForreportlabto ensure consistency across platforms. - Use standard fonts — Stick to common fonts like Helvetica, Times, and Courier to avoid OS-specific font dependencies.
- Encoding handling — Always specify text encoding (e.g. UTF-8) to avoid compatibility issues when generating multilingual PDFs.
- Embed fonts — Use built-in font embedding features in libraries like
Example
pdf.set_font("Helvetica", size=12, style='B') # Built-in font, no OS dependency.pdf.set_auto_page_break(auto=True, margin=15)This example uses a built-in font (Helvetica) and sets page breaks, ensuring compatibility across different systems with consistent font handling.
4. Optimizing performance
- Problem — PDF generation can be slow, especially with large datasets, high-resolution images, or complex formatting.
- Solutions and best practices:
- Minimize draw calls — Reduce the number of drawing operations by batching similar elements together.
- Use cached resources — Cache repeated elements (e.g. logos, headers) to avoid redundant processing.
- Asynchronous processing — Use asynchronous processing for high-performance document generation in web applications.
Example
from concurrent.futures import ThreadPoolExecutor
def generate_pdf_chunk(data):    pdf = FPDF()    pdf.add_page()    pdf.set_font("Helvetica", size=12)    pdf.cell(200, 10, text=data, new_x="LMARGIN", new_y="NEXT")    pdf.output(f"chunk_{data}.pdf")
with ThreadPoolExecutor() as executor:    executor.map(generate_pdf_chunk, ["Page 1", "Page 2", "Page 3"])
This example demonstrates parallel PDF generation with a thread pool, allowing chunks of data to be processed simultaneously, improving overall speed.
5. Maintaining layout consistency
- Problem — Inconsistent layout issues arise when adding dynamic content such as tables, charts, or paragraphs.
- Solutions and best practices:
- Define layout templates — Use a consistent document template to standardize layout across all generated PDFs.
- Auto-adjust layout — Use libraries that support automatic content fitting and page breaks, such as
reportlab. - Test different screen sizes — Check the final PDF layout on different devices to ensure consistency.
Example
pdf.set_auto_page_break(auto=True, margin=10)pdf.multi_cell(0, 10, "This is a long paragraph that will wrap automatically.")This example uses multi_cell to handle long paragraphs automatically, ensuring text wraps properly without breaking the layout.
Conclusion
This guide covered 10 Python PDF libraries — canvas-based tools (FPDF2, ReportLab, borb, PyMuPDF), HTML-to-PDF engines (WeasyPrint, PDFKit, xhtml2pdf, Playwright), and Nutrient’s cloud API.
Choose based on your needs:
- Simple PDFs — FPDF2 or img2pdf
- HTML conversion — WeasyPrint, PDFKit, or Playwright
- Complex layouts — ReportLab
- Read/manipulate existing PDFs — PyMuPDF
- Production apps with forms and signatures — Nutrient API
Start your free trial(opens in a new tab) to get 50 API credits.
FAQ
FPDF is a lightweight library for generating simple PDFs with text, images, and basic formatting. It requires no external dependencies.
Yes. You can generate PDFs with embedded images using libraries like ReportLab, WeasyPrint, and img2pdf. Each of these libraries provides support for adding images to your PDFs, with img2pdf being specifically designed for converting images to PDFs.
Pillow preprocesses images (resize, crop, convert formats) before passing them to img2pdf for PDF conversion.
Nutrient API supports HTML-to-PDF conversion, fillable forms, document merging, watermarks, annotations, OCR, and digital signatures. It has an official Python client library.
PDFKit wraps wkhtmltopdf to convert HTML documents into PDFs with CSS styling and JavaScript execution.
Use WeasyPrint or PDFKit to render an HTML template (with CSS) into a PDF. For production use, Nutrient API handles HTML-to-PDF conversion server-side with support for custom fonts, headers, footers, and page numbers — no local browser engine required.
For simple documents, FPDF2 is free, dependency-free, and easy to use. For HTML to PDF, WeasyPrint is open source and handles CSS well. ReportLab has a free open source version (ReportLab Open Source) suitable for most non-commercial projects.
ReportLab is the most capable free library for data-heavy PDFs — it supports tables, flowables, and its reportlab.graphics module for charts. For chart-heavy reports, combine matplotlib (for chart images) with ReportLab or Nutrient API to embed them in PDF output.