


How to convert PDF to JPG using Java
Table of contents
Convert PDF files to JPG images using Nutrient’s PDF-to-JPG Java API. Create a free account, get API credentials, and implement conversion using OkHttp and JSON libraries with customizable DPI settings. Combine with 30+ other API tools for merging, OCR, and watermarking.
Convert PDF files to JPG images using Nutrient’s PDF-to-JPG Java API. Start with 50 free credits — no payment required. Different operations consume different credit amounts, so the number of PDF documents you can generate will vary. Create a free account(opens in a new tab) to get your API key.
Why convert PDF to JPG?
Converting PDF files to JPG is essential for workflows requiring image formats. Common use cases include:
- Web optimization — Convert PDFs to JPG for faster page loading and better web compatibility, especially for document previews and galleries.
- Thumbnail generation — Create preview images for document management systems, file browsers, and content libraries.
- Image processing pipelines — Extract pages as images for OCR, computer vision analysis, or machine learning workflows.
- Social media sharing — Convert documents to shareable image formats for platforms that don’t support PDF embedding.
- Archive and preview — Generate lightweight previews of PDF documents without requiring full PDF rendering capabilities.
The PDF-to-JPG API automates this process in your workflow.
Nutrient DWS Processor API
Converting PDF to JPG is one of 30+ operations available through our PDF API tools. Combine PDF-to-JPG conversion with other tools for complex workflows:
- Converting various file formats and extracting pages as images
- Converting PDFs to images after watermarking and flattening
- Processing PDFs with page manipulation before image export
Your account includes access to all PDF API tools.
Step 1 — Creating a free account on Nutrient
Go to the signup page(opens in a new tab) to create your free account.
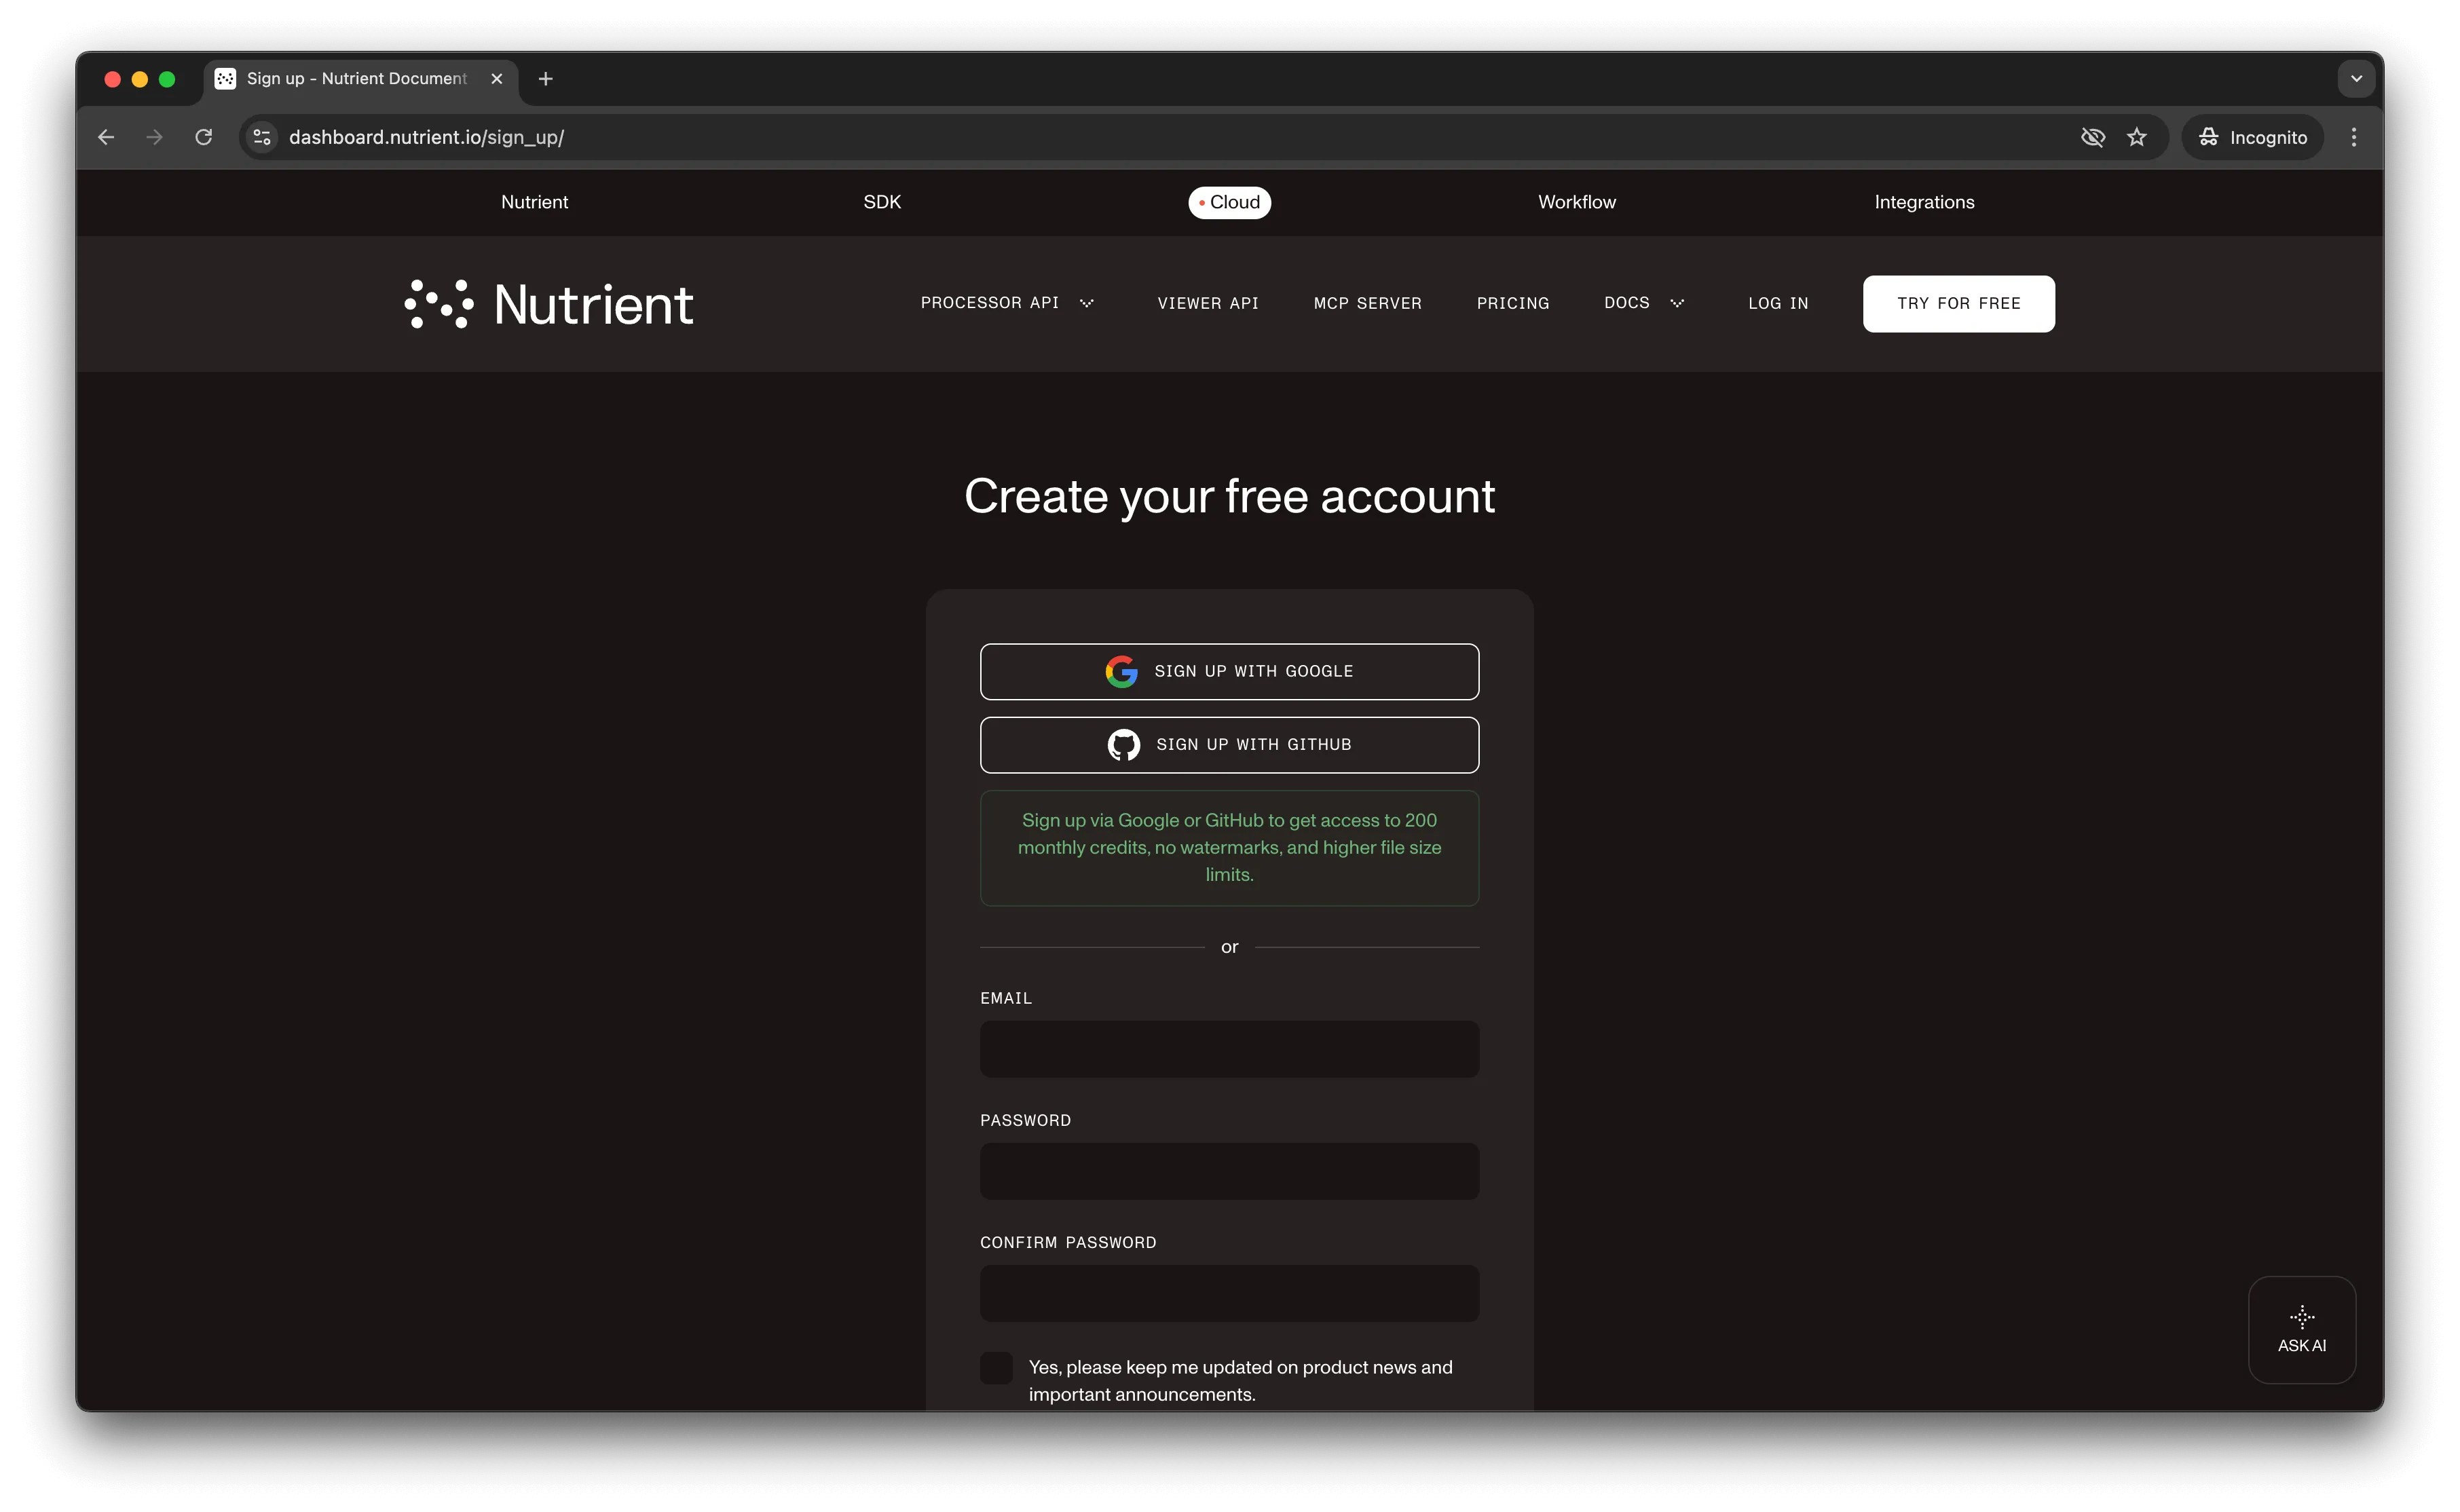
After account creation, the dashboard shows your plan details.
You start with 50 credits and access to all PDF API tools.
Step 2 — Obtaining the API key
After email verification, get your API key from the dashboard. Click API keys in the left menu to see your keys.
4Convert PDF to JPG Java API Key](@/assets/images/blog/2022/how-to-merge-pdfs-using-python/image1.png)
Copy the Live API key — you’ll need it for the PDF-to-JPG API.
Step 3 — Setting up folders and files
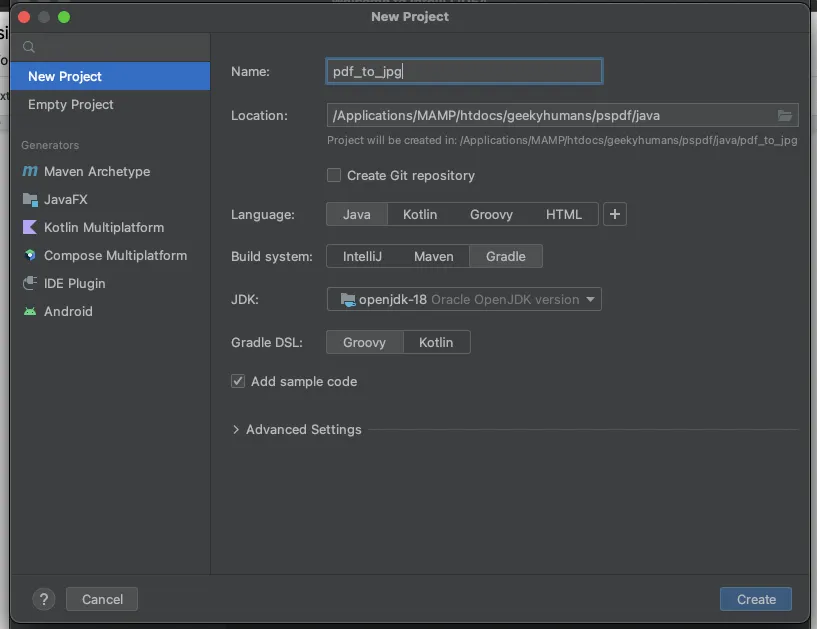
For this tutorial, use IntelliJ IDEA as your code editor. Create a new project called pdf_to_jpg. You can choose any location, but select Java as the language, Gradle as the build system, and Groovy as the Gradle DSL.
Create a new directory in your project. Right-click your project’s name and select New > Directory. From there, choose the src/main/java option. Create a class file inside the src/main/java folder called processor.java, and create two folders called input_documents and processed_documents in the root folder.
Copy your PDF file to the input_documents folder and rename it to document.pdf. Use the demo document if needed.
Your folder structure will look like this:
pdf_to_jpg├── input_documents| └── document.pdf├── processed_documents├── src| └── main| └── java| └── processor.javaStep 4 — Installing dependencies
Install two libraries:
- OkHttp — This library makes API requests.
- JSON — This library will parse the JSON payload.
Open the build.gradle file and add the following dependencies to your project:
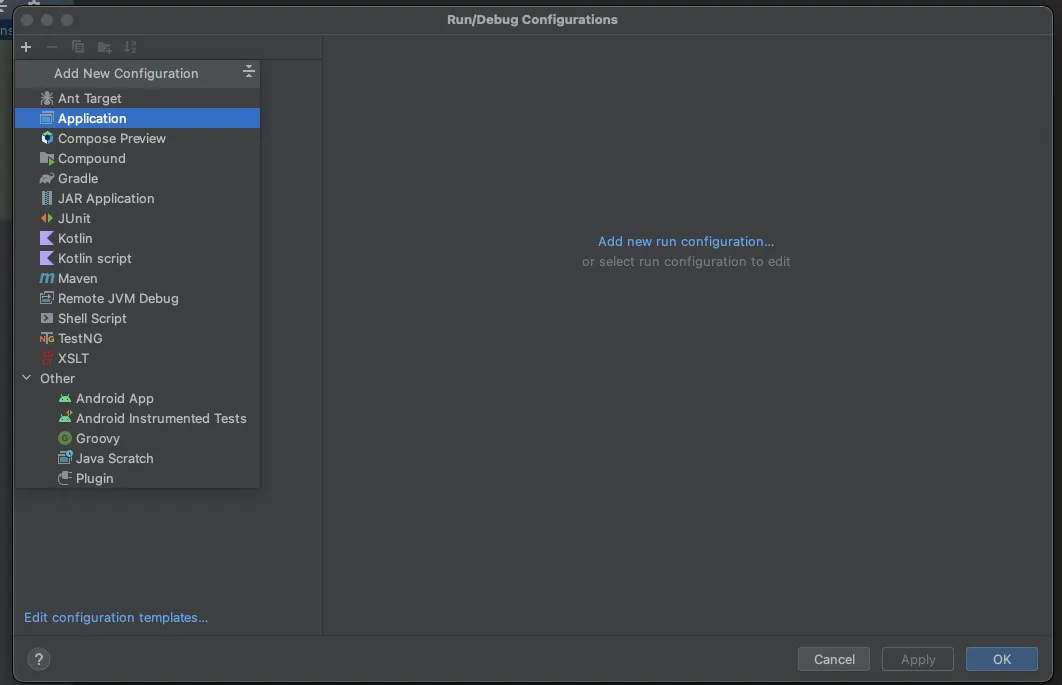
dependencies { implementation 'com.squareup.okhttp3:okhttp:4.9.2' implementation 'org.json:json:20210307'}Click the Add Configuration button in IntelliJ IDEA to open a dropdown menu.
![]()
Select Application from the menu.
Fill in the configuration form. Most fields are prefilled, but select java 18 in the module field and add -cp pdf_to_jpg.main as the main class and Processor in the field below it.
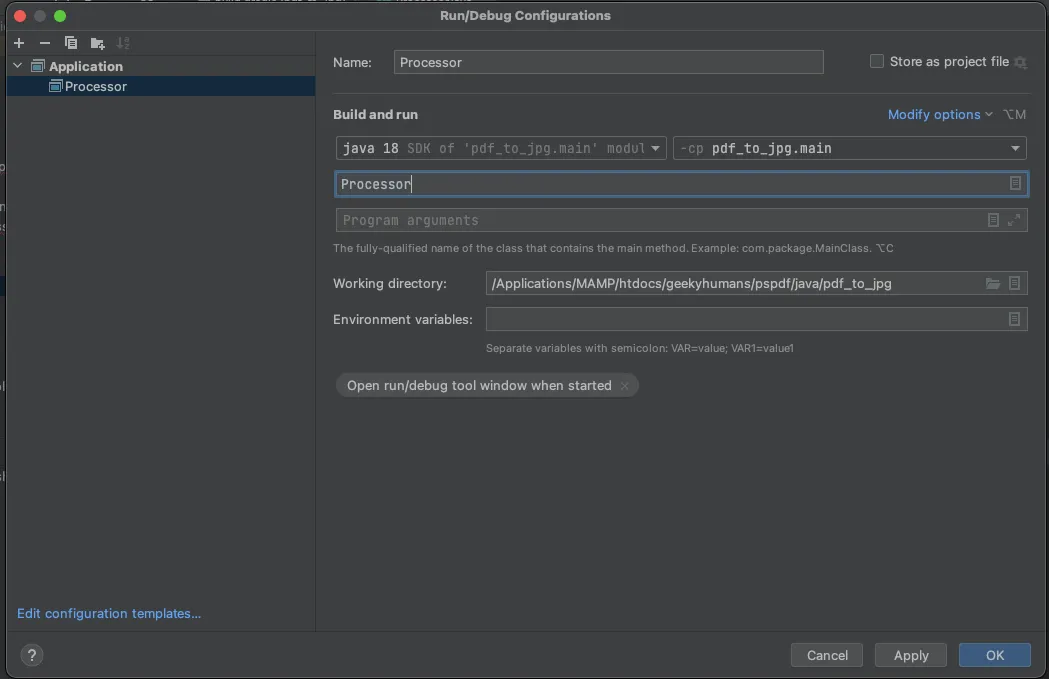
Click Apply to save the settings.
Step 5 — Writing the code
Open the processor.java file and paste the code below into it:
package com.example.pspdfkit;
import java.io.File;import java.io.IOException;import java.nio.file.FileSystems;import java.nio.file.Files;import java.nio.file.StandardCopyOption;
import org.json.JSONArray;import org.json.JSONObject;
import okhttp3.MediaType;import okhttp3.MultipartBody;import okhttp3.OkHttpClient;import okhttp3.Request;import okhttp3.RequestBody;import okhttp3.Response;
public final class Processor {  public static void main(final String[] args) throws IOException {    final RequestBody body = new MultipartBody.Builder()      .setType(MultipartBody.FORM)      .addFormDataPart(        "document",        "document.pdf",        RequestBody.create(          MediaType.parse("application/pdf"),          new File("input_documents/document.pdf")        )      )      .addFormDataPart(        "instructions",        new JSONObject()          .put("parts", new JSONArray()            .put(new JSONObject()              .put("file", "document")            )          )          .put("output", new JSONObject()            .put("type", "image")            .put("format", "jpg")            .put("dpi", 500)          ).toString()      )      .build();
    final Request request = new Request.Builder()      .url("https://api.nutrient.io/build")      .method("POST", body)      .addHeader("Authorization", "Bearer YOUR_API_KEY_HERE")      .build();
    final OkHttpClient client = new OkHttpClient()      .newBuilder()      .build();
    final Response response = client.newCall(request).execute();
    if (response.isSuccessful()) {      Files.copy(        response.body().byteStream(),        FileSystems.getDefault().getPath("processed_documents/image.jpg"),        StandardCopyOption.REPLACE_EXISTING      );    } else {      // Handle the error.      throw new IOException(response.body().string());    }  }}
Make sure to replace YOUR_API_KEY_HERE with your API key.
Code explanation
The code imports necessary packages and creates a processor class. In the main function, it builds the request body containing instructions for converting the PDF, and then calls the API to process these instructions.
The execute() function sends the request. The response is saved to image.jpg in the processed_documents folder.
Output
To run the code, click the Run button (green arrow) next to the Processor configuration field.

After execution, you’ll find image.jpg in the processed_documents folder.
The folder structure will look like this:
pdf_to_jpg├── input_documents| └── document.pdf├── processed_documents| └── image.jpg├── src| └── main| └── java| └── processor.javaAdditional resources
Explore more ways to work with Nutrient API:
- Postman collection — Test API endpoints directly in Postman
- Zapier integration — Automate document workflows without code
- MCP Server — PDF automation for LLM applications
- [JavaScript client][] — Official JavaScript/TypeScript library
Conclusion
This post covered PDF-to-JPG conversion using the Java API.
Integrate these functions into your existing applications. The same API token works for other operations like merging documents, adding watermarks, and more. Sign up(opens in a new tab) for a free trial.
FAQ
No. Start with a free account that provides 50 credits for processing documents. Different operations consume different amounts of credits, so you can process varying numbers of documents depending on the operations you use.
Yes. The API maintains high image quality during conversion. Control output quality using the dpi parameter (shown as 500 in the example). Higher DPI values create larger files with better quality. Standard web images use 72–150 DPI, while printing requires 300+ DPI.
Check the response status with response.isSuccessful(). The code example includes basic error handling that throws an IOException with the response body. For production, parse the error response JSON to provide specific error messages to users.
Yes. Add multiple file parts to the MultipartBody with different file names and reference them in the parts array. This allows batch processing of multiple PDFs to separate JPG images in one API call.