


Workflow diagrams: Examples, symbols, and how to build one that actually runs
Table of contents
- Standard workflow diagram symbols and what each one means
- Five real-world examples: purchase approval, onboarding, document review, IT support, and vendor onboarding
- Step-by-step guide to creating a workflow diagram
- How to build diagrams that execute as real automation with Nutrient Workflow Automation
A workflow diagram is a visual representation of the steps, decisions, and handoffs in a business process. It shows who does what and in what order, as well as what happens when conditions change — like a request exceeding a budget threshold or a document needing legal review.
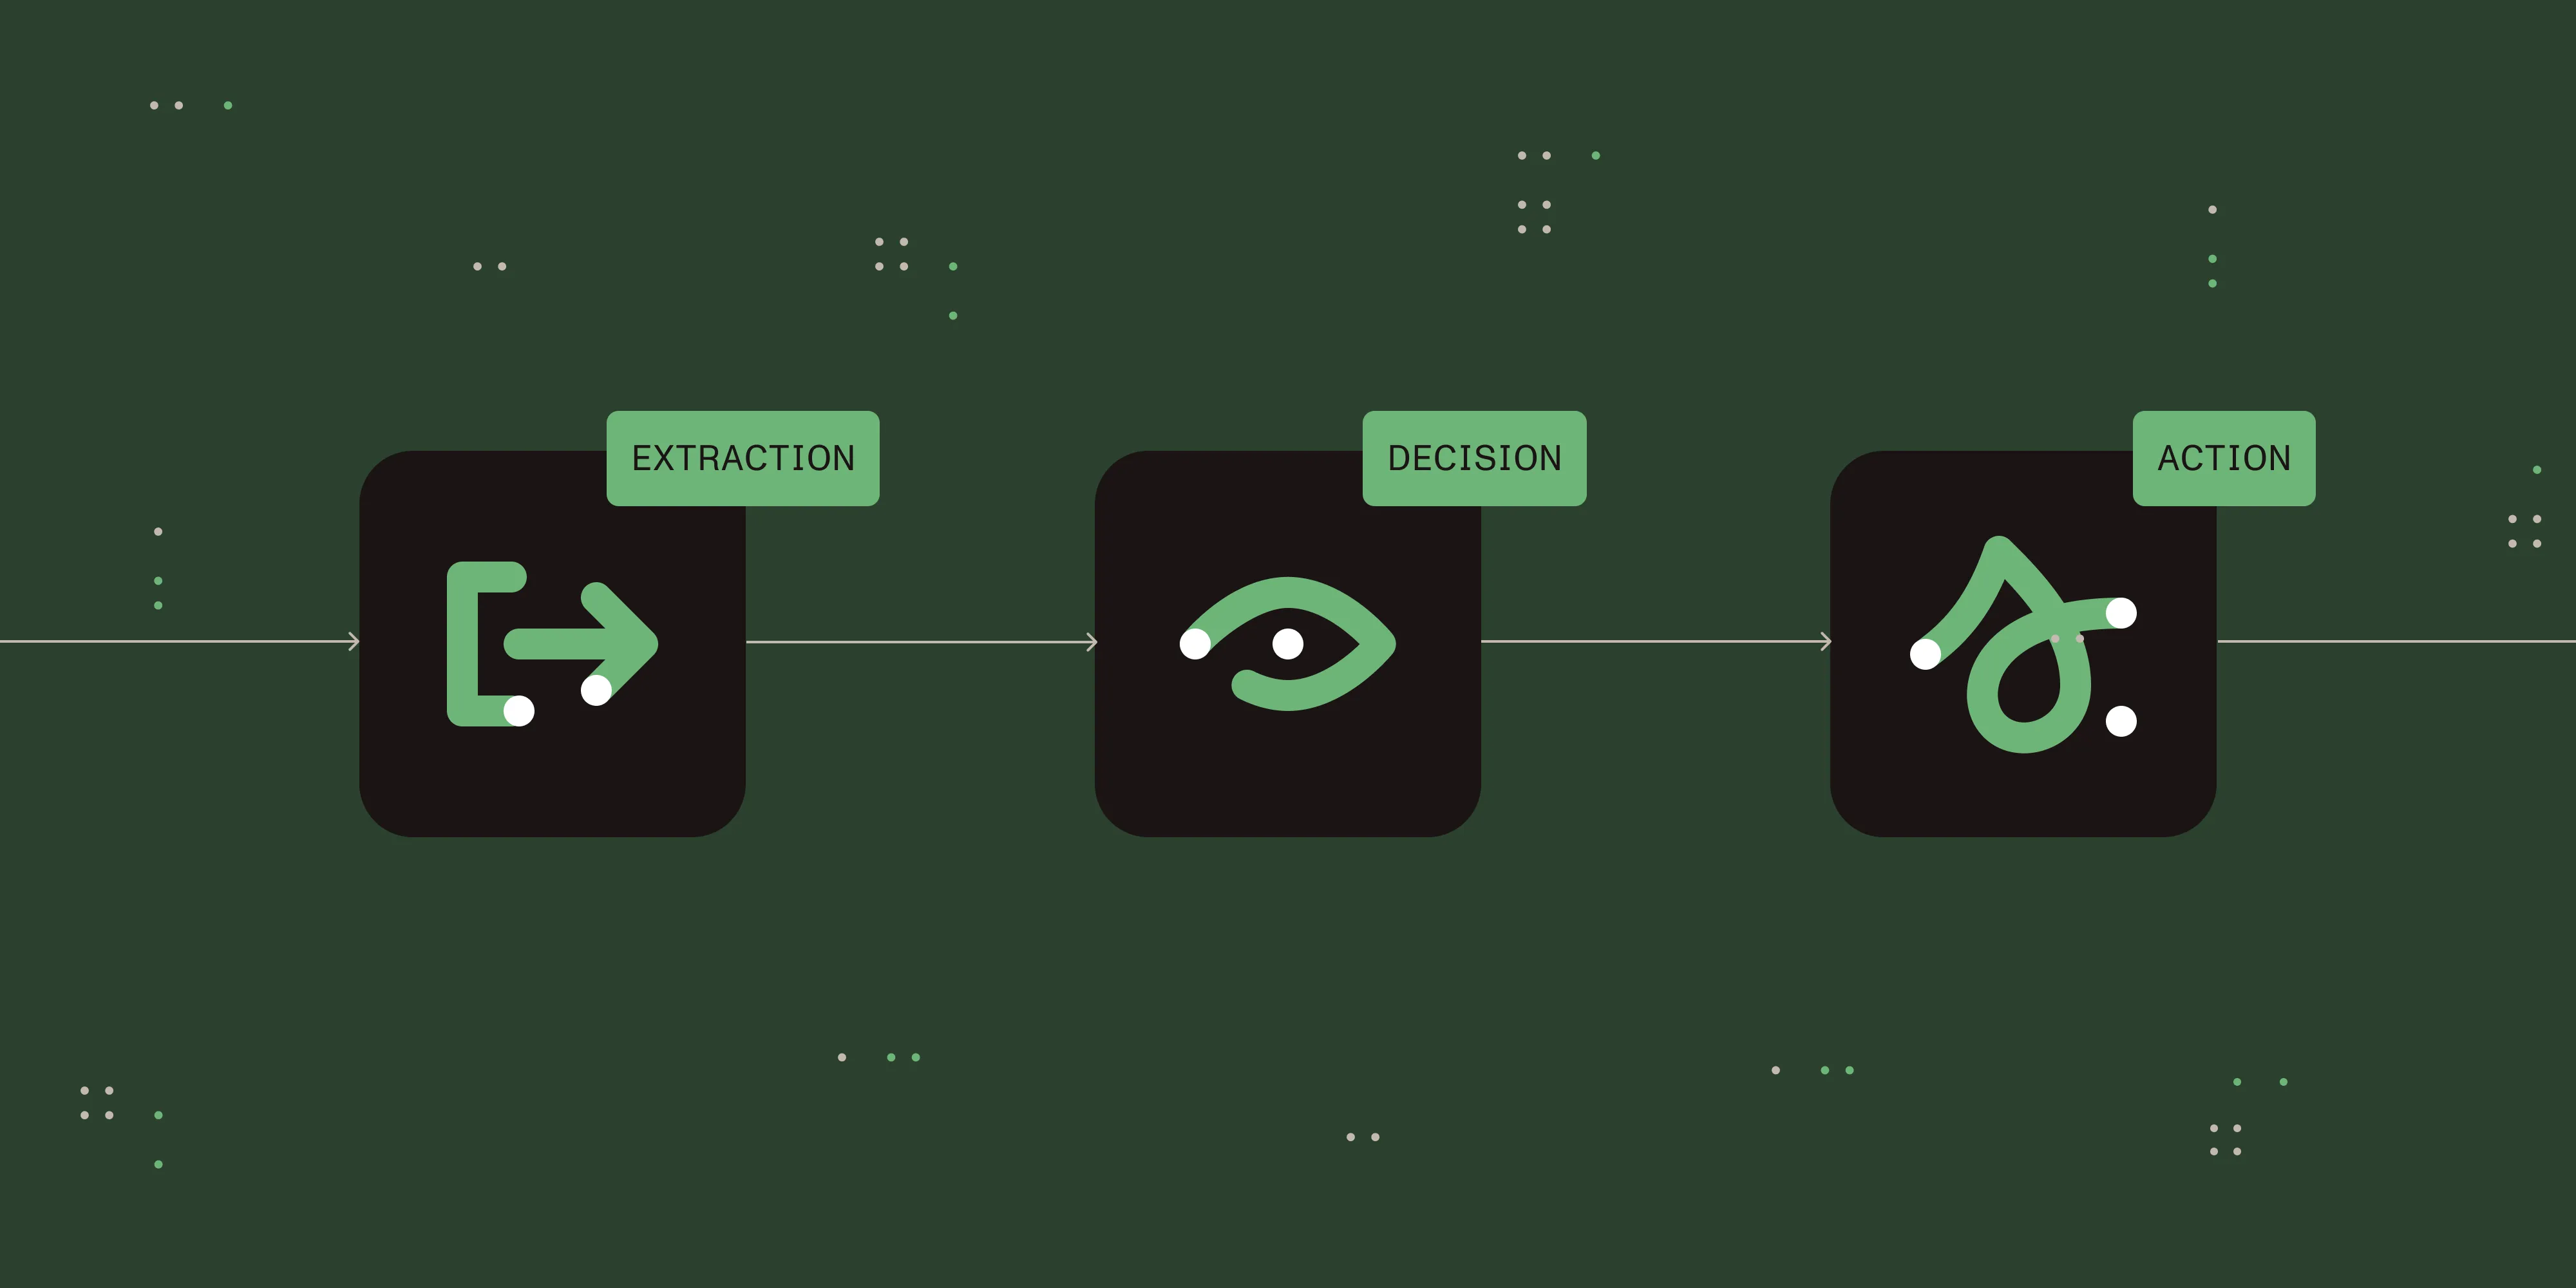
Workflow diagrams are useful for understanding how work flows through an organization. But there’s a gap between drawing a diagram and running a process. This guide covers both: the fundamentals of workflow diagrams (types, symbols, and examples) and how to turn a diagram into a workflow that actually executes — with automated routing, approvals, and notifications.
What is a workflow diagram?
A workflow diagram maps out a process from start to finish using standardized shapes and arrows. Each shape represents a step (a task, a decision, or an event), and the arrows show the flow between steps.
The purpose is clarity. When a process lives in someone’s head or in a paragraph of text, it’s hard to spot bottlenecks, missing handoffs, or unnecessary steps. A workflow diagram makes the structure visible so teams can analyze, improve, and — ideally — automate it.
Workflow diagrams go by several names: workflow charts, workflow flowcharts, workflow process diagrams, business process diagrams, or process flow diagrams.
Workflow diagram symbols and what they mean
Workflow diagrams use a standard set of workflow symbols, originally defined by ANSI and adopted across most diagramming tools. Here are the core symbols:
Oval (terminator) — Marks the start and end of a workflow. Every diagram begins and ends with an oval. Labels are typically “Start” and “End,” or a specific trigger like “Request submitted” and “Request approved.”
Rectangle (process step) — Represents a task or action. This is the most common shape in any workflow. Examples: “Review application,” “Generate invoice,” and “Assign to team lead.”
Diamond (decision) — Represents a yes/no or conditional branch. The workflow splits into two or more paths based on a condition. Example: “Is the amount over $10K?” with “Yes” going to senior approval and “No” going to automatic approval.
Parallelogram (input/output) — Represents data entering or leaving the process. Example: “Vendor submits quote” (input) or “Approval notification sent” (output).
Arrow (flow line) — Connects shapes and shows the direction of the process. Arrows can split (after a decision) and merge (when parallel paths rejoin).
Swimlane (role or department) — Horizontal or vertical lanes that group steps by who performs them. Swimlanes make it clear when work passes from one person or team to another — the most common source of delays and dropped handoffs.
Workflow diagram examples
The following five examples show how workflow diagrams apply to common business processes, from purchase approvals to vendor onboarding.
Example 1: Purchase approval workflow
This is one of the most common business workflows. An employee submits a purchase request, and the workflow routes it through the right approvals based on the dollar amount. For a detailed look at purchase requisition automation, see our requisition form guide.
Flow:
- Employee submits request
- System checks amount
- If under $1K: auto-approved
- If $1K–$10K: manager approval
- If over $10K: manager + finance approval
- Purchase order generated
- Vendor notified
The decision diamonds at the amount thresholds are the key feature. Without them, every purchase — from a $50 office supply order to a $100K equipment purchase — would follow the same path. The diagram makes the routing logic explicit.
Example 2: Employee onboarding workflow
Onboarding involves multiple departments acting in parallel: HR sets up payroll, IT provisions accounts, the hiring manager assigns a buddy, and facilities prepares the workspace.
Flow:
- Offer accepted
- HR initiates onboarding
- Parallel branches:
- IT: create accounts + provision laptop
- HR: benefits enrollment + payroll setup
- Manager: assign buddy + schedule first week
- All complete
- Day one orientation
The parallel branches are what make onboarding diagrams useful. Without the diagram, these tasks happen sequentially by accident — IT waits for HR, HR waits for the manager — and the new hire’s first day is disorganized.
Example 3: Document review and approval workflow
A document (contract, policy, report) goes through review, revision, and approval before publication or execution. Learn more about building document approval workflows.
Flow:
- Author submits draft
- Reviewer assigned
- Reviewer comments and marks up document
- Author revises
- Reviewer re-reviews
- If approved: route to final approver
- Final approver signs
- Document published/executed
- If rejected at any stage: return to author with comments
This workflow is where static diagrams reach their limit. Drawing the diagram is straightforward. Actually tracking who has the document, what comments were made, whether the latest version was reviewed, and getting a signature — that requires automation.
Example 4: IT support ticket workflow
IT support workflows depend on priority-based routing and escalation timers to keep response times within SLA targets.
Flow:
- User submits ticket
- Auto-classify by category and priority
- If P1 (critical): page on-call engineer immediately
- If P2–P4: assign to queue
- Engineer investigates
- If escalation needed: route to senior engineer
- Resolution applied
- User confirms fix
- Ticket closed
Example 5: Vendor onboarding workflow
Flow:
- Procurement creates vendor profile
- Vendor submits intake form with company details and documents
- Compliance verifies certifications
- Legal reviews contract terms
- Finance sets up payment
- All checks passed
- Vendor approved and activated
Try Nutrient Workflow Automation free for 14 days.
How to create a workflow diagram
Follow these five steps to go from an undocumented process to a clear, validated workflow diagram.
Step 1: Define the boundaries
Start by naming the workflow and defining where it starts and ends. “Purchase approval” starts with “Employee submits request” and ends with “Purchase order sent to vendor.” Everything between those two points is in scope. Everything outside is a different workflow.
Step 2: List every step
Before drawing anything, write out every task in the process. Talk to the people who actually do the work — not just the manager who thinks they know how it works. You’ll almost always discover steps that nobody documented: informal approvals, workaround emails, and manual copy-paste between systems.
Step 3: Identify decisions and branches
For each step, ask: “Does this always happen the same way, or does it depend on something?” Every “it depends” becomes a decision diamond. Common conditions: dollar amount thresholds, document type, department, priority level, and customer tier.
Step 4: Map the roles
Assign every step to a person or team using swimlanes. This immediately reveals handoff points — the places where work passes from one person to another. Handoffs are where most workflows break down. If your diagram has six handoffs, you have six potential delay points.
Step 5: Draw and validate
Now draw the diagram using your preferred tool. Start simple — you can always add detail later. Then walk through the diagram with the people who do the work. Ask: “Is this what actually happens?” You’ll catch exceptions, missing steps, and incorrect assumptions.
For more on process mapping methodology, see our guide to process mapping examples.
From static diagram to running workflow
The problem with workflow diagrams is that they’re documentation. Someone draws the diagram, everyone nods, and then the actual process continues to run through email, spreadsheets, and Slack messages. The diagram sits in a shared drive, slowly becoming outdated.
The alternative is to build workflows where the diagram is the automation. The visual design of the workflow — the steps, decisions, branches, and assignments — directly controls how work flows through the system. When you change the diagram, the process changes.
What executable workflow diagrams look like
In a traditional diagram, a decision diamond that says “Is amount > $10K?” is just a shape. In an executable workflow, that diamond is a real rule that evaluates the actual dollar amount on the submitted request and routes it accordingly.
Here’s the key difference:
Static diagram — You drew the routing logic. A human still has to look at the amount and forward the email to the right person.
Executable workflow — The system reads the amount field, evaluates the condition, and sends the request to the correct approver. No human routing required.
This applies to every element: Task assignments become real assignments with notifications and SLAs. Parallel branches become simultaneous work streams. Document review steps become in-app annotation and approval.
Building executable workflow diagrams with Nutrient
Nutrient Workflow Automation uses a visual workflow designer where the diagram you build is the workflow that runs. There’s no separate “draw the diagram” and “implement the code” step — they’re the same thing.
Visual drag-and-drop designer — Build your workflow by placing steps, decisions, and branches on a canvas. Connect them with arrows. Set conditions on decision points using form field values, user roles, or document properties. The diagram you see is the logic that executes.
Smart routing rules — Decision diamonds aren’t decorative. Set rules like “If amount > $10K AND department = Engineering, route to VP Engineering and Finance in parallel.” Rules evaluate against real form data at runtime.
Parallel branches — When two teams need to act simultaneously (legal review + finance review), drag both branches from the same point. The workflow waits for both to complete before proceeding.
Task assignment with SLAs — Each process step assigns to a specific person or role, with a deadline. If the deadline passes, the system auto-escalates. Approvers get push notifications on the Nutrient Workflow mobile app.
Document handling (optional add-on) — When a workflow step involves reviewing or signing a document, reviewers annotate and approve directly inside the workflow. Integrated signing means no external eSignature tool. The document, the comments, and the approval decision stay together.
AI data extraction (optional add-on) — When workflow steps involve documents (invoices, contracts, certificates), Nutrient’s AI extracts key data and maps it to workflow fields. The diagram can branch based on extracted data — for example, routing invoices differently based on the vendor or amount pulled from the PDF.
Dashboards and analytics — See where requests are in the workflow in real time. Identify which steps are bottlenecks (longest average time), which approvers are slow, and how throughput changes over time.
Build workflow diagrams that execute — with routing, approvals, and audit trails.
Workflow diagram templates
Starting from scratch is harder than adapting an existing template. These workflow diagram template patterns cover the most common use cases:
Sequential approval — A straight sequence where each step must complete before the next begins. Use for: simple approvals, document sign-offs, content review.
Threshold-based routing — submission is checked against a value, then routed to a low path or high path. Use for: purchase approvals, expense reports, contract review based on deal size.
Parallel review — submission splits into parallel paths that all must complete before merging into a final approval. Use for: cross-functional reviews, onboarding, vendor qualification.
Escalation chain — task is assigned with a timer; if not completed, it escalates and reassigns; if still not completed, it escalates to a manager. Use for: SLA-driven processes, support tickets, time-sensitive approvals.
Loop with revision — submission goes to review; if approved, it proceeds; if rejected, it returns to the submitter with comments for revision and resubmission. Use for: document review, creative approval, compliance review.
Each of these templates maps directly to the drag-and-drop elements in Nutrient’s visual workflow designer — you can build any of them in minutes.
Key takeaways
Workflow diagrams make business processes visible, analyzable, and improvable. They use a standard set of symbols (ovals, rectangles, diamonds, arrows, and swimlanes) to map out who does what and in what order, as well as what happens at each decision point.
The biggest value comes when the diagram is not just documentation — it’s the workflow itself. Tools that let you design a workflow visually and have it execute automatically eliminate the gap between “how we planned it” and “how it actually runs.”
Explore Nutrient Workflow Automation to build diagrams that route, approve, and track automatically.
FAQ
A workflow diagram is a visual representation of a business process that shows the steps, decisions, and handoffs from start to finish. It uses standardized shapes — ovals for start/end, rectangles for tasks, diamonds for decisions, and arrows for flow direction — to map out how work moves through an organization.
The standard symbols are: ovals (start/end), rectangles (process steps or tasks), diamonds (decision points with yes/no branches), parallelograms (inputs/outputs), arrows (flow direction), and swimlanes (role or department groupings). These shapes were originally defined by ANSI and are used across most diagramming tools.
The six core workflow symbols are: the rectangle (a task or action step), the diamond (a decision point with yes/no branches), the oval or terminator (marks the start and end of the process), the arrow (shows flow direction between steps), the parallelogram (data or documents entering or leaving the process), and the swimlane (groups steps by the person or department responsible). These same symbols apply whether you call it a workflow diagram, a workflow chart, or a process flowchart.
The terms are often used interchangeably — you’ll also see “workflow chart,” “workflow flowchart,” and “workflow process diagram” used as synonyms. A flowchart is the broader category — any diagram that shows a sequence of steps. A workflow diagram is a flowchart specifically focused on business processes, with emphasis on who performs each step, handoffs between people or teams, and decision-based routing. Workflow diagrams frequently use swimlanes to show role assignments, which generic flowcharts may not.
Yes, with the right tool. Traditional diagramming tools (Lucidchart, Visio, Miro) produce static images. Workflow automation platforms like Nutrient Workflow Automation let you build a visual diagram where each element — tasks, decisions, branches, assignments — executes as real automation. The diagram you design is the logic that routes requests, assigns tasks, enforces SLAs, and sends notifications.
Start by defining the process boundaries (where it starts and ends). List every step by talking to the people who do the work. Identify decision points where the process branches. Map roles using swimlanes to show handoffs. Then draw the diagram and validate it with the team. For processes you want to automate, build the diagram directly in a workflow automation tool so it executes as a real process.