From Zero to AI: Building custom chat interfaces with Nutrient on Android
Table of contents
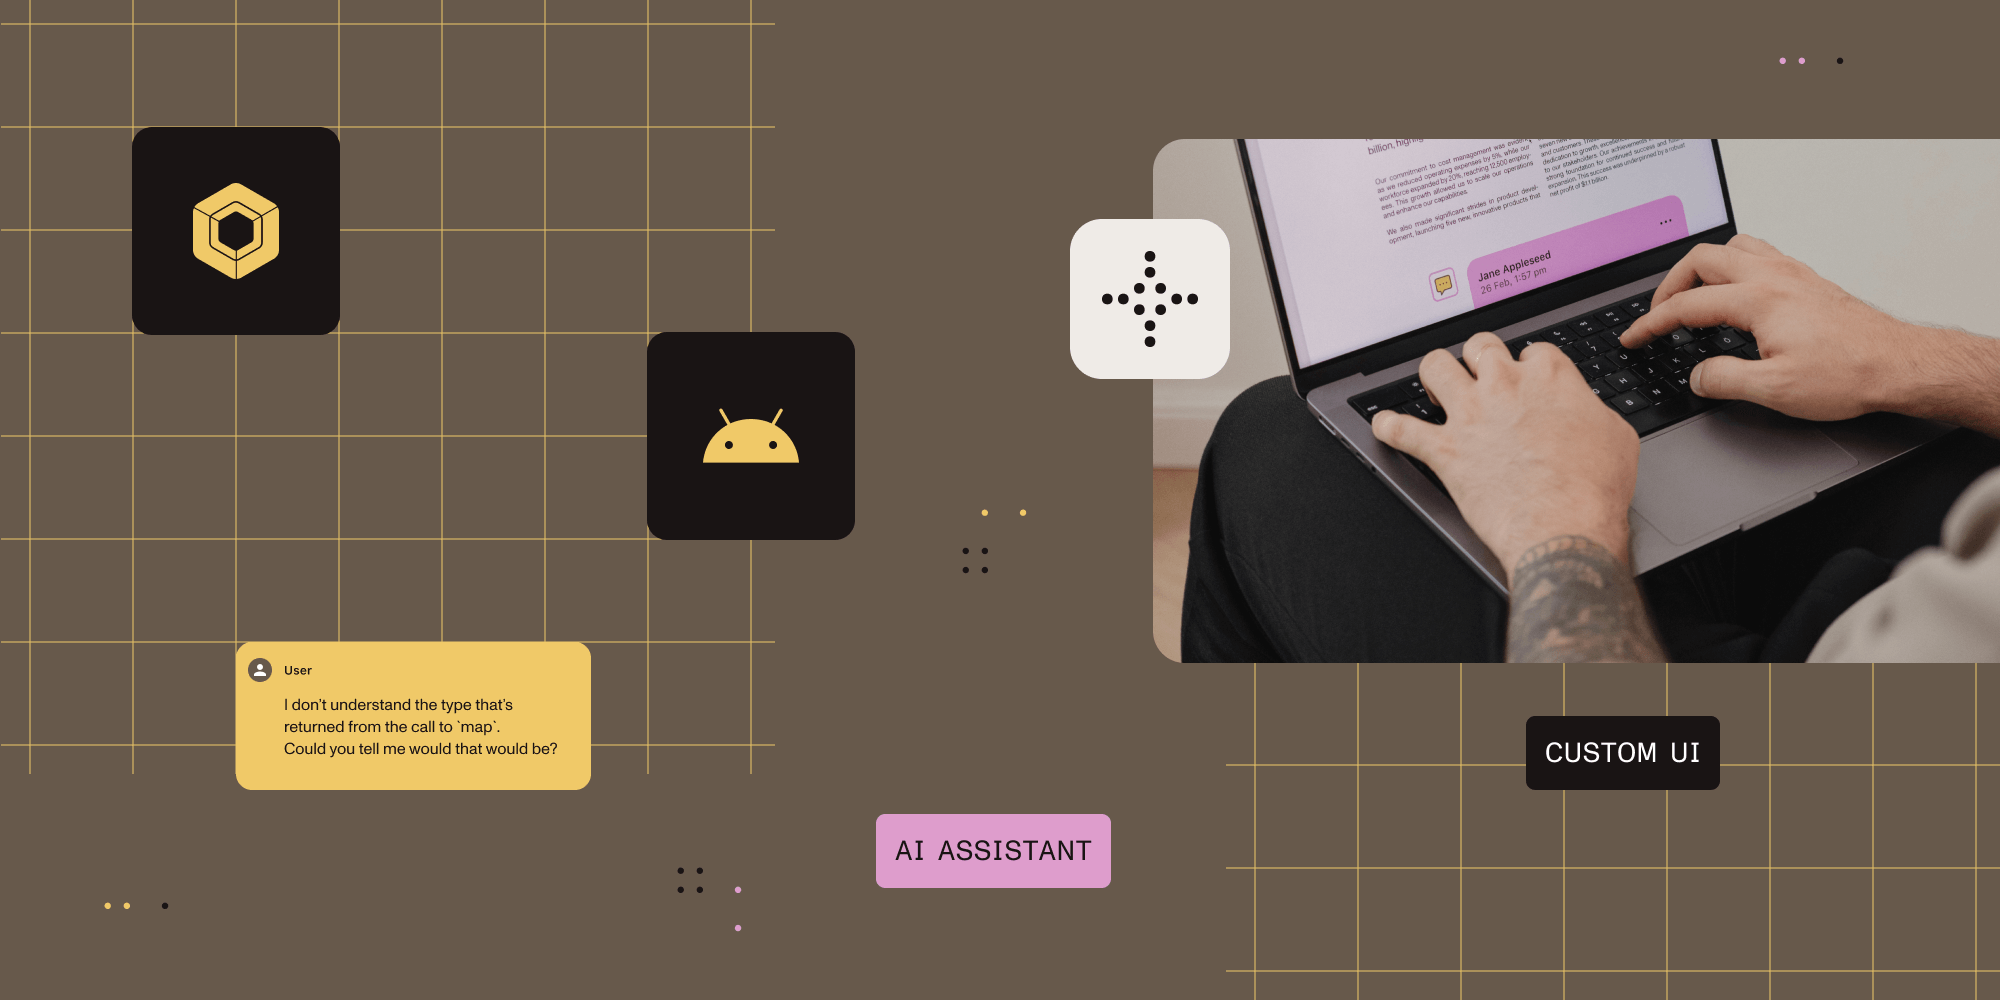
Want to add intelligent document interaction to your Android app? This step-by-step guide shows you how to integrate Nutrient AI Assistant with a completely custom user interface (UI) that matches your app’s design.
Use the Nutrient SDK to embed responsive, assistant-ready PDF views into your Jetpack Compose UI.
Instead of using the default AI Assistant interface, you’ll learn to build your own chat UI using Jetpack Compose, handle streaming responses, and create a seamless user experience. This post will walk you through a practical implementation using a real Android app as reference.
What you’ll build
- A custom chat interface with Material Design 3
- Real-time streaming AI responses
- Document-aware Q&A functionality
- Clean architecture using the
Repositorypattern and MVI (Model-View-Intent) state management
Prerequisites
- Basic Android development experience
- Familiarity with Jetpack Compose
- Understanding of Kotlin coroutines
Step 1 — Set up the AI Assistant backend
First, you’ll need the Nutrient AI Assistant service running locally to handle document processing and AI responses.
Quick setup with Docker
git clone https://github.com/PSPDFKit/ai-assistant-democd ai-assistant-demodocker-compose upThis starts the service on http://localhost:3000. For more details, refer to the Nutrient AI Assistant documentation.
Keep this terminal open — you’ll need the service running throughout development.
Step 2 — Set up your Android project
Add Nutrient SDK dependencies
In your settings.gradle.kts, add the Nutrient Maven repository:
dependencyResolutionManagement { repositoriesMode.set(RepositoriesMode.FAIL_ON_PROJECT_REPOS) repositories { google() mavenCentral() maven { url = uri("https://my.nutrient.io/maven") } }}In your app’s build.gradle.kts, add the Nutrient dependency:
dependencies { implementation("io.nutrient:nutrient:LATEST_VERSION")}For more information on adding the Nutrient SDK to your app and latest version, refer to the Nutrient documentation.
Reference implementation
To see these concepts in action, check out StoryVoyage(opens in a new tab), which is a real-world book reading app that showcases AI Assistant integration. The app demonstrates how readers can ask questions about books they’re reading, getting instant answers about plot details, character analysis, and themes.
git clone https://github.com/akshay2211/StoryVoyage.gitcd StoryVoyageStoryVoyage(opens in a new tab) is a fitting example to reference, as it addresses a real user problem: making reading more interactive and educational.
Step 3 — Build the custom chat interface
Now comes the fun part — building your custom chat interface! This is where your app’s personality shines. Instead of using the default AI Assistant UI, you’ll create a completely custom experience that matches your brand.
Step 3.1 — Define your data models
Start by creating the data structures that will power your chat experience:
enum class MessageStatus {    SENDING, SENT, FAILED}
// AI Assistant events for reactive programming.sealed class AiAssistantEvents {    object Chat : AiAssistantEvents()    object Success : AiAssistantEvents()    object Loading : AiAssistantEvents()    data class Error(val message: String) : AiAssistantEvents()}
Step 3.2 — Create state management with the MVI pattern
Implement clean state management using the MVI pattern:
// UI State — represents what the user sees.data class AiAssistantState(    val isLoading: Boolean = false,    val messages: List<ChatMessage> = emptyList(),    val inputText: String = "",    val isRecording: Boolean = false,    val currentDocumentId: String? = null,    val error: String? = null)
// User Intents — represents what the user wants to do.sealed interface AiAssistantIntent {    data class SendMessage(val message: String) : AiAssistantIntent    data class UpdateInputText(val text: String) : AiAssistantIntent}
Step 3.3 — Build the main chat screen
Create the main composable that brings everything together:
@Composablefun AiAssistantScreen(    viewModel: AiAssistantViewModel = koinViewModel(),    modifier: Modifier = Modifier) {    val state by viewModel.state.collectAsState()
    Column(        modifier = modifier            .fillMaxSize()            .background(MaterialTheme.colorScheme.background)    ) {        // Chat header with document info.        ChatHeader(            documentName = state.currentDocumentId ?: "Document",            isOnline = !state.error.isNullOrEmpty().not()        )
        // Messages list.        MessagesList(            messages = state.messages,            isLoading = state.isLoading,            modifier = Modifier.weight(1f)        )
        // Input area.        ChatInput(            inputText = state.inputText,            onTextChanged = { viewModel.processIntent(AiAssistantIntent.UpdateInputText(it)) },            onSendMessage = { viewModel.processIntent(AiAssistantIntent.SendMessage(it)) },        )    }
}
Step 3.4 — Create the messages list component
Build a smooth, performant messages list with proper animations:
@Composablefun MessagesList(    messages: List<ChatMessage>,    isLoading: Boolean,    modifier: Modifier = Modifier) {    val listState = rememberLazyListState()
    // Auto-scroll to the bottom when new messages arrive.    LaunchedEffect(messages.size) {        if (messages.isNotEmpty()) {            listState.animateScrollToItem(0) // `reverseLayout` = `true`, so 0 is the bottom.        }    }
    LazyColumn(        modifier = modifier.fillMaxSize(),        state = listState,        reverseLayout = true, // New messages appear at the bottom.        contentPadding = PaddingValues(16.dp),        verticalArrangement = Arrangement.spacedBy(8.dp)    ) {        // Loading indicator at the top.        if (isLoading) {            item {                TypingIndicator()            }        }
        // Messages in reverse order (newest first in data, but appears at bottom).        items(            items = messages.reversed(),            key = { it.id }        ) { message ->            MessageItem(                message = message,                modifier = Modifier.animateItemPlacement()            )        }    }}
Step 3.5 — Design smart chat blocks
Create intelligent message bubbles that adapt to content type:
@Composablefun MessageItem(    message: ChatMessage,    modifier: Modifier = Modifier) {    val isFromUser = message.isFromUser
    Row(        modifier = modifier            .fillMaxWidth()            .padding(horizontal = 8.dp, vertical = 4.dp),        horizontalArrangement = if (isFromUser) Arrangement.End else Arrangement.Start    ) {        if (!isFromUser) {            // AI avatar.            AsyncImage(                model = R.drawable.ai_avatar,                contentDescription = "AI Assistant",                modifier = Modifier                    .size(32.dp)                    .clip(CircleShape)                    .align(Alignment.Bottom)            )            Spacer(modifier = Modifier.width(8.dp))        }
        // Message bubble.        Surface(            shape = RoundedCornerShape(                topStart = 16.dp,                topEnd = 16.dp,                bottomStart = if (isFromUser) 16.dp else 4.dp,                bottomEnd = if (isFromUser) 4.dp else 16.dp            ),            color = if (isFromUser)                MaterialTheme.colorScheme.primary            else                MaterialTheme.colorScheme.surfaceVariant,            modifier = Modifier.widthIn(max = 280.dp)        ) {            Column(                modifier = Modifier.padding(12.dp)            ) {                // Message content with Markdown support.                if (message.isMarkdown && !isFromUser) {                    MarkdownText(                        markdown = message.content,                        color = MaterialTheme.colorScheme.onSurfaceVariant                    )                } else {                    Text(                        text = message.content,                        color = if (isFromUser)                            MaterialTheme.colorScheme.onPrimary                        else                            MaterialTheme.colorScheme.onSurfaceVariant,                        style = MaterialTheme.typography.bodyMedium                    )                }
                // Message status and timestamp.                Row(                    modifier = Modifier                        .fillMaxWidth()                        .padding(top = 4.dp),                    horizontalArrangement = Arrangement.End,                    verticalAlignment = Alignment.CenterVertically                ) {                    Text(                        text = formatTimestamp(message.timestamp),                        style = MaterialTheme.typography.labelSmall,                        color = if (isFromUser)                            MaterialTheme.colorScheme.onPrimary.copy(alpha = 0.7f)                        else                            MaterialTheme.colorScheme.onSurfaceVariant.copy(alpha = 0.7f)                    )
                    if (isFromUser) {                        Spacer(modifier = Modifier.width(4.dp))                        MessageStatusIcon(status = message.status)                    }                }            }        }
        if (isFromUser) {            Spacer(modifier = Modifier.width(8.dp))            // User avatar.            AsyncImage(                model = R.drawable.user_avatar,                contentDescription = "You",                modifier = Modifier                    .size(32.dp)                    .clip(CircleShape)                    .align(Alignment.Bottom)            )        }    }}
Step 3.6 — Add polish with loading and error states
Complete the UI with loading indicators and error handling:
@Composablefun TypingIndicator() {    Row(        modifier = Modifier.padding(16.dp),        verticalAlignment = Alignment.CenterVertically    ) {        // AI avatar.        AsyncImage(            model = R.drawable.ai_avatar,            contentDescription = "AI Assistant",            modifier = Modifier                .size(32.dp)                .clip(CircleShape)        )
        Spacer(modifier = Modifier.width(8.dp))
        // Animated typing dots.        Surface(            shape = RoundedCornerShape(16.dp),            color = MaterialTheme.colorScheme.surfaceVariant        ) {            Row(                modifier = Modifier.padding(16.dp, 12.dp),                horizontalArrangement = Arrangement.spacedBy(4.dp)            ) {                repeat(3) { index ->                    val infiniteTransition = rememberInfiniteTransition()                    val alpha by infiniteTransition.animateFloat(                        initialValue = 0.3f,                        targetValue = 1f,                        animationSpec = infiniteRepeatable(                            animation = tween(600),                            repeatMode = RepeatMode.Reverse                        )                    )
                    Box(                        modifier = Modifier                            .size(8.dp)                            .background(                                MaterialTheme.colorScheme.onSurfaceVariant.copy(alpha = alpha),                                CircleShape                            )                    )                }            }        }    }}
Status icon for messages:
@Composablefun MessageStatusIcon(status: MessageStatus) {    val (icon, color) = when (status) {        MessageStatus.SENDING -> Icons.Default.Schedule to MaterialTheme.colorScheme.onPrimary.copy(alpha = 0.7f)        MessageStatus.SENT -> Icons.Default.Done to MaterialTheme.colorScheme.onPrimary.copy(alpha = 0.7f)        MessageStatus.FAILED -> Icons.Default.Error to MaterialTheme.colorScheme.error    }
    Icon(        imageVector = icon,        contentDescription = status.name,        modifier = Modifier.size(16.dp),        tint = color    )}
Pro tips for step 3
- Use
animateItemPlacement()for smooth message animations. - Implement proper state hoisting to keep components testable.
- Consider implementing message retry functionality.
- Use
LaunchedEffectto handle side effects properly.
Step 4 — Connect to the AI Assistant service (ViewModel and Repository)
Now you’ll build the business logic layer that connects your UI to the Nutrient AI Assistant service. This step covers the ViewModel and Repository implementation.
Step 4.1 — Create the Repository interface
First, define the contract for AI Assistant operations:
interface AiAssistantRepository {    // Stream of responses from AI assistant.    val responseStream: Flow<CompletionResponse?>
    // Initialize with document provider and identifiers.    suspend fun initialize(        pdfDocument: PdfDocument,        dataProvider: DataProvider,        documentIdentifiers: DocumentIdentifiers,        isRefresh: Boolean = false    ): Boolean
    // Send a message to AI assistant.    suspend fun sendMessage(message: String, documentId: String)
    // Terminate AI assistant.    suspend fun terminate()}
Step 4.2 — Implement the data source
Create the data source that handles direct communication with the AI Assistant service:
class AiAssistantDataSourceImpl(    private val context: Context) : AiAssistantDataSource {
    var aiAssistant: AiAssistant? = null
    override val responseState: Flow<CompletionResponse?>        get() = aiAssistant?.responseState ?: emptyFlow()
    override suspend fun initialize(        pdfDocument: PdfDocument,        dataProvider: DataProvider,        documentIdentifiers: DocumentIdentifiers,        isRefresh: Boolean    ): Boolean {        return try {            val session = pdfDocument.title?.replace(titleRegex, "") ?: "default-session"            val aiAssistantConfiguration = AiAssistantConfiguration(                "http://localhost:4000",                JwtGenerator.generateJwtToken(                    context,                    claims = mapOf(                        "document_ids" to listOf(documentIdentifiers.permanentId),                        "session_ids" to listOf(session),                        "request_limit" to mapOf("requests" to 30, "time_period_s" to 1000 * 60)                    )                ),                session            )            aiAssistant = standaloneAiAssistant(context, aiAssistantConfiguration)            pdfDocument.setAiAssistant(aiAssistant!!)            aiAssistant?.initialize(dataProvider, documentIdentifiers, isRefresh)            true        } catch (e: Exception) {            Log.e("AiAssistant", "Failed to initialize AI Assistant with document provider", e)            false        }    }
    override suspend fun emitMessage(message: String, documentId: String) {        val id = aiAssistant?.identifiers?.permanentId ?: ""        aiAssistant?.emitMessage(message, id)    }
    override suspend fun terminate() {        aiAssistant?.terminate()    }}
Step 4.3 — Build the ViewModel
Create the ViewModel that manages UI state and coordinates use cases:
class AiAssistantViewModel(    private val repository: AiAssistantRepository) : ViewModel() {
    private val _state = MutableStateFlow(AiAssistantState())    val state: StateFlow<AiAssistantState> = _state.asStateFlow()
    init {        observeAiResponses()    }
    fun processIntent(intent: AiAssistantIntent) {        when (intent) {            is AiAssistantIntent.SendMessage -> {                sendMessage(intent.message)            }            is AiAssistantIntent.UpdateInputText -> {                _state.update { it.copy(inputText = intent.text) }            }        }    }
    private fun observeAiResponses() {        viewModelScope.launch {            repository.responseStream.collect { response ->                response?.let { handleAiResponse(it) }            }        }    }
    private fun addMessage(message: CompletionResponse) {        _state.update { currentState ->            currentState.copy(                messages = currentState.messages + message            )        }    }    fun sendMessage(message: String) {        if (message.isBlank()) return
        viewModelScope.launch {            // Clear input.            _state.update { it.copy(inputText = "", isLoading = true) }
            try {                // Get document ID from current conversation, or use a default.                val documentId = _state.value.currentDocumentId ?: "default"
                // Send message to AI Assistant.                repository.sendMessage(message, documentId)
                // The response will be handled by the flow collector in init.            } catch (e: Exception) {                _state.update { it.copy(isLoading = false, error = "Failed to send message: ${e.message}") }            }        }    }
    private fun handleAiResponse(response: CompletionResponse) {        viewModelScope.launch {            when (response.state) {                is AiAssistantEvents.Chat -> {                    _state.update { currentState ->                        // Check if this is a new message or if we need to append to an existing one.                        if (response.sender.isEmpty() && (currentState.messages.isEmpty() || !response.end)) {                            // This is a new message — add it to the list.                            currentState.copy(                                isLoading = false,                                messages = currentState.messages + response                            )                        } else if (response.end && response.sender == "AI") {                            // This is the final part of a message — mark it as complete.                            val updatedMessages = currentState.messages.toMutableList()                            if (updatedMessages.isNotEmpty()) {                                val lastIndex = updatedMessages.lastIndex                                updatedMessages[lastIndex] = updatedMessages[lastIndex].copy(end = true)                            }                            currentState.copy(                                isLoading = false,                                messages = updatedMessages                            )                        } else {                            // This is a continuation of the current message — append the content.                            val updatedMessages = currentState.messages.toMutableList()                            if (updatedMessages.isNotEmpty()) {                                val lastIndex = updatedMessages.lastIndex                                updatedMessages[lastIndex] = updatedMessages[lastIndex].copy(                                    content = updatedMessages[lastIndex].content + response.content                                )                            }                            currentState.copy(                                isLoading = false,                                messages = updatedMessages                            )                        }                    }                    _state.update { it.copy(isLoading = false) }                }
                is AiAssistantEvents.Success -> {                    if (response.content.isNullOrEmpty()) return@launch                    addMessage(response)                    _state.update { it.copy(isLoading = false) }                }
                is AiAssistantEvents.Loading -> {                    addMessage(response)                    _state.update { it.copy(isLoading = true) }                }            }        }    }}
Step 5 — Wire everything together with dependency injection
Now you’ll connect all the pieces using Koin for dependency injection and see how everything works together.
Step 5.1 — Define the Koin module
Set up dependency injection to manage all your components:
val aiAssistantModule = module {    // Data sources.    single<AiAssistantDataSource> {        AiAssistantDataSource(get(), get())    }    // Repositories.    single<AiAssistantRepository> {        AiAssistantRepositoryImpl(get())    }    // `ViewModel`s.    viewModel { AiAssistantViewModel(get()) }
    ...}
Step 5.2 — Data flow summary
Here’s how data flows through your complete architecture:
- User sends message → UI calls
viewModel.processIntent(SendMessage) ViewModelprocesses intent → Callsrepository.sendMessage()- Data source makes API call → Sends HTTP request to the AI Assistant service
- AI service responds → Returns
CompletionResponse - Data source emits response → Updates
responseStateStateFlow ViewModelobserves → Converts response toChatMessage- UI reacts →
StateFlowtriggers recomposition with new message
This creates a complete reactive flow from UI → business logic → network → AI service and back!
Step 6 — Test your AI-powered app
Run the complete integration
- Verify the AI Assistant service is running at
http://localhost:3000. - Generate a JWT private key and place it in
app/src/main/assets/keys/jwt.pem. - Sync your project and resolve any dependencies.
- Run the app on a device or emulator.
Test the user experience
- Load a PDF document in your app.
- Open the AI Assistant chat interface.
- Ask questions and give commands like “What is this document about?” or “Summarize the key points.”
- Observe streaming responses appearing in real time.
- Test error scenarios by disconnecting the network.
Conclusion
You’ve now learned how to integrate Nutrient AI Assistant with a completely custom UI in your Android app. This step-by-step approach gives you full control over the user experience while leveraging powerful AI capabilities.
Next steps
- Explore the complete implementation in the StoryVoyage(opens in a new tab) repository.
- Adapt the patterns to your specific use case and design requirements.
- Deploy the AI Assistant service to your production infrastructure.
- Gather user feedback and iterate on the AI experience.
Nutrient’s SDK makes it easy to embed rich, assistant-driven PDF workflows in your Android app — combining Jetpack Compose flexibility with intelligent document handling.
The combination of Nutrient’s powerful document processing and your custom UI creates endless possibilities for intelligent document interaction. Whether you’re building educational apps, productivity tools, or entertainment platforms, these patterns will help you create engaging AI-powered experiences.