How to build a .NET WinUI3 PDF viewer with Nutrient Web SDK
Table of contents
In this post, you’ll learn how to build a .NET WinUI3 PDF viewer with Nutrient Web SDK.
WinUI 3(opens in a new tab) is the native UI platform component that ships with the Windows App SDK(opens in a new tab), which is completely decoupled from Windows SDKs. The Windows App SDK provides a unified set of APIs and tools that can be used to create production desktop apps that target Windows 10 and later and can be published to the Microsoft Store.
You can use similar steps to build a PDF viewer using Nutrient on other .NET platforms like WPF(opens in a new tab), WinForms(opens in a new tab), and anything else that supports WebView2(opens in a new tab).
Prerequisites
- Windows 10 or later
- Visual Studio(opens in a new tab) or Visual Studio Code(opens in a new tab) (this tutorial uses Visual Studio)
- Select the Windows application development component in the installer when installing Visual Studio.

Follow the steps outlined below to build a WinUI3 PDF viewer with Nutrient Web SDK.
Step 1 - Creating a new project
- Open Visual Studio.
- Choose Create New Project.
- Choose Blank App, Packaged (WinUI 3 in Desktop) from the list.
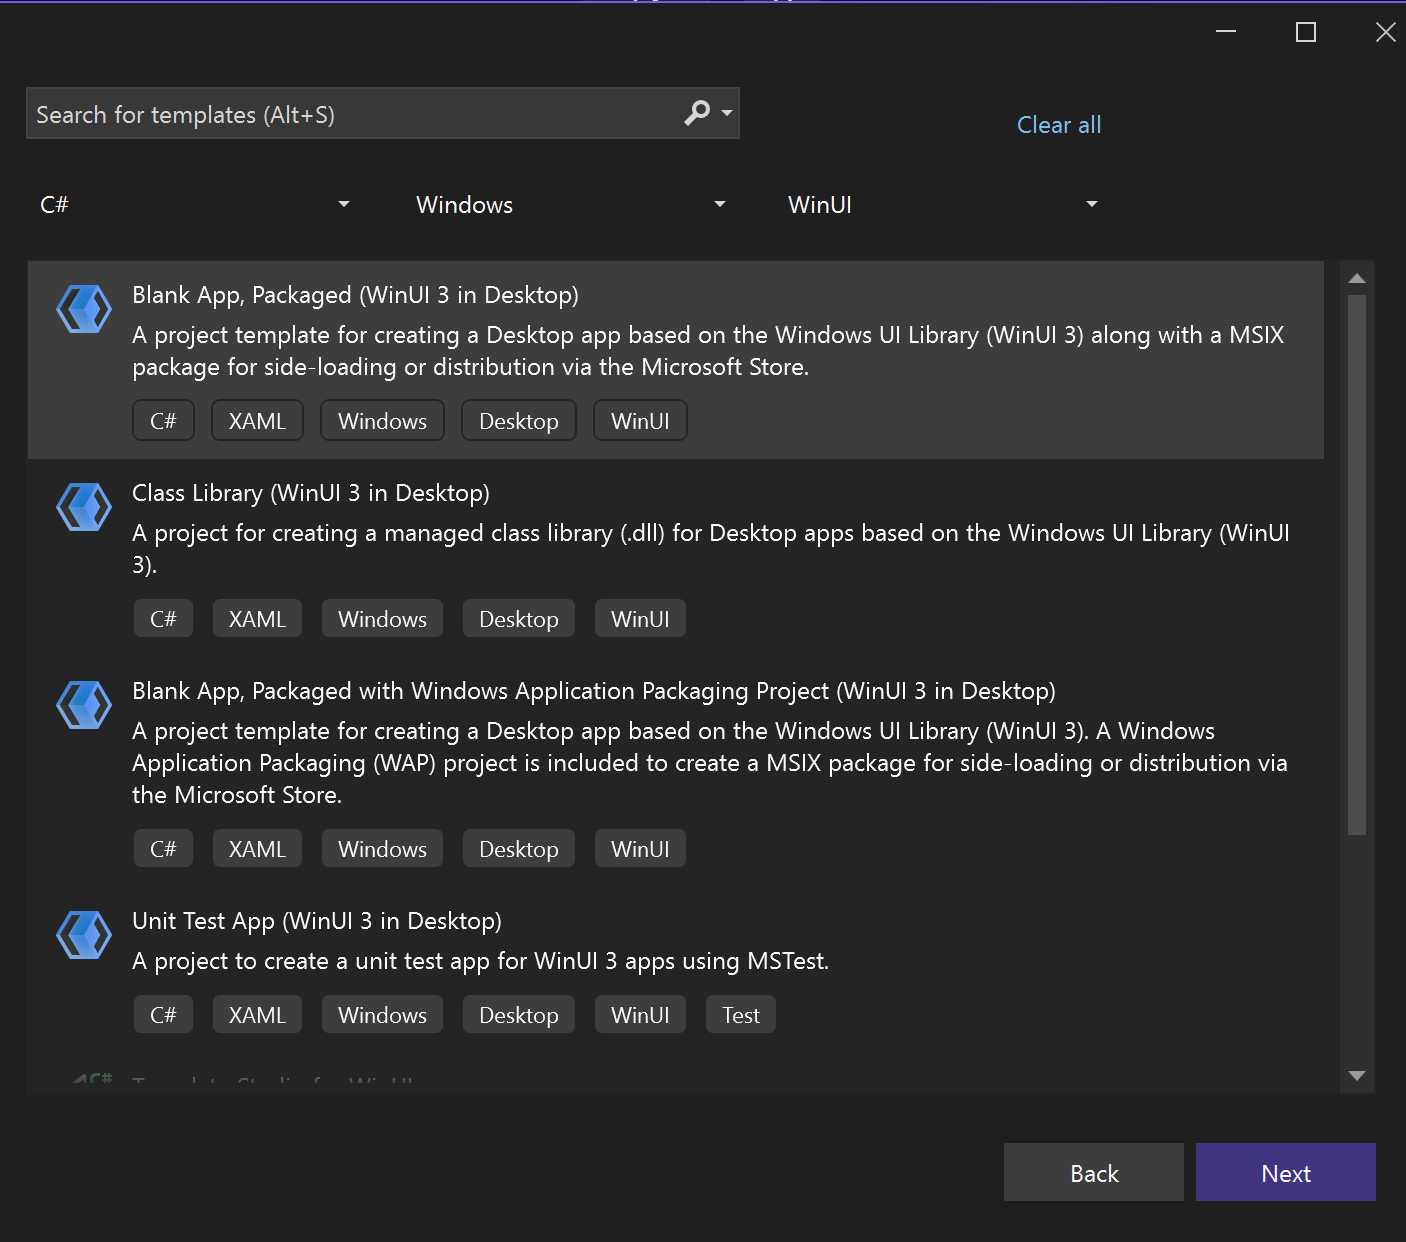
- Click Next.
- Under Project name, enter
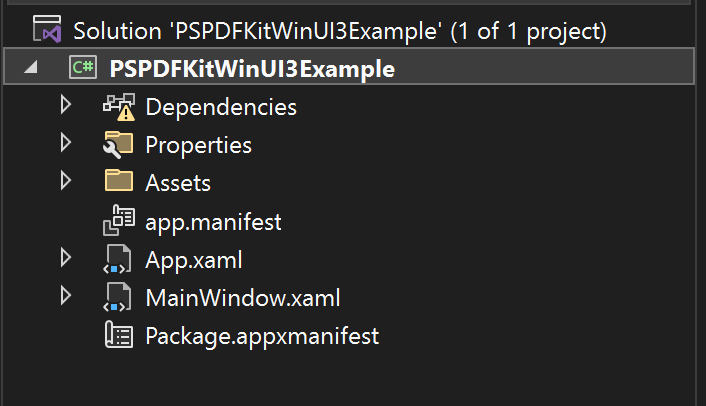
PSPDFKitWinUI3Example. Then, press Create. - Once the new solution is created, the project tree will look like what’s shown in the following image.
Step 2 - Adding Nutrient
- Download the latest Nutrient Web SDK(opens in a new tab).
- Extract the ZIP file and copy the contents of package/dist to the Assets folder.
Step 3 - Displaying a PDF in WinUI3
Add the PDF document you want to display, e.g.
document.pdf, in the Assets folder.Add the
index.htmlfile to the Assets folder, and add the following code to theindex.htmlfile:<!DOCTYPE html><html><head><meta charset="UTF-8" /><metaname="viewport"content="width=device-width, initial-scale=1.0, minimum-scale=1.0, maximum-scale=1.0, user-scalable=no"/><title>Nutrient Example App</title><style>html,body {margin: 0;padding: 0;background: #f6f7fa;}header {display: none;}#root {width: 100vw;height: 100vh;}</style></head><body><header></header><div id="root"></div><script src="./pspdfkit.js"></script><script type="module">let instance = null;async function load(document) {if (instance) {PSPDFKit.unload(instance);hasUnsavedAnnotations = false;instance = null;}const configuration = {document,container: '#root',// Add when using a license key.// licenseKey: "LICENSE KEY GOES HERE",};instance = await PSPDFKit.load(configuration);}window.onload = () => load('./document.pdf');</script></body></html>Double-click the project name to access the project file (
PSPDFKitWinUI3Example.csproj) and replace the following:<ItemGroup><Content Include="Assets\SplashScreen.scale-200.png" /><Content Include="Assets\LockScreenLogo.scale-200.png" /><Content Include="Assets\Square150x150Logo.scale-200.png" /><Content Include="Assets\Square44x44Logo.scale-200.png" /><Content Include="Assets\Square44x44Logo.targetsize-24_altform-unplated.png" /><Content Include="Assets\StoreLogo.png" /><Content Include="Assets\Wide310x150Logo.scale-200.png" /></ItemGroup>With this:
<ItemGroup><Content Include="Assets\**\*" /></ItemGroup>Replace the contents of the
MainPageWindowwith:<WebView2 x:Name="WebView" Loaded="WebView_Loaded" />Add the
Loadedevent handler in theMainPage.xaml.csfile to openindex.htmland display the PDF:private async void WebView_Loaded(object sender, RoutedEventArgs e){await WebView.EnsureCoreWebView2Async();// Set the virtual host for the assets folder.WebView.CoreWebView2.SetVirtualHostNameToFolderMapping("pspdfkit-example","Assets",Microsoft.Web.WebView2.Core.CoreWebView2HostResourceAccessKind.Deny);WebView.CoreWebView2.Navigate("https://pspdfkit-example/index.html");}
Step 4 - Running the application
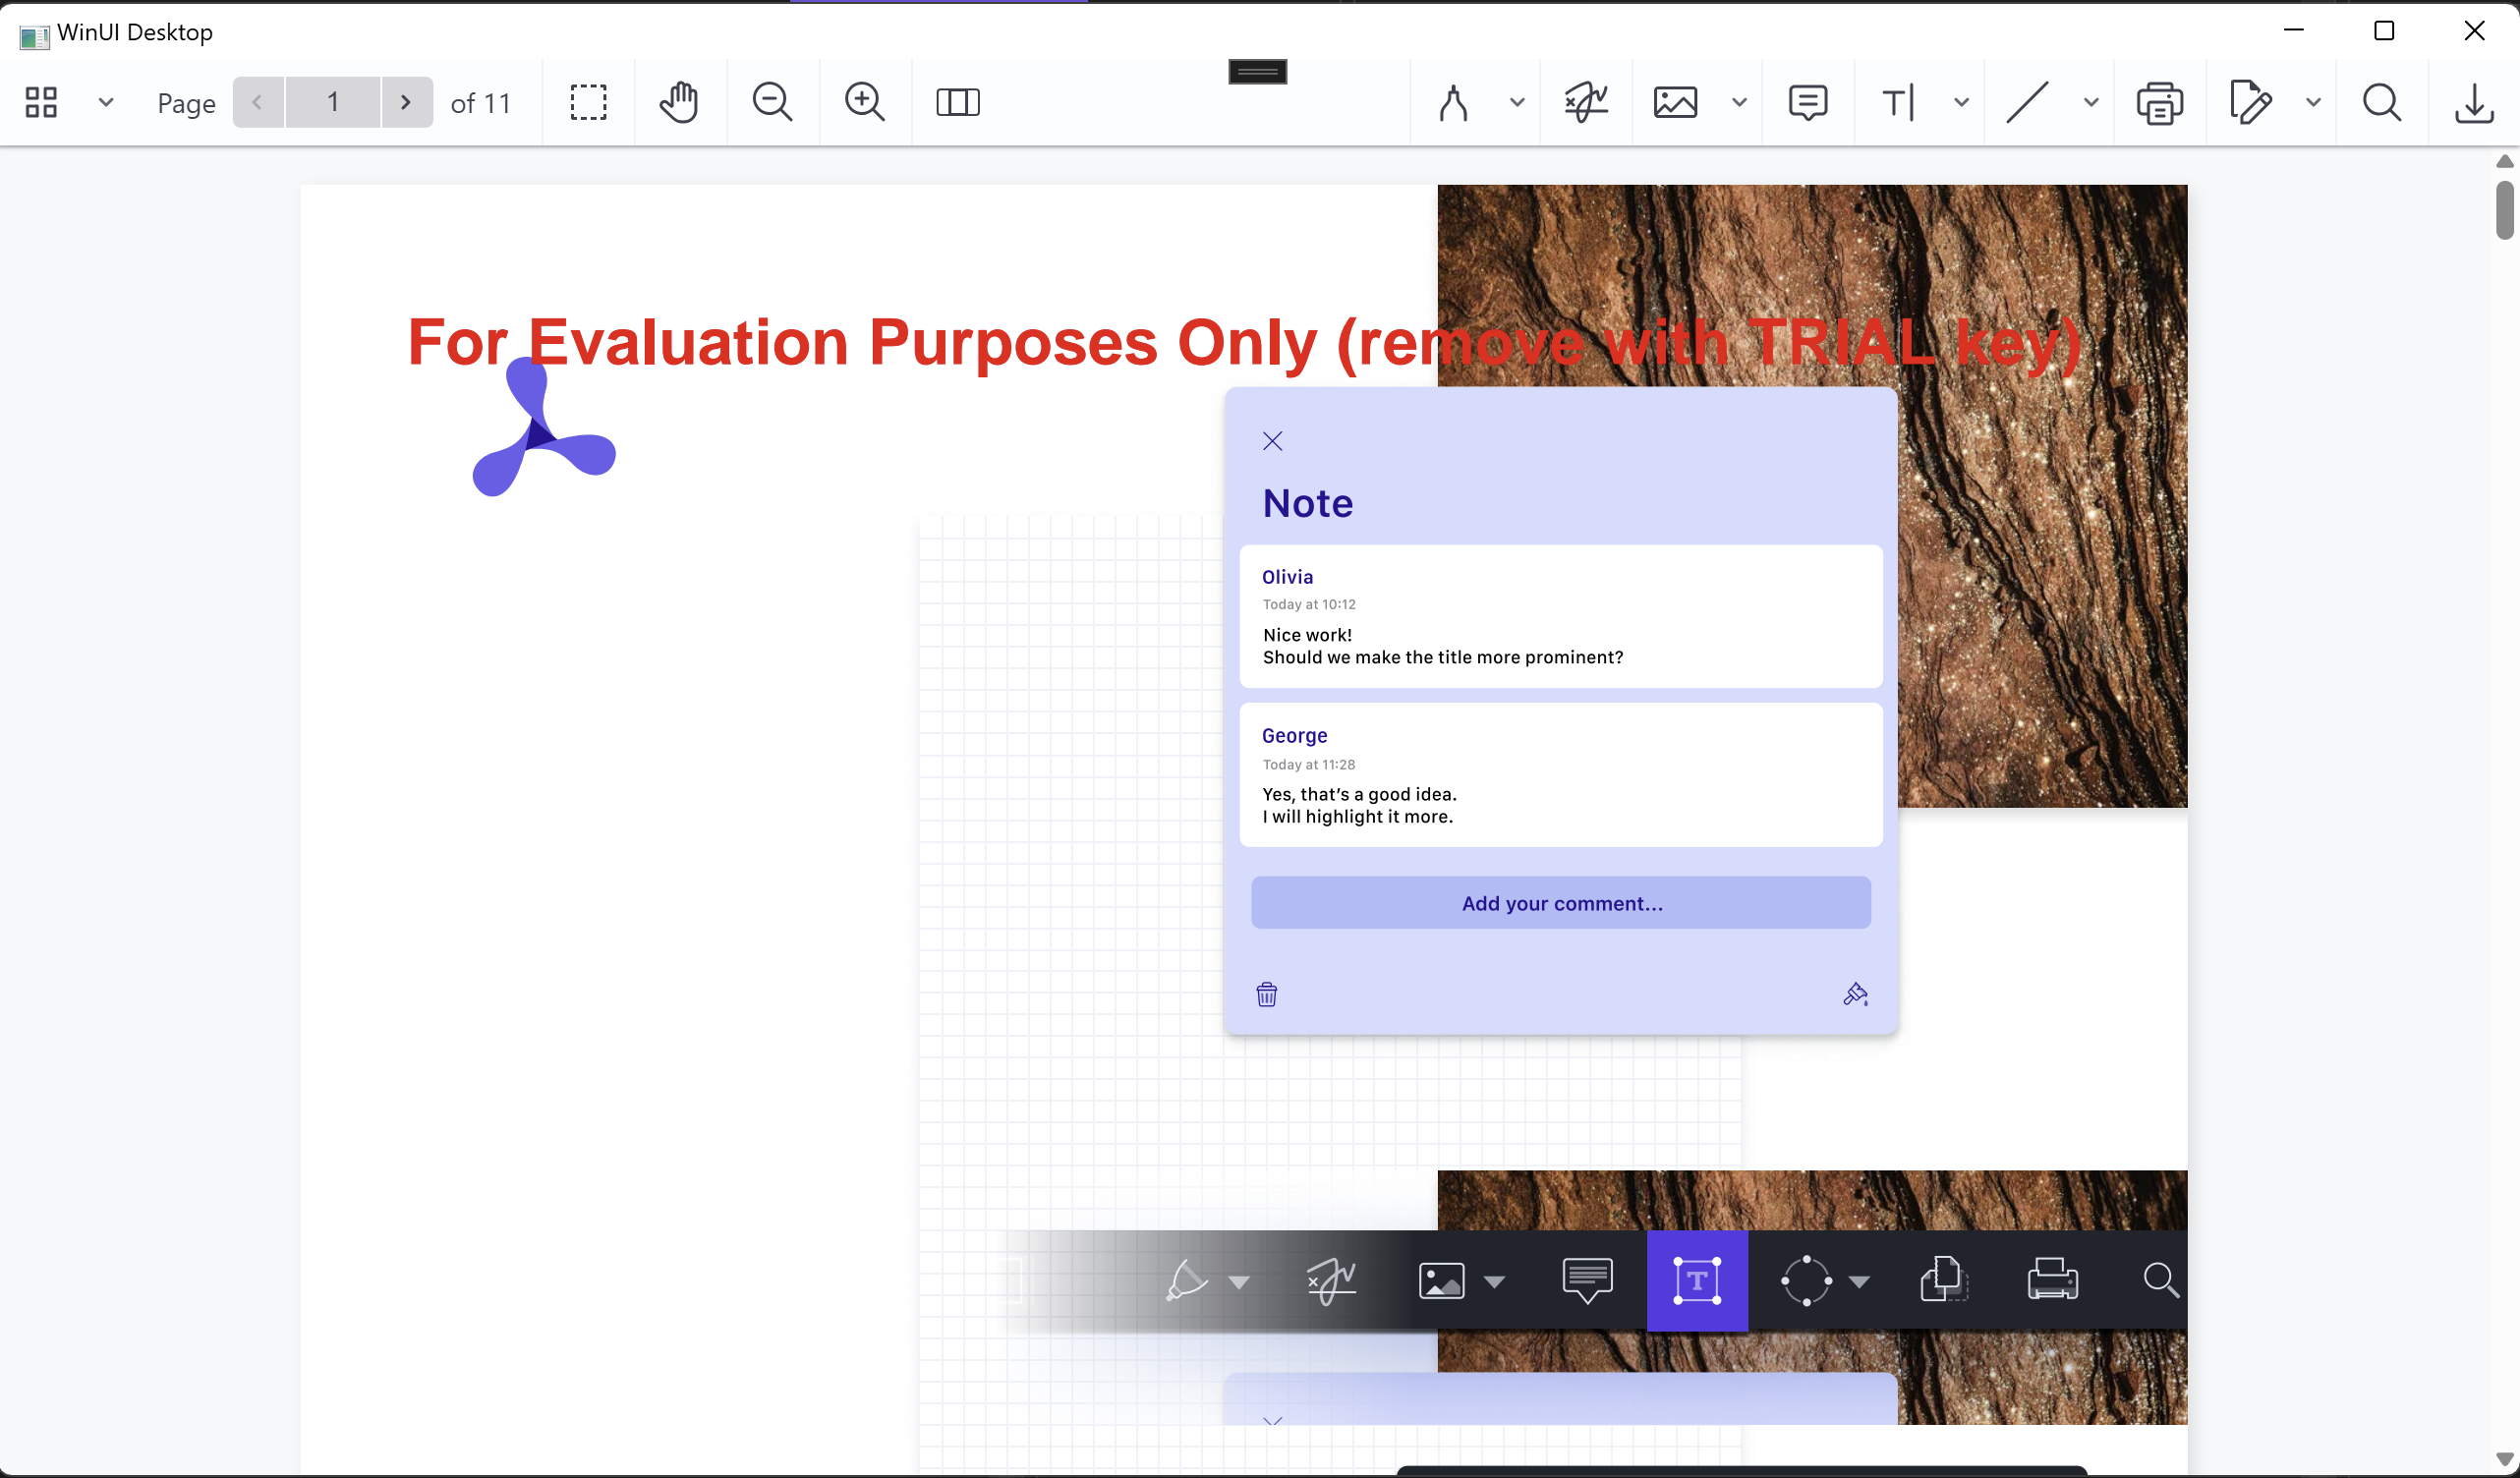
- Press F5 to run the application.
- The application will open with the PDF document displayed in the WebView2 control.
Step 5 - Sample code
The code for the example in this post can be found in our PSPDFKit-labs GitHub repository(opens in a new tab).
Conclusion
In this post, you learned how to build a WinUI3 PDF viewer with Nutrient Web SDK. You can use similar steps to build a PDF viewer using Nutrient on other .NET platforms like WPF(opens in a new tab) and WinForms(opens in a new tab), or anything that supports WebView2(opens in a new tab).