How to create a React signature pad
Table of contents
Learn how to build a signature pad in a React.js app using Nutrient Web SDK. This guide walks you through setting up a project with Vite, integrating Nutrient’s PDF viewer, and adding both ink and image signatures — manually via the user interface (UI) or programmatically via code. You’ll also learn how to create interactive signature fields. Try the demo or start your free trial.
What is a React.js signature pad?
A signature pad is a graphical interface that can be inserted into documents your users need to sign. It enables them to draw their signatures on a document using their mouse, electronic pens, or dedicated signing devices. It also enables saving signatures as images and vice versa.
Signature pads are used in web applications that need an applicant’s handwritten signature, such as when:
- Adding signatures to ID cards or official documents
- Signing forms, contracts, or other financial and legal documentation
- Signing bills, receipts, and invoices
Why build a React.js signature pad?
The conventional way of signing documents — using pen and paper — can be inefficient. This is especially true if you have to sign PDF documents and the recipient isn’t physically present; you then have to print, sign, and scan the document before sending it to the receiver.
Replacing signed paper documentation with an electronic signature process by adding a signature pad to your PDFs allows organizations to operate more efficiently, and it can help them save time, resources, and money.
Nutrient helps you create, edit, view, annotate, and sign PDF documents in your React.js applications. You can customize the layout based on your specific requirements.
Nutrient React.js library
We offer a commercial React.js PDF library that can easily be integrated into your web application. It has a rich set of features, including:
- A prebuilt and polished user interface (UI)
- Multiple annotation tools
- Support for various document formats
- Dedicated support from engineers
Nutrient includes comprehensive documentation and a user interface for PDF editing and annotation.
Requirements
- Node.js(opens in a new tab) installed on your computer.
- A code editor of your choice.
- A package manager compatible with npm.
Creating a new React project
Use vite(opens in a new tab) to scaffold out a simple React application:
npm create vite@latest nutrient-react-example -- --template reactcd nutrient-react-exampleInstall Nutrient Web SDK
Next, install the @nutrient-sdk/viewer package:
npm i @nutrient-sdk/viewerpnpm add @nutrient-sdk/vieweryarn add @nutrient-sdk/viewerCSS setup requirements
Important: Nutrient Web SDK requires that the container has an explicit width and height. The container cannot be 0×0 pixels or the SDK will fail to initialize.
For new Vite projects, remove conflicting CSS from your src/index.css file:
/* src/index.css - Remove these properties from body */body { /* DELETE: */ display: flex; /* DELETE: */ place-items: center;}The default Vite React template includes CSS that interferes with container dimensions. Removing these properties ensures the PDF viewer container renders properly.
Displaying a PDF
Now that everything is set up, you’ll render a PDF using the Nutrient SDK.
Basic usage in App.tsx:
import { useEffect, useRef } from "react";
function App() {  const containerRef = useRef(null);
  useEffect(() => {    const container = containerRef.current;    let cleanup = () => {};
    (async () => {      const NutrientViewer = (await import("@nutrient-sdk/viewer")).default;
      // Ensure there's only one `NutrientViewer` instance.      NutrientViewer.unload(container);
      if (container && NutrientViewer) {        NutrientViewer.load({          container,          document: "https://www.nutrient.io/downloads/nutrient-web-demo.pdf",        });      }
      cleanup = () => {        NutrientViewer.unload(container);      };    })();
    return cleanup;  }, []);
  return <div ref={containerRef} style={{ height: "100vh", width: "100vw" }} />;}
export default App;
Key points about the code above:
NutrientViewer.unload()ensures any existing instance is cleaned up before loading a new one.NutrientViewer.load()is called withoutawait— it loads asynchronously in the background.- The cleanup function in
useEffectensures proper unloading when the component unmounts. - It uses a publicly accessible PDF for testing.
To use your own PDF file, place it in the public folder (e.g. public/example.pdf) and change the document path to "/example.pdf".
Note: The SDK loads assets from the CDN by default. If you’re self-hosting the SDK assets, add a baseUrl property to your configuration.
Once everything is configured, start your app:
npm run devYou’ll now see the Nutrient Web SDK UI rendering your PDF inside the browser!
Note that because Nutrient is a commercial product, you’ll see a Nutrient Web SDK evaluation notice on the document. To get a license key, contact Sales.
1. Adding eSignatures via the Nutrient UI
Users can annotate, edit, and sign PDF documents through the Nutrient interface. This section shows how to sign PDF documents using the UI.
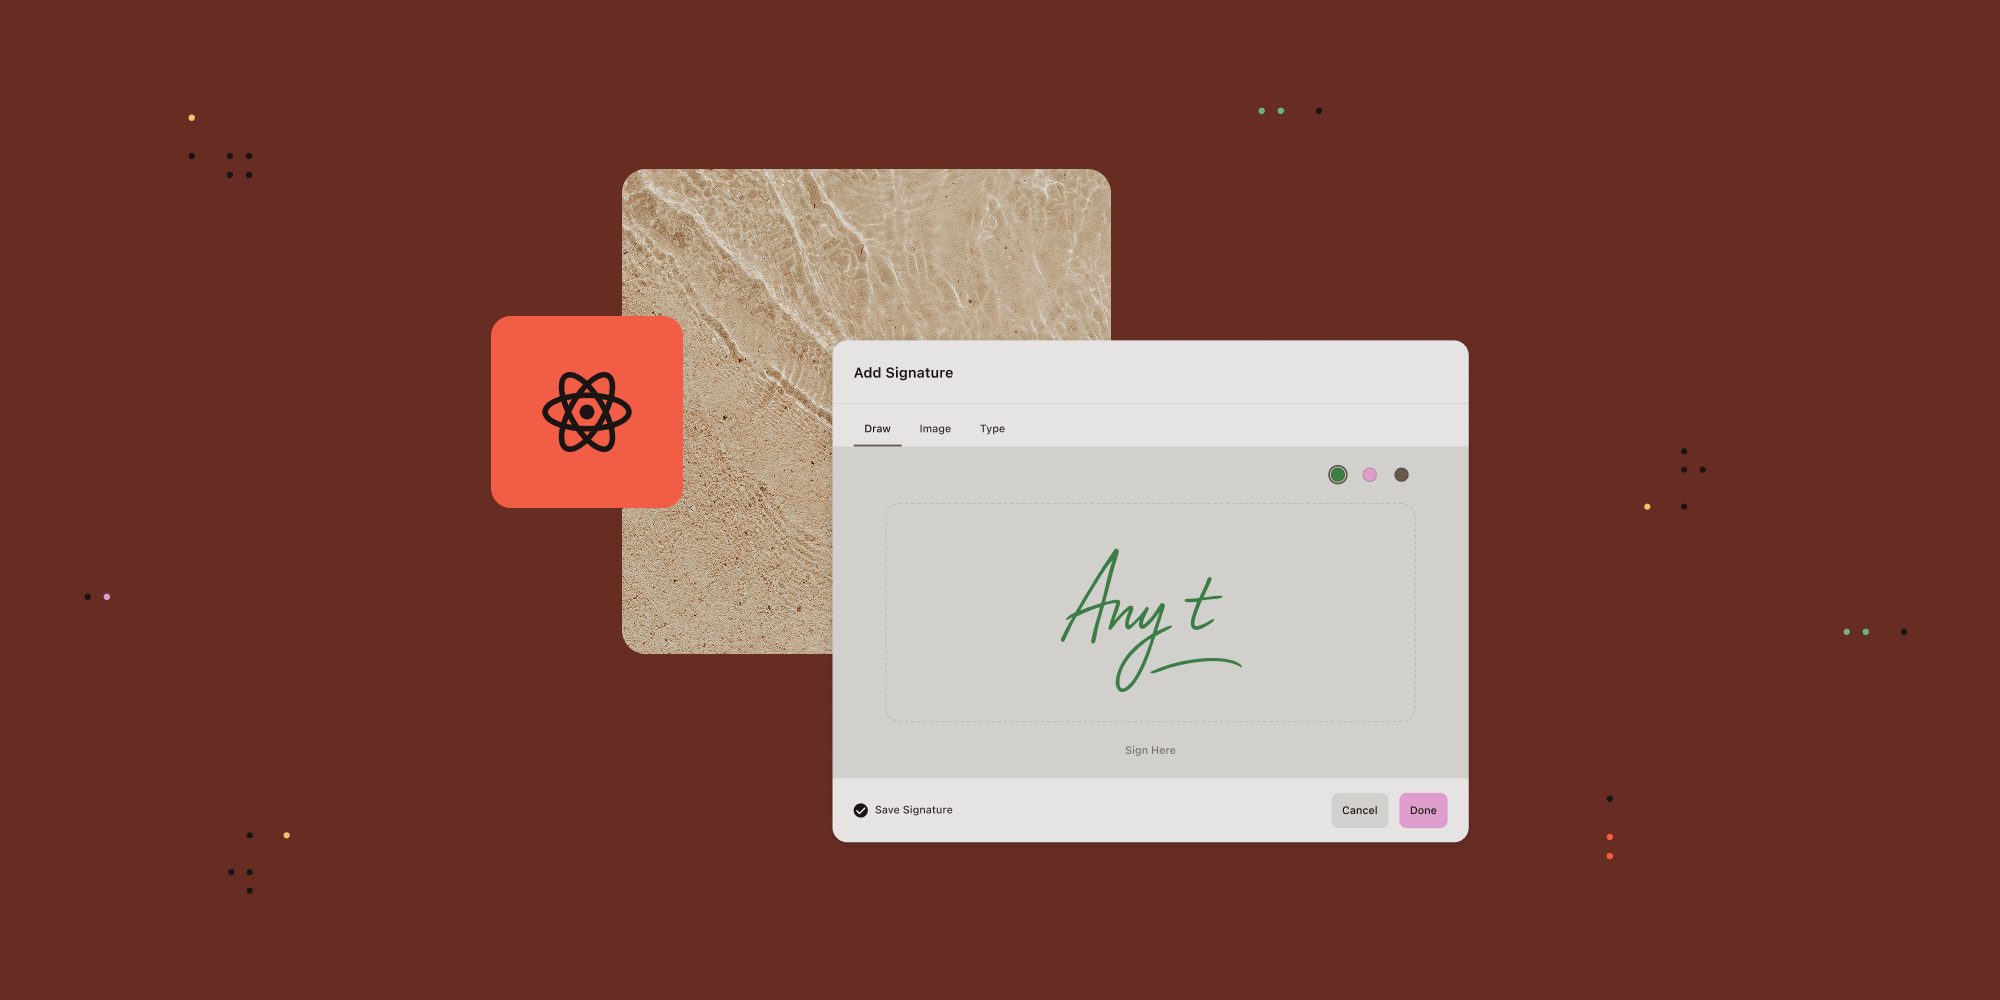
- In the Nutrient web interface, click the icon with the sign symbol.
- Sign on the dialog box that appears. You can change the color of the pen, and Nutrient also allows you to draw your signature and insert an image or text as your signature.
- You can then resize and change the position of the signature.
Next, you’ll learn how to sign documents programmatically in React.js.
2. Adding eSignatures programmatically in React.js
You can add two types of signatures to PDF documents: ink and image signatures. This section covers creating both signature types and adding signature fields to PDFs.
Adding ink signatures in a React.js web application
Ink signatures are similar to signatures done using a pen on paper. In this use case, Nutrient provides a signature pad where you can draw your signature.
Update the App.tsx file to add an ink signature programmatically:
import { useEffect, useRef } from "react";53 collapsed lines
function App() { const containerRef = useRef(null);
useEffect(() => { const container = containerRef.current; let cleanup = () => {};
(async () => { const NutrientViewer = (await import("@nutrient-sdk/viewer")).default;
NutrientViewer.unload(container);
if (container && NutrientViewer) { const instance = await NutrientViewer.load({ container, document: "/example.pdf", });
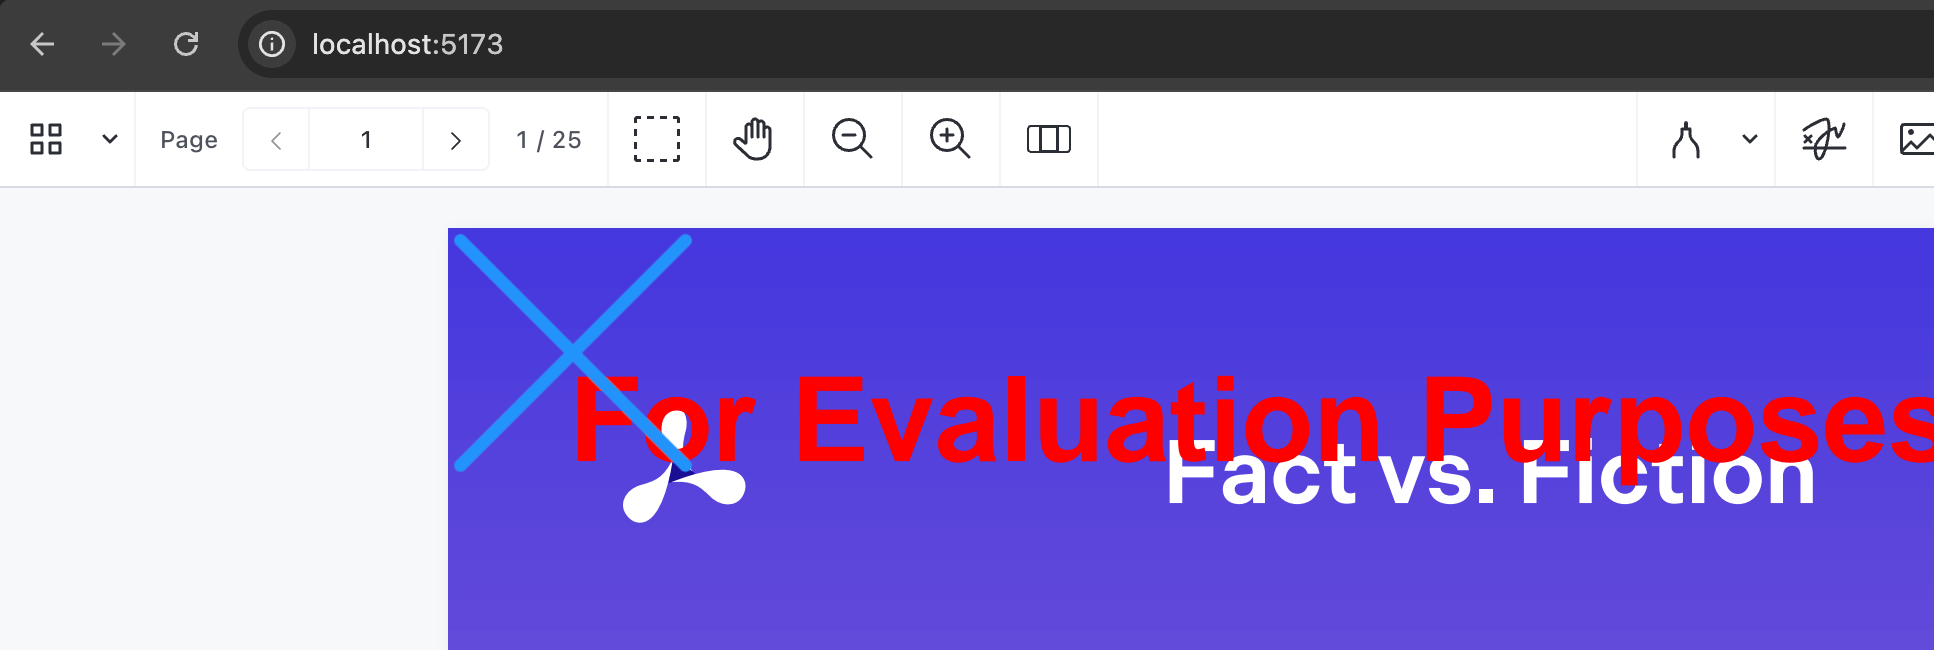
const annotation = new NutrientViewer.Annotations.InkAnnotation({ pageIndex: 0, isSignature: true, lines: NutrientViewer.Immutable.List([ NutrientViewer.Immutable.List([ new NutrientViewer.Geometry.DrawingPoint({ x: 5, y: 5 }), new NutrientViewer.Geometry.DrawingPoint({ x: 95, y: 95 }), ]), NutrientViewer.Immutable.List([ new NutrientViewer.Geometry.DrawingPoint({ x: 95, y: 5 }), new NutrientViewer.Geometry.DrawingPoint({ x: 5, y: 95 }), ]), ]), boundingBox: new NutrientViewer.Geometry.Rect({ left: 0, top: 0, width: 100, height: 100, }), });
const createdAnnotations = await instance.create(annotation); console.log(createdAnnotations); }
cleanup = () => { NutrientViewer.unload(container); }; })();
return cleanup; }, []);
return <div ref={containerRef} style={{ height: "100vh", width: "100vw" }} />;}
export default App;In the code above:
NutrientViewer.Annotations.InkAnnotationcreates an ink signature annotation.isSignature: truemarks this as a signature (required for signature functionality).linesdefines the drawing points that create the signature’s shape (an “X” in this example).boundingBoxdetermines the position and size of the signature on the page.- You can customize the coordinates in
DrawingPointandboundingBoxto create different signature shapes and positions.
Adding image signatures in a React.js web application
In this section, you’ll learn how to add images as signatures on PDF documents using Nutrient in a React.js web application.
Update the App.tsx file to add an image signature:
import { useEffect, useRef } from "react";49 collapsed lines
function App() { const containerRef = useRef(null);
useEffect(() => { const container = containerRef.current; let cleanup = () => {};
(async () => { const NutrientViewer = (await import("@nutrient-sdk/viewer")).default;
NutrientViewer.unload(container);
if (container && NutrientViewer) { const instance = await NutrientViewer.load({ container, document: "/example.pdf", });
// Fetches the image via its URL. const request = await fetch("<image_url>"); // Replace <image_url> with the actual URL. const blob = await request.blob(); const imageAttachmentId = await instance.createAttachment(blob);
const annotation = new NutrientViewer.Annotations.ImageAnnotation({ pageIndex: 0, isSignature: true, contentType: "image/jpeg", imageAttachmentId, description: "Image Description", boundingBox: new NutrientViewer.Geometry.Rect({ left: 30, top: 20, width: 300, height: 150, }), });
await instance.create(annotation); }
cleanup = () => { NutrientViewer.unload(container); }; })();
return cleanup; }, []);
return <div ref={containerRef} style={{ height: "100vh", width: "100vw" }} />;}
export default App;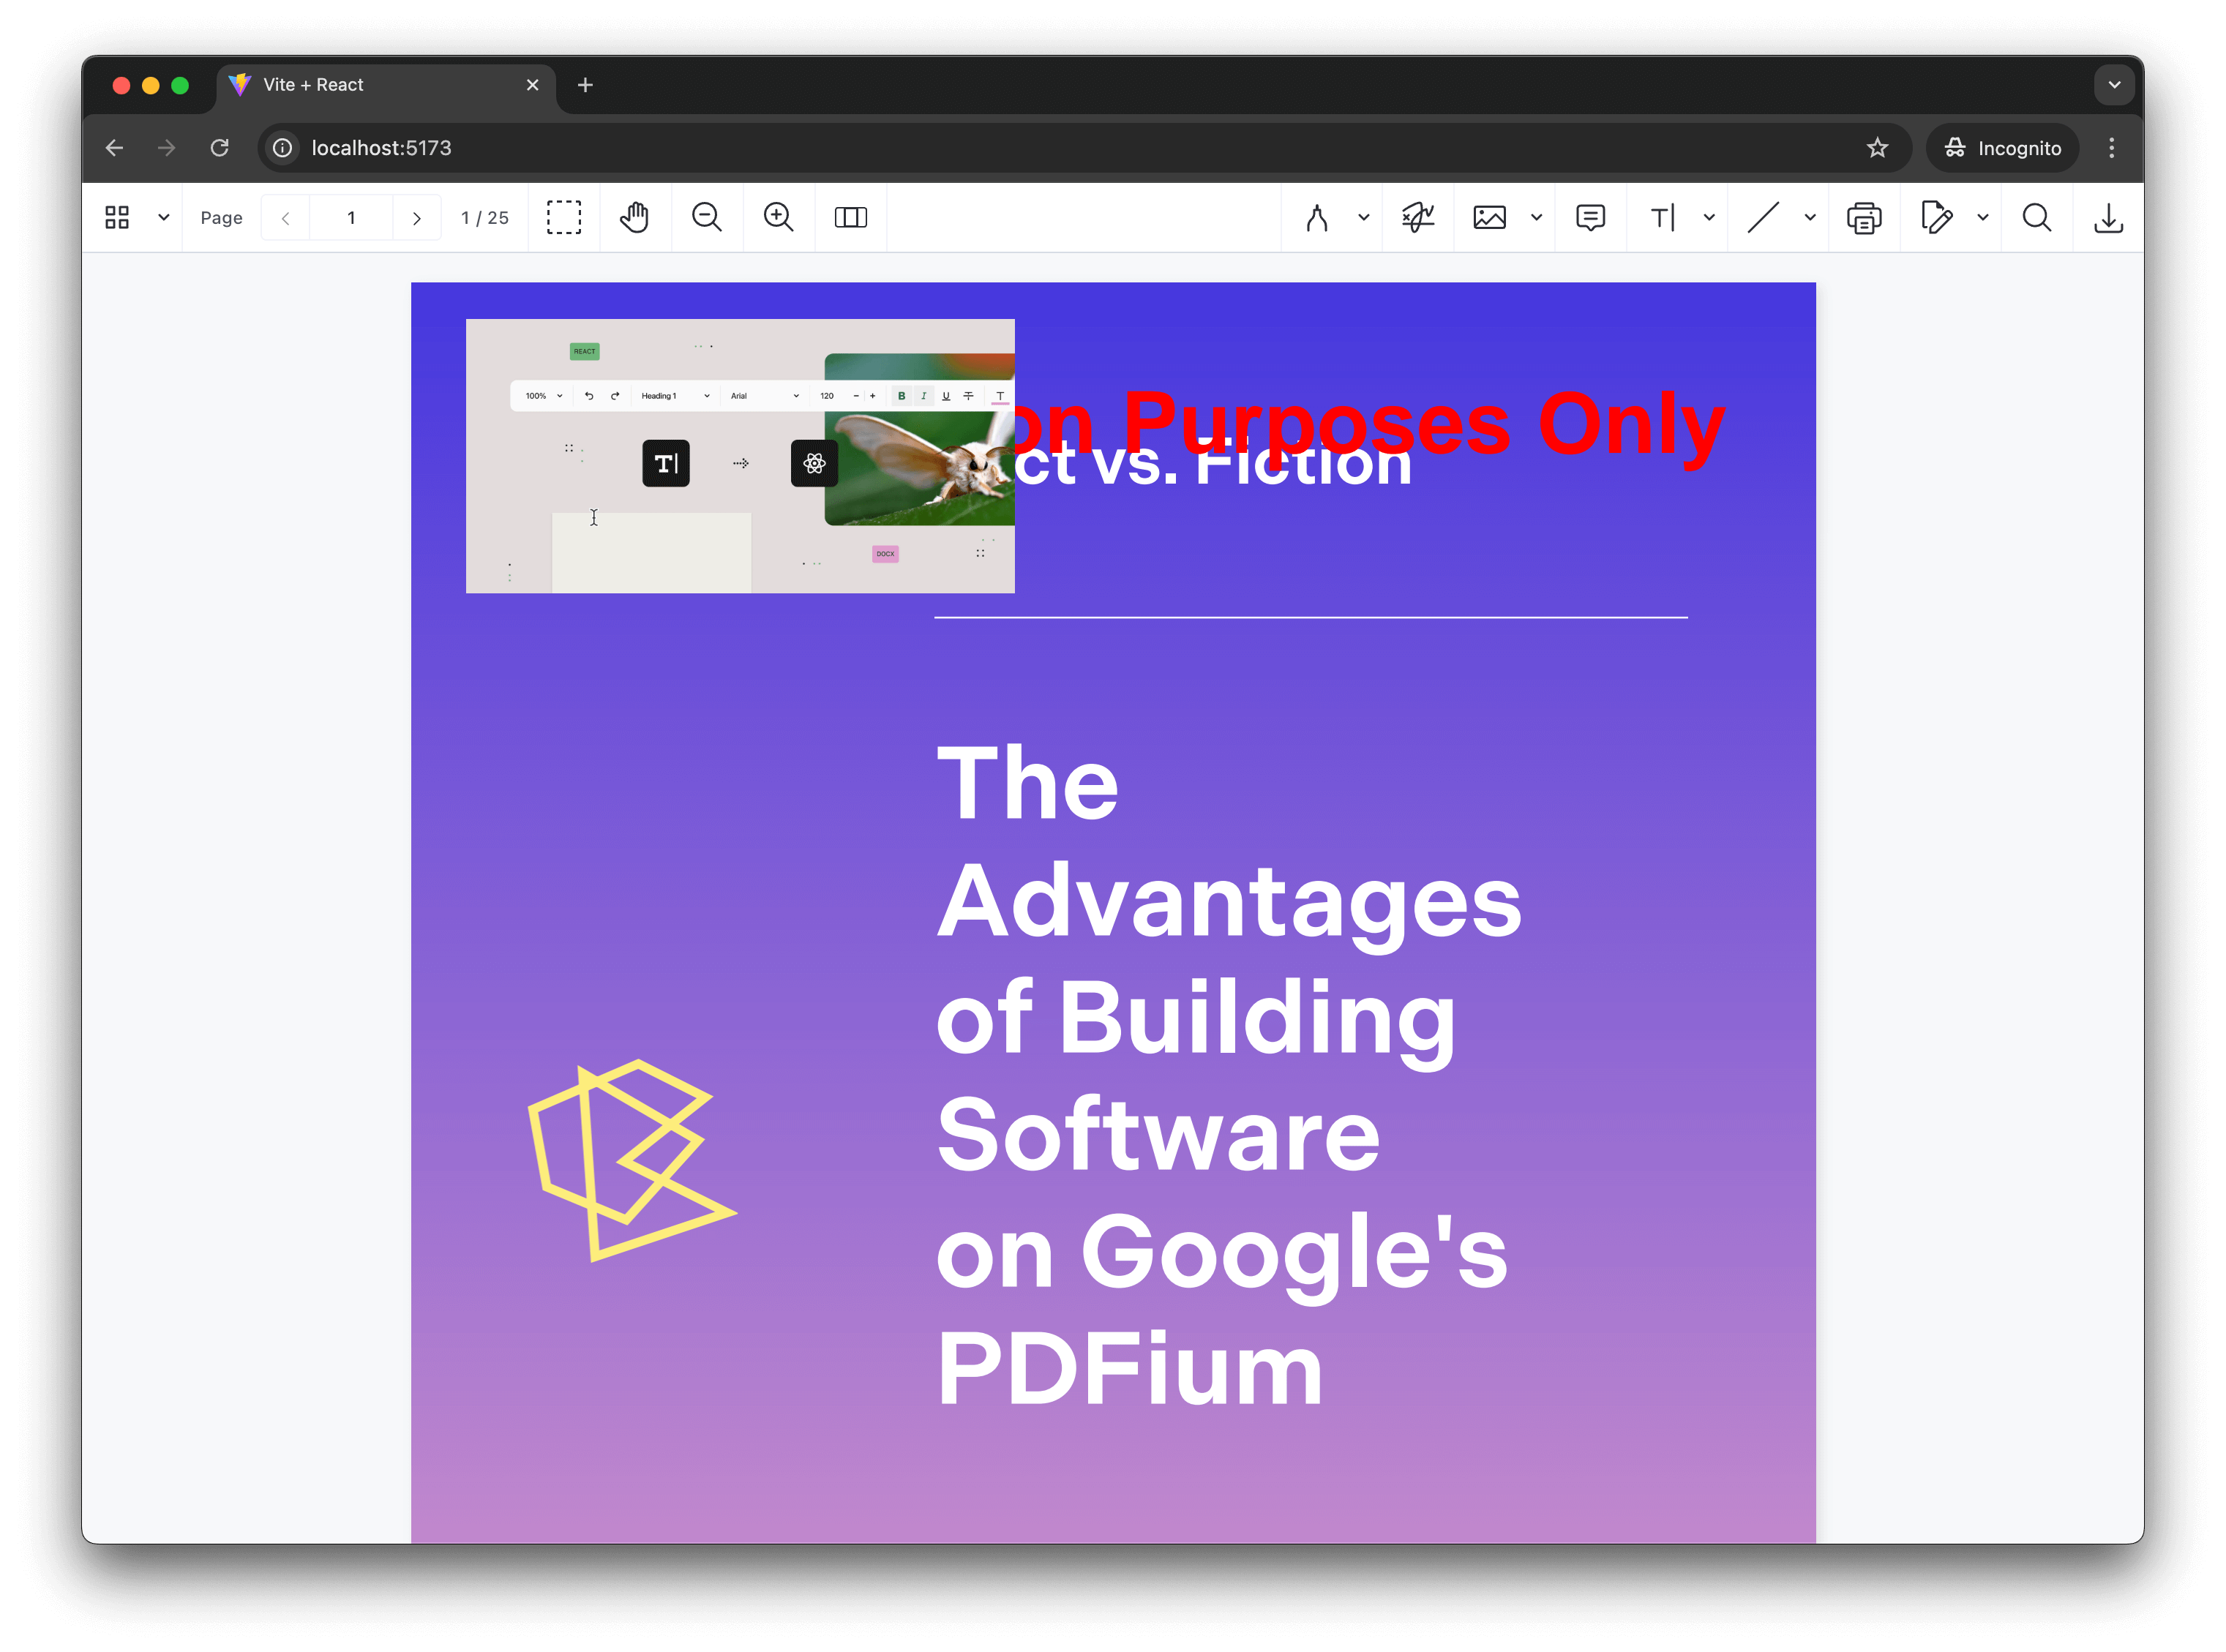
In the code snippet above:
- The code fetches an image from a URL, converts it to a blob, and creates an attachment.
ImageAnnotationwithisSignature: truecreates an image-based signature.- The
boundingBoxcontrols where the image signature appears on the page.
Creating signature fields in PDF documents
Signature fields are interactive areas where users can click to add their signature. This is useful for forms and documents that require signatures.
Update the App.tsx file to create a signature field:
import { useEffect, useRef } from "react";47 collapsed lines
function App() { const containerRef = useRef(null);
useEffect(() => { const container = containerRef.current; let cleanup = () => {};
(async () => { const NutrientViewer = (await import("@nutrient-sdk/viewer")).default;
NutrientViewer.unload(container);
if (container && NutrientViewer) { const instance = await NutrientViewer.load({ container, document: "/example.pdf", });
const widget = new NutrientViewer.Annotations.WidgetAnnotation({ pageIndex: 0, boundingBox: new NutrientViewer.Geometry.Rect({ left: 200, top: 200, width: 250, height: 150, }), formFieldName: "My signature form field", id: NutrientViewer.generateInstantId(), });
const formField = new NutrientViewer.FormFields.SignatureFormField({ name: "My signature form field", annotationIds: NutrientViewer.Immutable.List([widget.id]), });
await instance.create([widget, formField]); }
cleanup = () => { NutrientViewer.unload(container); }; })();
return cleanup; }, []);
return <div ref={containerRef} style={{ height: "100vh", width: "100vw" }} />;}
export default App;In the code snippet above:
WidgetAnnotationcreates the visual signature field box on the page,SignatureFormFielddefines the form field properties,formFieldNamelinks the widget to the form field,- Users can click the signature field to open the signature pad and add their signature,
Conclusion
Building a signature pad in React is straightforward with Nutrient Web SDK.
In this tutorial, you learned how to:
- Set up a React project with Vite
- Integrate Nutrient’s viewer to load and display PDF documents
- Add ink and image-based signatures programmatically
- Create signature fields that users can interact with inside the browser
Whether you’re building a paperless onboarding experience, a contract-signing portal, or a document workflow, Nutrient provides tools to handle signatures securely.
Explore the Nutrient demoReady to go further?
- Explore advanced form fields
- Learn to fill and sign PDF forms
Want to see it in action? Check out our interactive demos or start a free trial to build your own signature-enabled document app today.
If you have questions or run into any issues, our Support team is always here to help.
FAQ
A React signature pad is a user interface component that enables users to draw and save their signatures electronically in a React.js application.
Nutrient provides a customizable signature pad with features for annotating and signing PDF documents in React.js.
Start by creating a React project with Vite. Then install Nutrient and configure it to handle signature annotations in your PDF documents.
Yes. Nutrient enables you to add image signatures by fetching and embedding image files as annotations in your PDFs.
You can create signature fields by using Nutrient’s API to add widget annotations and form fields, which users can interact with to sign documents digitally.