



How to add annotations to PDFs using Angular

Table of contents

This post covers two approaches to PDF annotations in Angular: using ngx-extended-pdf-viewer for basic annotation tools, and Nutrient Web SDK for programmatic text and ink annotations with full API control.
This post covers two ways to add annotations to PDFs in Angular. The first uses ngx-extended-pdf-viewer(opens in a new tab) to integrate annotation tools. The second uses Nutrient’s Angular PDF library to add annotations programmatically.
Annotations allow users to mark up, highlight, and comment on PDF content for reviewing drafts, adding feedback, or making notes.
What is ngx-extended-pdf-viewer?
ngx-extended-pdf-viewer is a PDF viewer component for Angular that extends PDF.js, enabling PDF display, annotation, and interaction.
Requirements
- Node.js(opens in a new tab) (latest version)
- A package manager:
npm(opens in a new tab) oryarn(opens in a new tab)
When you install Node.js, npm is installed by default.
Setup
Install the Angular CLI(opens in a new tab):
npm install -g @angular/cliCreate a new Angular project:
ng new pdf-annotation-appChoose No for adding Angular routing and CSS for the stylesheet.
Change your directory into the newly created folder:
cd pdf-annotation-appAdding ngx-extended-pdf-viewer
Install ngx-extended-pdf-viewer:
npm install ngx-extended-pdf-vieweryarn add ngx-extended-pdf-viewerConfigure the angular.json file under projects > yourProjectName > architect > build > options > assets:
"assets": [ "src/favicon.ico", "src/assets", { "glob": "**/*", "input": "node_modules/ngx-extended-pdf-viewer/assets/", "output": "/assets/" }],For Angular 17+ with standalone components
Angular 17 and later versions use standalone components by default. Import NgxExtendedPdfViewerModule directly in your component’s imports array:
import { Component } from '@angular/core';import { NgxExtendedPdfViewerModule } from 'ngx-extended-pdf-viewer';
@Component({  selector: 'app-root',  standalone: true,  imports: [NgxExtendedPdfViewerModule],  templateUrl: './app.component.html',  styleUrls: ['./app.component.css'],})export class AppComponent {  title = 'pdf-annotation-app';}
For Angular 16 and earlier with NgModules
Go to the app.module.ts file and import NgxExtendedPdfViewerModule from ngx-extended-pdf-viewer and pass it to the imports array:
import { NgModule } from '@angular/core';import { BrowserModule } from '@angular/platform-browser';import { NgxExtendedPdfViewerModule } from 'ngx-extended-pdf-viewer';import { AppComponent } from './app.component';
@NgModule({  declarations: [AppComponent],  imports: [BrowserModule, NgxExtendedPdfViewerModule],  providers: [],  bootstrap: [AppComponent],})export class AppModule {}
Displaying a PDF
Add your PDF document to the src/assets directory. You can use our demo document as an example.
Replace the contents of app.component.html with:
<ngx-extended-pdf-viewer [src]="'assets/example.pdf'" [useBrowserLocale]="true" [textLayer]="true" [showHandToolButton]="true" [showPresentationModeButton]="true" [showDownloadButton]="false"></ngx-extended-pdf-viewer>See all available options(opens in a new tab) on the ngx-extended-pdf-viewer website.
Adding annotations
ngx-extended-pdf-viewer provides built-in tools for adding annotations like text comments, highlights, and drawings.
Run your project:
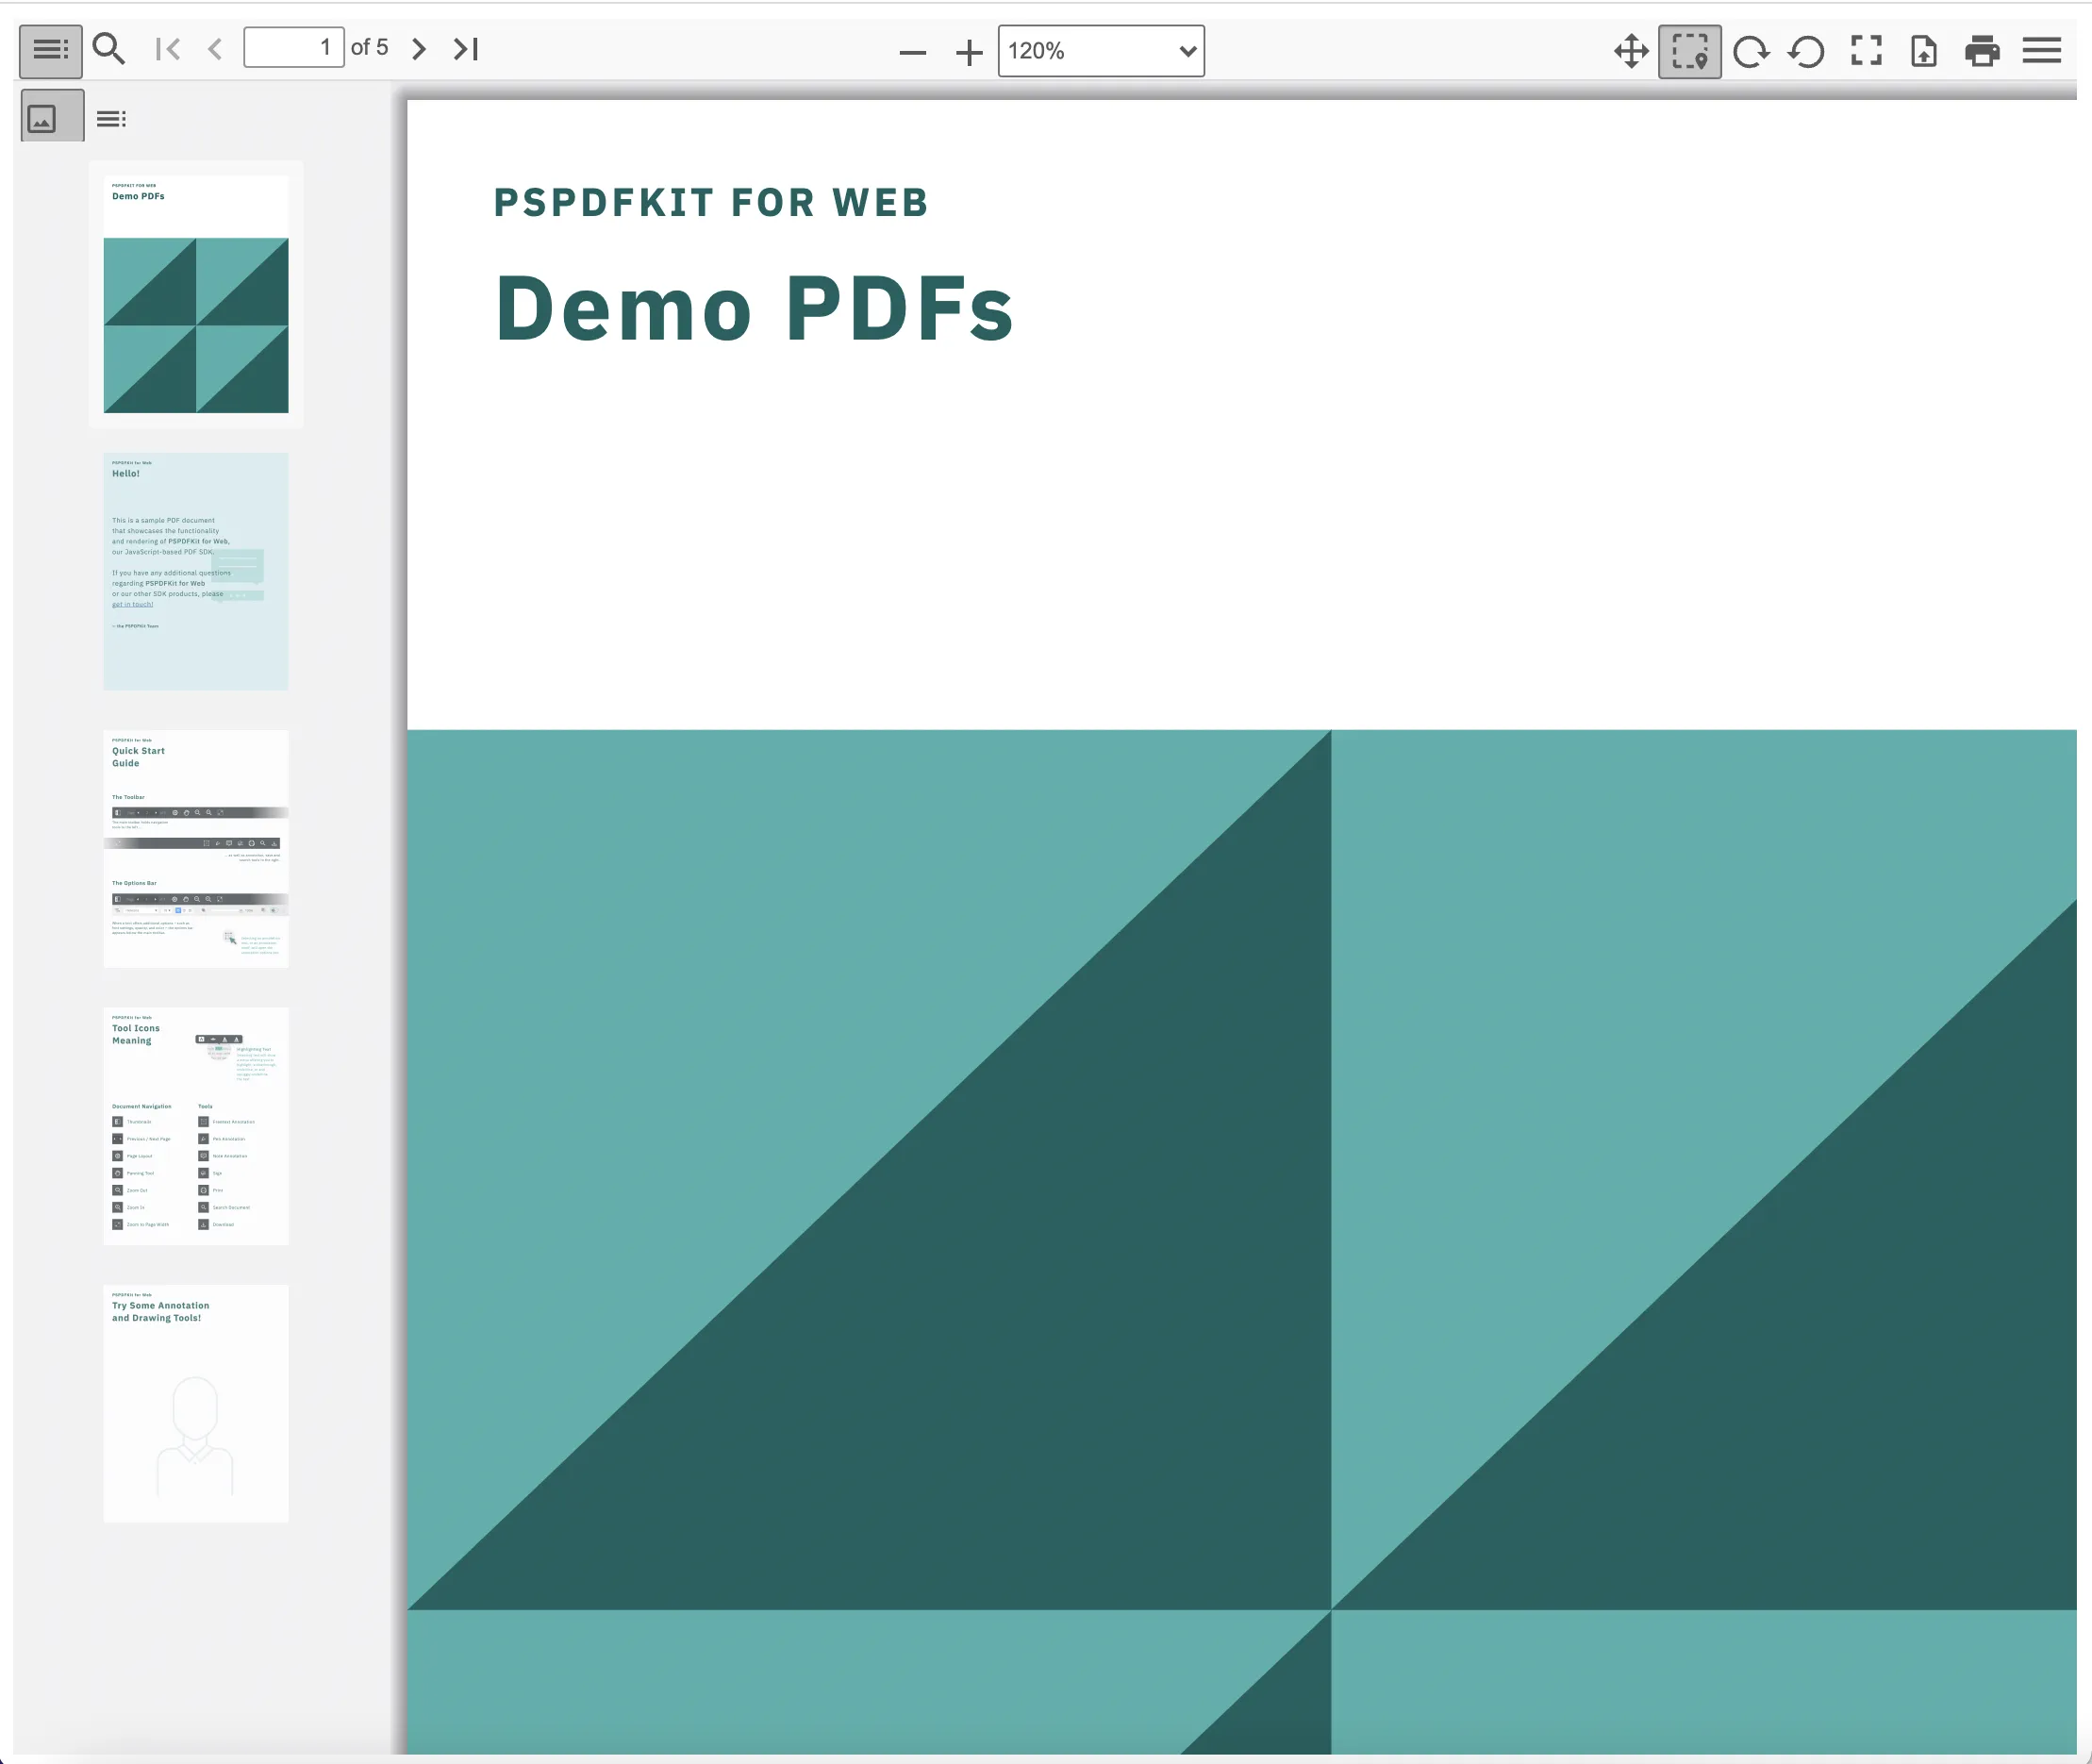
npm startNavigate to localhost:4200 to see your PDF file.
You can access the project on GitHub(opens in a new tab).
Nutrient’s Angular PDF annotation library
Nutrient’s Angular PDF annotation library provides a robust set of features:
- 17 annotation types — Nutrient supports 17 annotation types.
- Customization — Adjust colors, shapes, and sizes to fit your requirements.
- Cross-device syncing — Sync annotations across devices with server deployment.
- Real-time comment threads — Threaded conversations within documents (requires server deployment).
- Customizable tooltips — Configure tooltip content and appearance.
- Framework support — Works with multiple web frameworks without custom API implementations.
See the full capabilities in our demo.
Integrating Nutrient with Angular
This section walks through creating a new Angular project, adding the Nutrient SDK, and displaying a PDF.
Creating a new Angular project
Create a new Angular project:
ng new nutrient-web-example-angularChoose No for routing and CSS for the stylesheet.
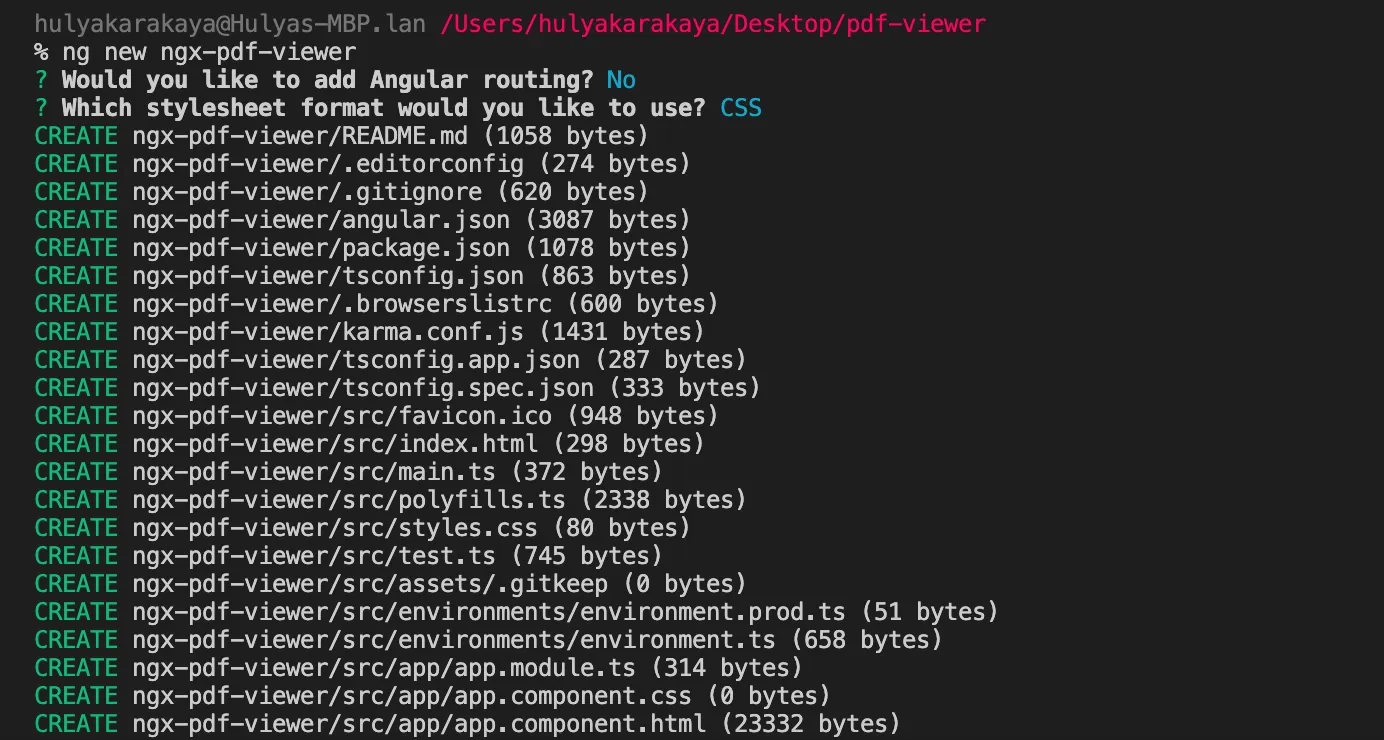
Change to the project directory:
cd nutrient-web-example-angularAdding Nutrient
Install @nutrient-sdk/viewer as a dependency with npm or yarn:
npm install @nutrient-sdk/vieweryarn add @nutrient-sdk/viewerAdd the following to your angular.json file so Angular copies the Nutrient library assets to the assets directory:
"assets": [ "src/favicon.ico", "src/assets", { "glob": "**/*", "input": "./node_modules/@nutrient-sdk/viewer/dist/nutrient-viewer-lib/", "output": "./assets/nutrient-viewer-lib/" }]Configuring build budgets
The Nutrient SDK is a large library. You’ll need to increase the default Angular budget limits in angular.json under projects > yourProjectName > architect > build > configurations > production > budgets:
"budgets": [ { "type": "initial", "maximumWarning": "10mb", "maximumError": "15mb" }, { "type": "anyComponentStyle", "maximumWarning": "2kb", "maximumError": "4kb" }]Displaying the PDF
Add the PDF document you want to display to the src/assets directory. You can use our demo document as an example.
Replace the contents of
app.component.htmlwith:<div class="app"><div class="toolbar">Nutrient Angular Application</div><!-- We'll mount the Nutrient UI to this element. --><div class="nutrient-container"></div></div>Replace the contents of
app.component.tswith:import { Component } from '@angular/core';import NutrientViewer from '@nutrient-sdk/viewer';@Component({selector: 'app-root',templateUrl: './app.component.html',styleUrls: ['./app.component.css'],standalone: true,})export class AppComponent {title = 'Nutrient Web SDK Angular Example';ngAfterViewInit(): void {NutrientViewer.load({// Use the assets directory URL as a base URL. Nutrient will download its library assets from here.baseUrl: location.protocol + '//' + location.host + '/assets/',document: '/assets/example.pdf',container: '.nutrient-container',licenseKey: 'YOUR_LICENSE_KEY_GOES_HERE', // Optional license key.}).then((instance) => {// For the sake of this demo, store the Nutrient Web SDK instance// on the global object so that you can open the dev tools and// play with the Nutrient API.(<any>window).instance = instance;});}}The license key is optional; however, you may see a watermark on your PDF files without a key. To get a key, contact Sales.
If you try to run your project, you may get an error stating the mounting container has no height. To fix this issue, add the following styles to the
src/app/app.component.cssfile::host {height: 100%;}.app {position: fixed;width: 100%;height: 100%;top: 0;right: 0;bottom: 0;left: 0;}.toolbar {position: relative;display: flex;align-items: center;height: 64px;width: 100%;padding: 0 24px;box-shadow: 0 1px 0 rgba(0, 0, 0, 0.1);font-family: sans-serif;font-size: 20px;font-weight: 500;color: rgba(0, 0, 0, 0.8);}.logo {margin-right: 20px;}.nutrient-container {height: calc(100% - 64px);}
You can access the project on GitHub(opens in a new tab).
- Start the app and open it in your default browser:
npm startyarn startAdding text annotations to a PDF using Nutrient and Angular
Text annotations add comments, labels, or notes to a PDF. Nutrient provides the NutrientViewer.Annotations.TextAnnotation class, which supports properties for font, color, size, alignment, and position.
- In
app.component.ts, add a property to store the Nutrient instance and thecreateTextAnnotationmethod:
import { Component } from '@angular/core';import NutrientViewer from '@nutrient-sdk/viewer';
@Component({  selector: 'app-root',  templateUrl: './app.component.html',  styleUrls: ['./app.component.css'],  standalone: true,})export class AppComponent {  title = 'Nutrient Web SDK Angular Example';  private nutrientInstance: any;
  ngAfterViewInit(): void {    NutrientViewer.load({      baseUrl: location.protocol + '//' + location.host + '/assets/',      document: '/assets/example.pdf',      container: '.nutrient-container',      licenseKey: 'YOUR_LICENSE_KEY_GOES_HERE',    }).then((instance) => {      (<any>window).instance = instance;      this.nutrientInstance = instance; // Store the Nutrient instance in a variable.
      // Call the function to create a text annotation.      this.createTextAnnotation();    });  }
  async createTextAnnotation() {    const annotation = new NutrientViewer.Annotations.TextAnnotation({      pageIndex: 0, // Specify the page number for the annotation.      text: {        format: 'plain',        value: 'Welcome to Nutrient', // Text to embed.      },      font: 'Helvetica',      isBold: true,      horizontalAlign: 'left', // Align the annotation to the left of the bounding box.      boundingBox: new NutrientViewer.Geometry.Rect({        left: 50, // Position of the annotation.        top: 200,        width: 100,        height: 80,      }),      fontColor: NutrientViewer.Color.BLUE, // Color of the text.    });
    // Attach this annotation to your PDF.    const createdAnnotation =      await this.nutrientInstance.create(annotation);    console.log('Text annotation created:', createdAnnotation);  }}
Run the application to see the text annotation on the PDF.
Adding ink annotations to a PDF using Nutrient and Angular
In
app.component.ts, add thecreateInkAnnotationfunction. This method takes four coordinate parameters (x1,y1,x2,y2) to define the starting and ending points of the ink stroke:async createInkAnnotation({x1,y1,x2,y2,}: {x1: number;y1: number;x2: number;y2: number;}) {const { List } = NutrientViewer.Immutable;const { DrawingPoint, Rect } = NutrientViewer.Geometry;const { InkAnnotation } = NutrientViewer.Annotations;const annotation = new InkAnnotation({pageIndex: 0,boundingBox: new Rect({ width: 400, height: 100 }),strokeColor: new NutrientViewer.Color({ r: 255, g: 0, b: 255 }),lines: List([List([new DrawingPoint({ x: x1, y: y1 }),new DrawingPoint({ x: x2, y: y2 }),]),]),});const createdAnnotation = await this.nutrientInstance.create(annotation);console.log('Ink annotation created:', createdAnnotation);}Call
createInkAnnotationinside thengAfterViewInitlifecycle hook after the Nutrient instance loads:ngAfterViewInit(): void {NutrientViewer.load({baseUrl: location.protocol + '//' + location.host + '/assets/',document: '/assets/example.pdf',container: '.nutrient-container',licenseKey: 'YOUR_LICENSE_KEY_GOES_HERE',}).then((instance) => {(<any>window).instance = instance;this.nutrientInstance = instance; // Store the Nutrient instance in a variable.// Call the function to create an ink annotation.this.createInkAnnotation({x1: 5, // Starting x-coordinate.y1: 5, // Starting y-coordinate.x2: 100, // Ending x-coordinate.y2: 100, // Ending y-coordinate.});});}
Conclusion
In this comprehensive post, you learned about two methods for annotating PDFs in your Angular application: one using ngx-extended-pdf-viewer for basic annotations, and the other leveraging Nutrient, a robust PDF SDK, to achieve advanced annotation functionalities, including text and ink annotations. By integrating these tools, you can develop interactive and collaborative PDF annotation features that greatly enhance your Angular applications.
To try Nutrient, request a free trial or visit our demo page.
FAQ
You can use ngx-extended-pdf-viewer for built-in annotation tools, or Nutrient for programmatic annotation control with text, ink, and other annotation types.
ngx-extended-pdf-viewer extends PDF.js with built-in annotation tools. Nutrient provides 17 annotation types, programmatic control via APIs, cross-device syncing, and real-time collaboration features.
Yes. With Nutrient, you can create text, ink, highlight, and other annotations programmatically using the instance.create() method with annotation objects like TextAnnotation and InkAnnotation.
Nutrient supports 17 annotation types including text annotations, ink drawings, highlights, shapes, stamps, notes, and more.
Install @nutrient-sdk/viewer via npm or yarn, update angular.json to copy the library assets, configure build budgets for the larger bundle size, and initialize the viewer in your component.