Using a templating language such as Mustache(opens in a new tab) allows you to inject your data at runtime. In regard to PDF Generation, this means it gives you the possibility to customize HTML before sending it along for generation. Injecting data can be useful in situations such as name and date replacement, or when generating dynamic lists in invoices.
In this guide, you’ll implement name and date replacement with the use of Mustache in JavaScript. Note {{name}} and {{date}} in the following HTML:
<!DOCTYPE html><html> <body> <div class="address"> John Smith<br/> 123 Smith Street<br/> 90568 TA<br/> <br/> {{date}} </div> <div class="subject">Subject: PDF Generation FTW!</div> <div> <p> PDF is great! </p> </div> <div>{{name}}<br/></div> </body></html>First, the data for {{name}} and {{date}} needs to be defined. In practice, this data may come from an external source or database, but for this example, you’ll define the data in a JSON file:
{ "name": "John Smith Jr.", "date": "29 February, 2020"}Now, run the mustache command to produce a final HTML document with the template arguments replaced:
const mustache = require("mustache");const fs = require("fs");
const page = fs.readFileSync("page.mustache").toString();const data = JSON.parse(fs.readFileSync("data.json").toString());
const outputHTML = mustache.render(page, data);
Run the JavaScript with Node.js:
node mustache-example.jsOnce you’ve created your HTML in JavaScript, send a request to the /api/documents endpoint, sending the PDF Generation schema with the HTML file you just created:
curl -X POST http://localhost:5000/api/documents \ -H "Authorization: Token token=<API token>" \ -F page.html=@/path/to/page.html \ -F generation='{ "html": "page.html"}'POST /api/documents HTTP/1.1Content-Type: multipart/form-data; boundary=customboundaryAuthorization: Token token=<API token>
--customboundaryContent-Disposition: form-data; name="page.html"; filename="page.html"Content-Type: text/html
<HTML data>--customboundaryContent-Disposition: form-data; name="generation"Content-Type: application/json
{ "html": "page.html"}--customboundary--Adding watermarks
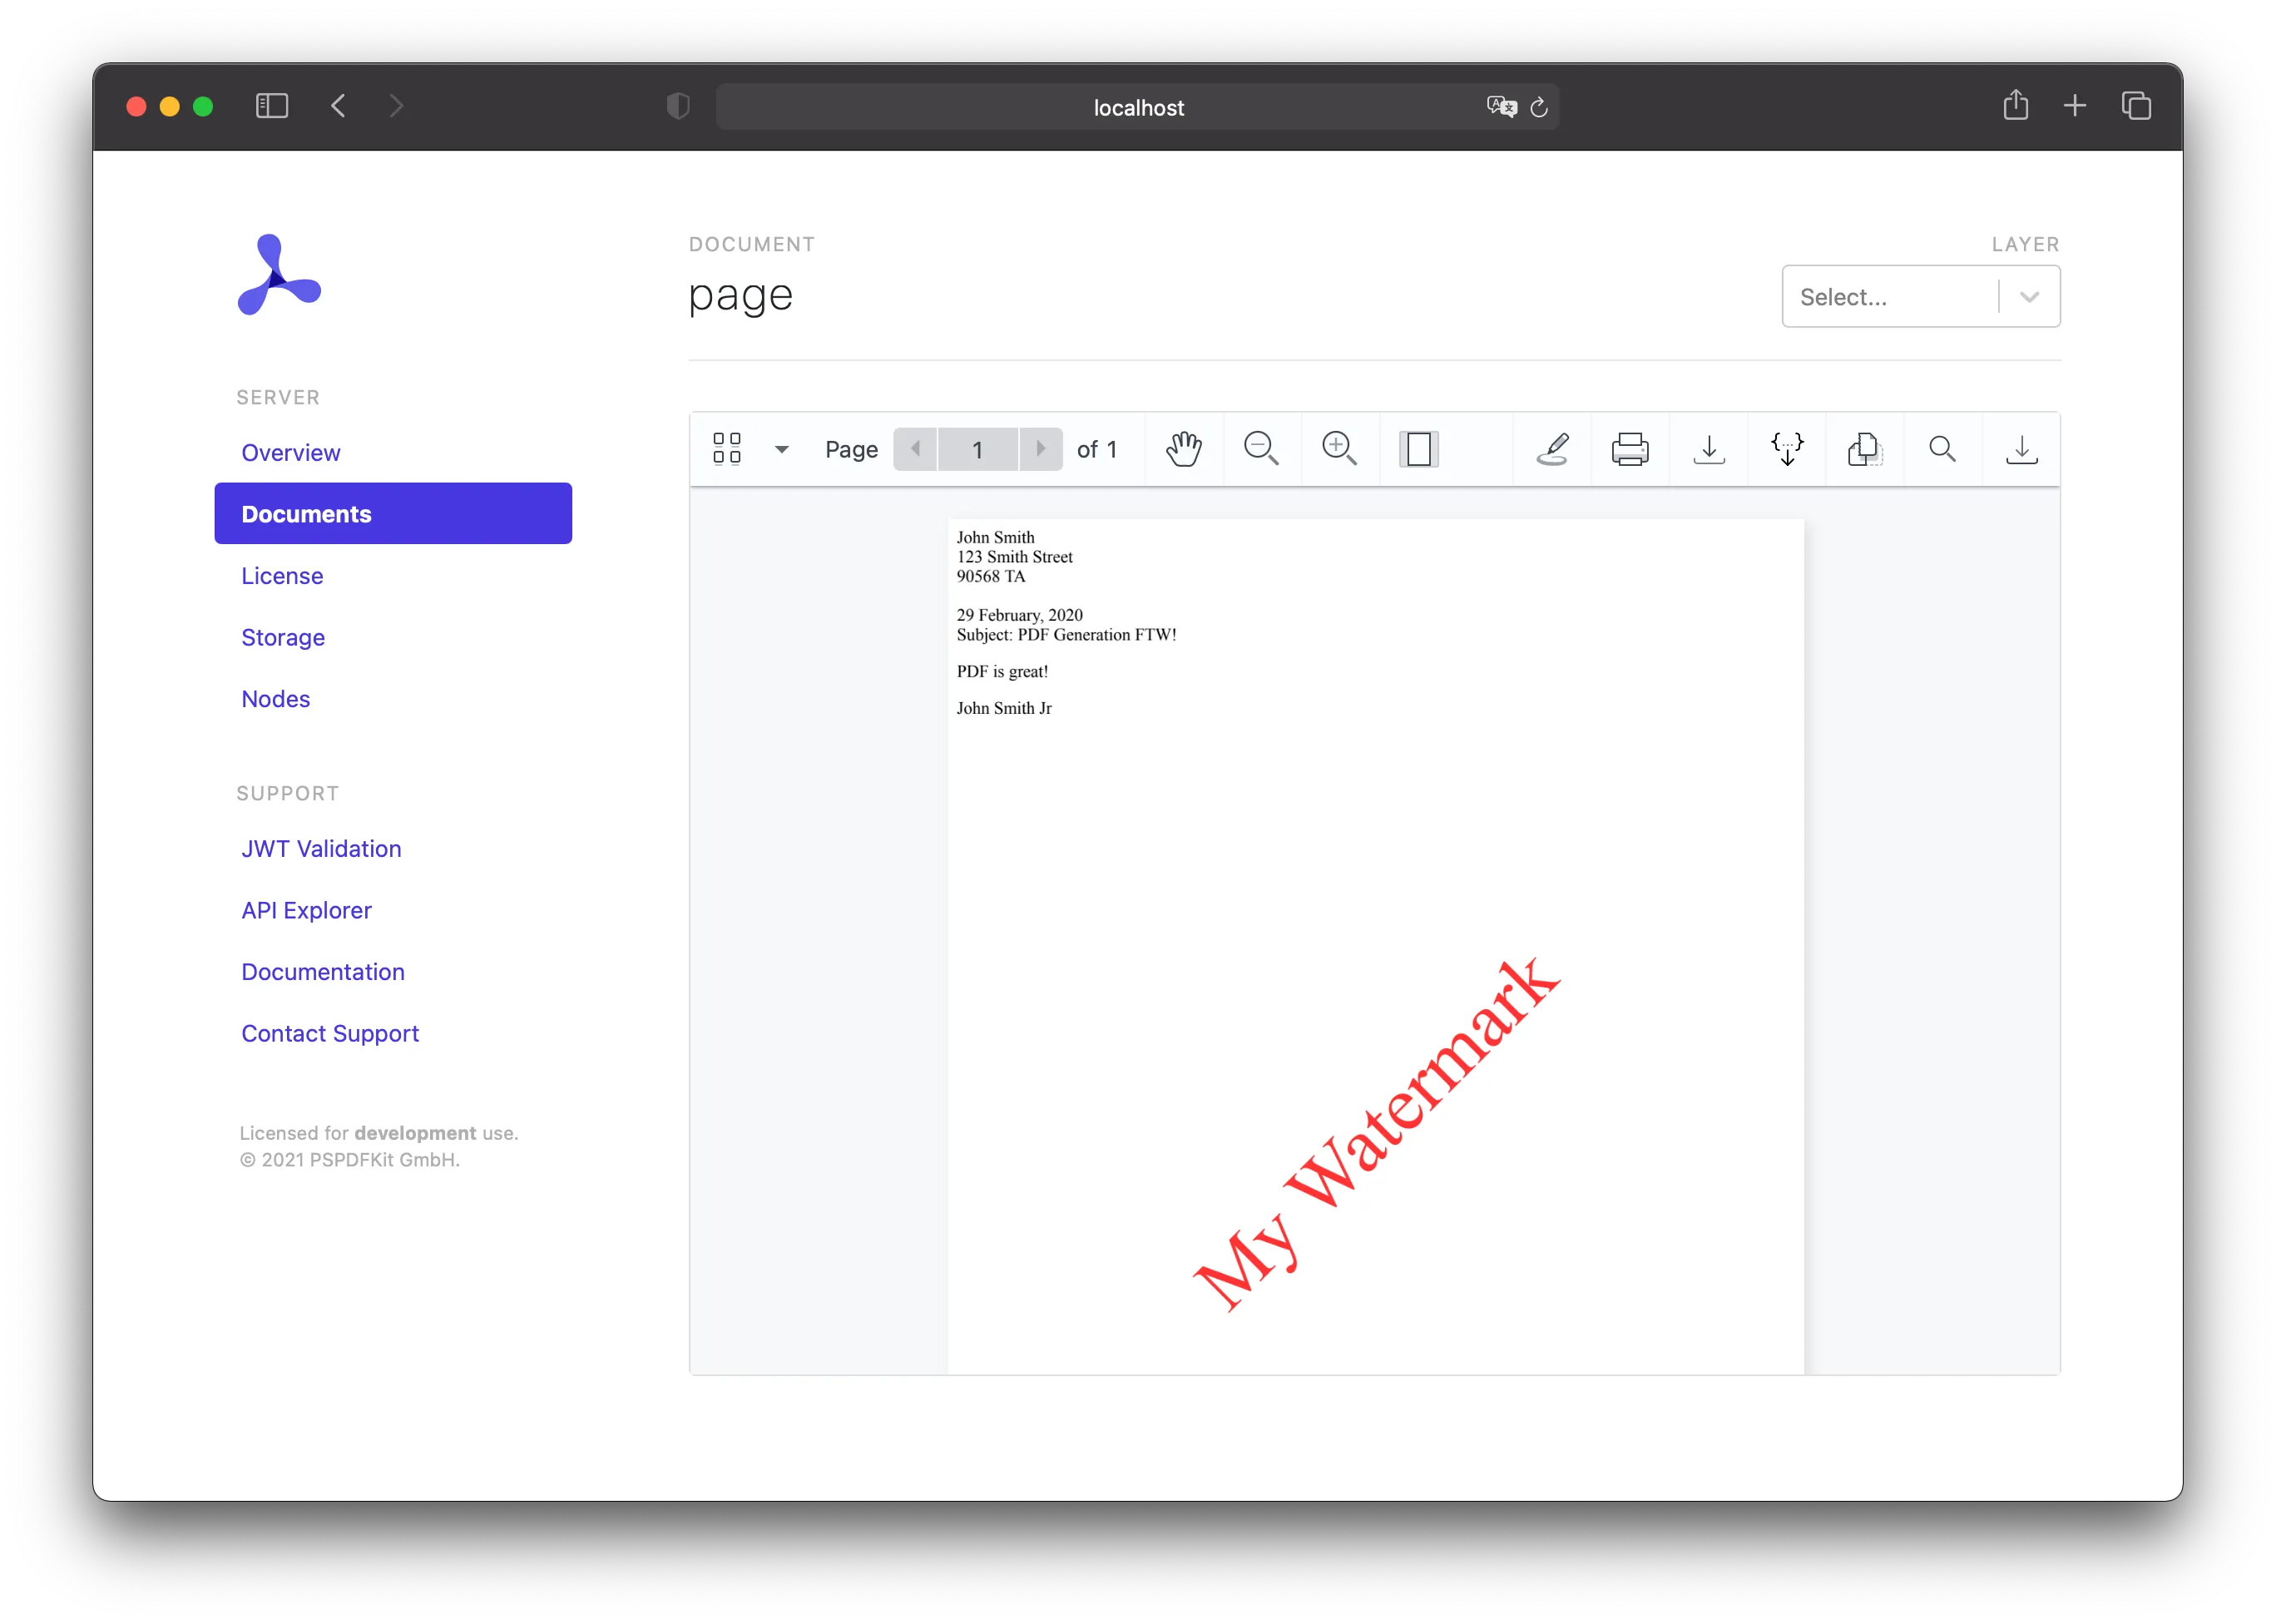
Once you have the basics of PDF generation down, you might want to watermark your PDF. You can do this by including some additional HTML:
<!DOCTYPE html><html> <body> <div style="position: fixed; top: 50%; left: 50%; font-size: 72px; color: red; opacity: 80%; transform: rotate(-45deg); width: 500px; height: 500px; margin-top: -250px; margin-left: -250px; text-align: center; vertical-align: middle; line-height: 500px;"> My Watermark </div> <div class="address"> John Smith<br/> 123 Smith Street<br/> 90568 TA<br/> <br/> {{date}} </div> <div class="subject">Subject: PDF Generation FTW!</div> <div> <p> PDF is great! </p> </div> <div>{{name}}<br/></div> </body></html>This element will be rendered on all pages on top of all other content. The HTML above uses some text, but you could also use an image. The watermark can also be positioned any way you want.
Adding a cover page
There are two ways to add a cover page to a PDF you generated: You can generate the cover page as part of the HTML, or you can use a PDF you already have.
Using HTML
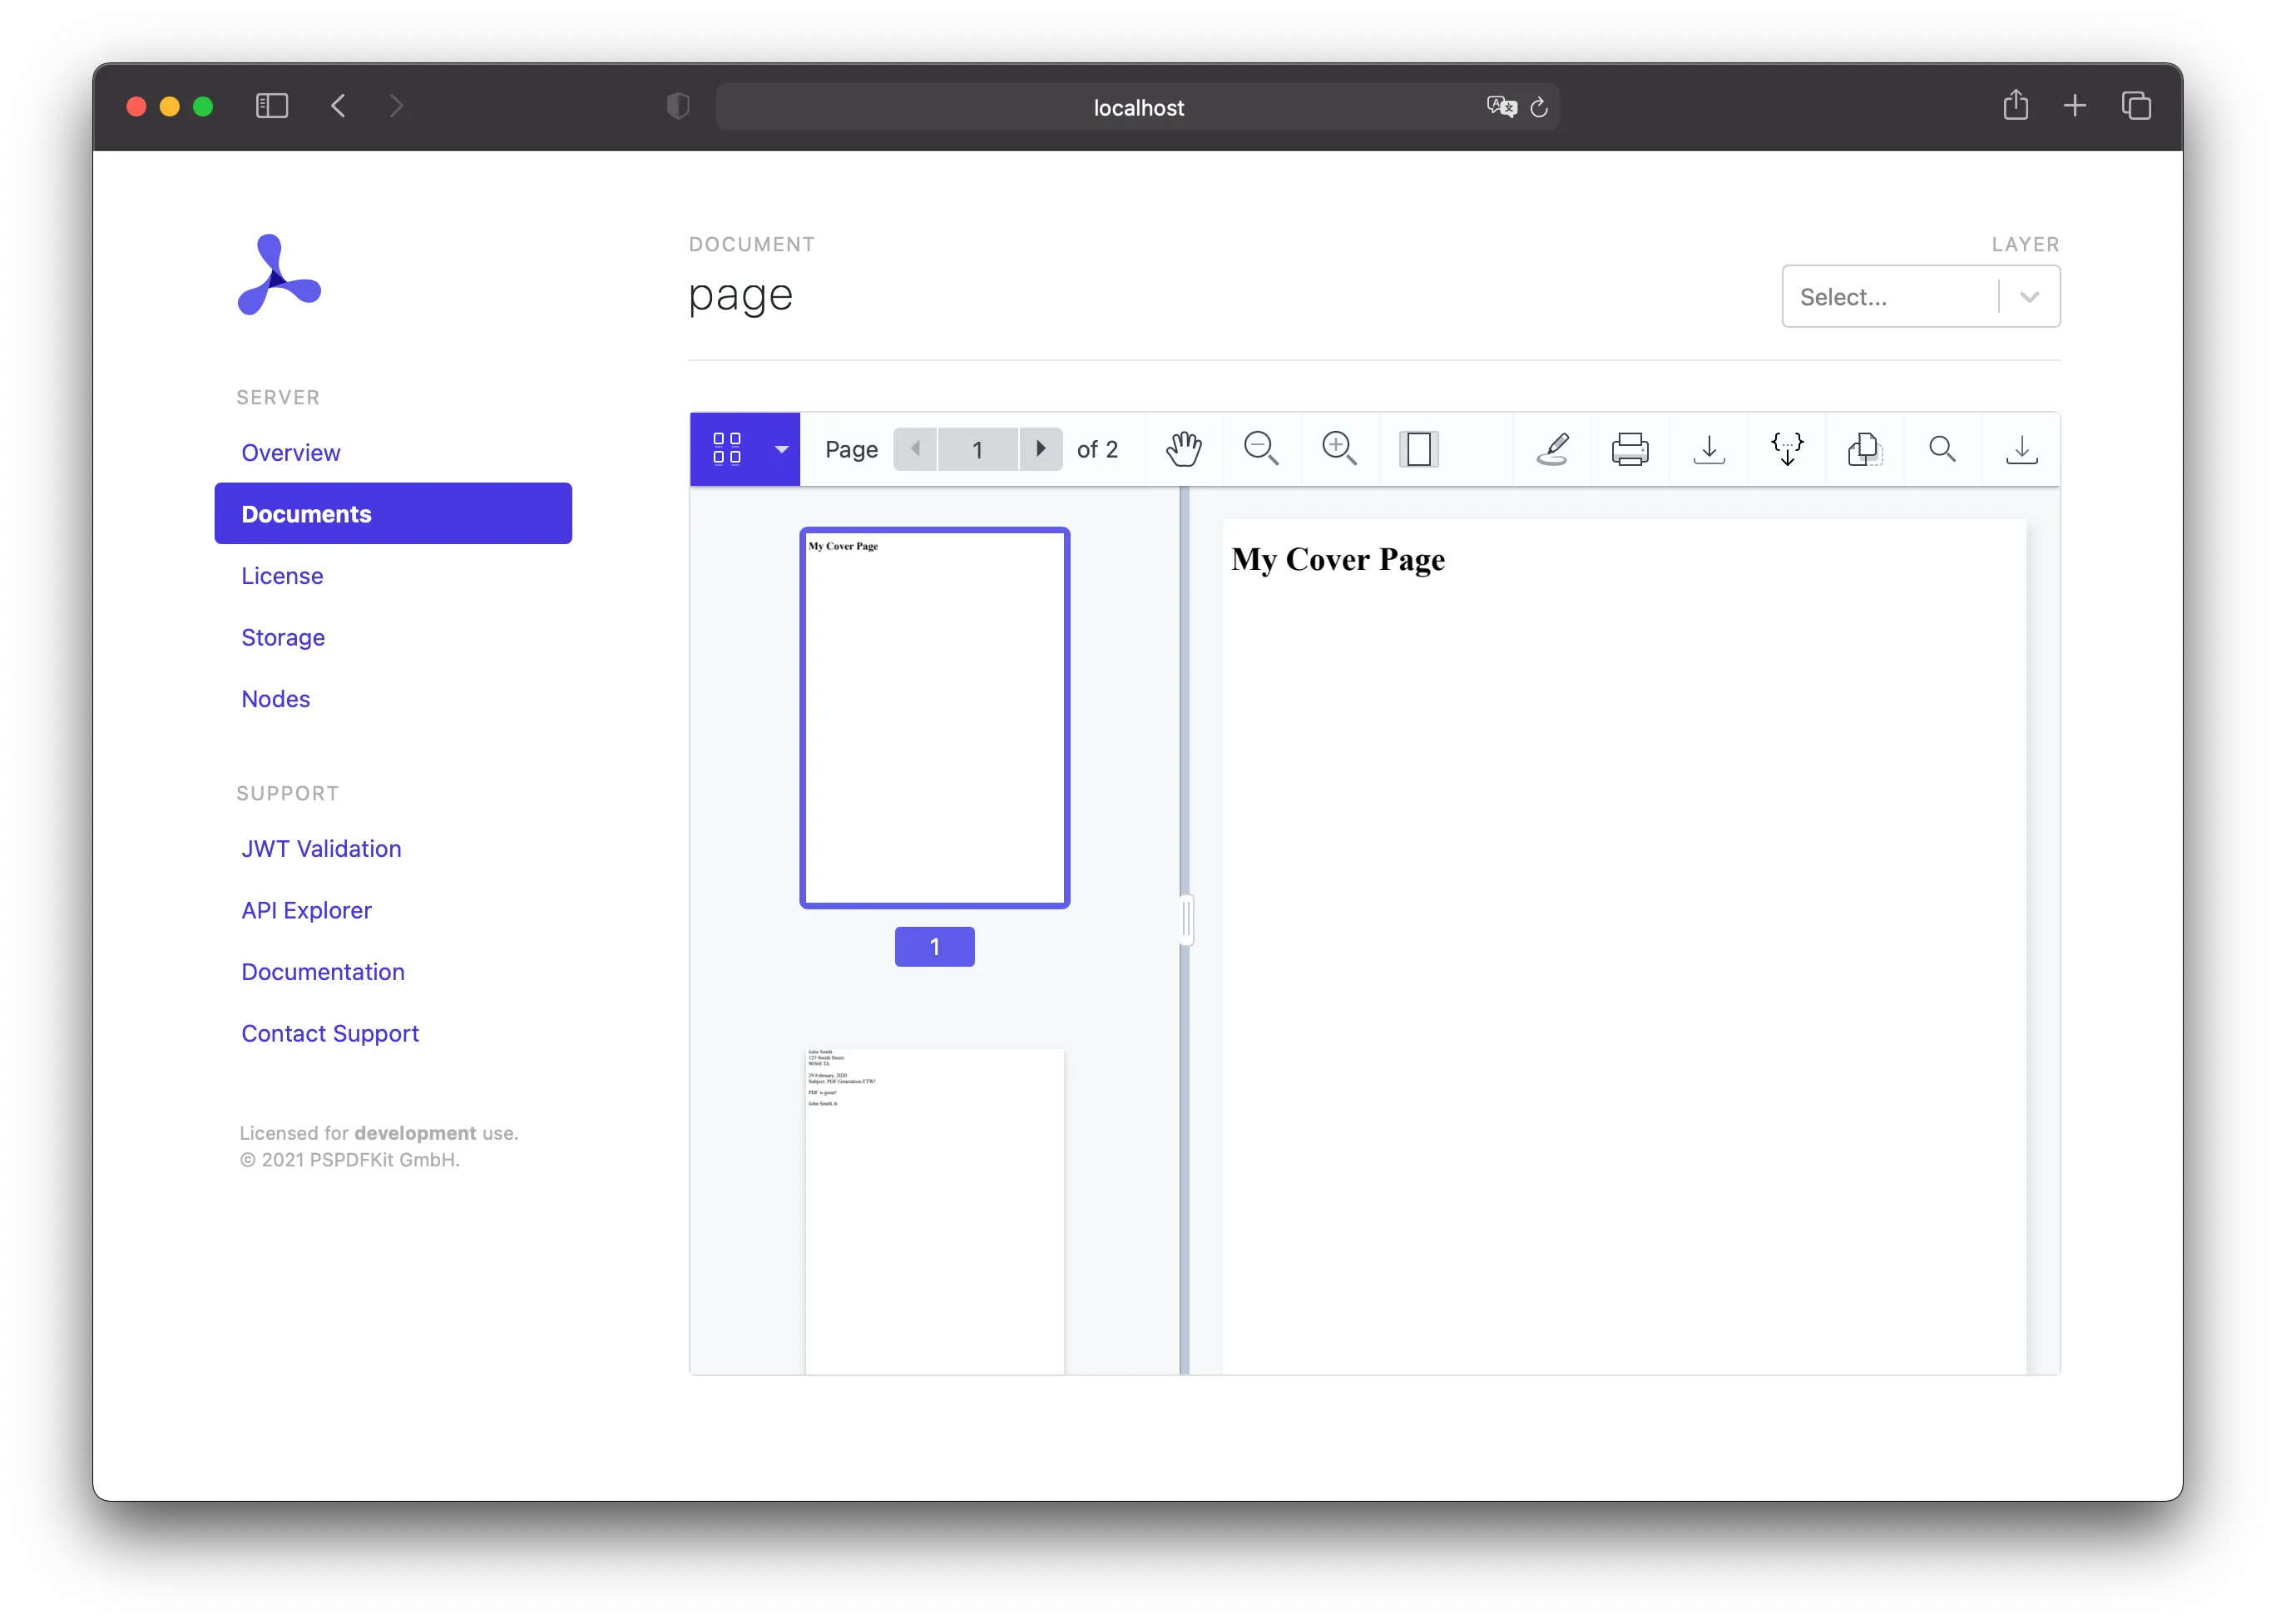
If you want to add a cover page to your generated PDF, you can do so by adding additional HTML:
<!DOCTYPE html><html> <body> <div style="display: block; width: 100%; height: 100%; page-break-after: always;"> <h1>My Cover Page</h1> </div> <div class="address"> John Smith<br/> 123 Smith Street<br/> 90568 TA<br/> <br/> {{date}} </div> <div class="subject">Subject: PDF Generation FTW!</div> <div> <p> PDF is great! </p> </div> <div>{{name}}<br/></div> </body></html>This will add another page before the rest of the content, and you can use the new page as your cover page.
Using a PDF
Instead of adding some HTML as a cover page, you can add a PDF. This can be done by applying an importDocument operation on upload:
curl -X POST http://localhost:5000/api/documents \ -H "Authorization: Token token=<API token>" \ -F page.html=@/path/to/page.html \ -F cover.pdf=@/path/to/cover.pdf \ -F generation='{ "html": "page.html"}' \ -F operations='{ "operations": [ { "type": "importDocument", "beforePageIndex": 0, "document": "cover.pdf" } ]}'POST /api/documents HTTP/1.1Content-Type: multipart/form-data; boundary=customboundaryAuthorization: Token token=<API token>
--customboundaryContent-Disposition: form-data; name="page.html"; filename="page.html"Content-Type: text/html
<HTML data>--customboundaryContent-Disposition: form-data; name="cover.pdf"; filename="cover.pdf"Content-Type: application/pdf
<PDF data>--customboundaryContent-Disposition: form-data; name="generation"Content-Type: application/json
{ "html": "page.html"}--customboundaryContent-Disposition: form-data; name="operations"Content-Type: application/json
{ "operations": [ { "type": "importDocument", "beforePageIndex": 0, "document": "cover.pdf" } ]}--customboundary--The provided PDF will be appended before the first page of the HTML, and it’ll serve as your cover page.