How to build a PHP image viewer

Table of contents
Build a PHP image viewer using Nutrient Web SDK: Download the SDK, copy assets to your project, and initialize with NutrientViewer.load(). View JPEG, PNG, and TIFF files directly in the browser.
This post provides a step-by-step guide for deploying a PHP image viewer with Nutrient Web SDK.
What is a PHP image viewer?
A PHP image viewer uses PHP to display image documents in a web browser without downloading them to your hard drive or using an external application.
Nutrient PHP image viewer
We offer a commercial PHP image viewer library that integrates into your web application. Our PHP viewer supports rendering JPEG, PNG, and TIFF files in any modern browser and on any mobile device without plugins.
It comes with 30+ features that let you view, annotate, edit, and sign documents directly in your browser. Out of the box, it has a polished and flexible UI that you can extend or simplify based on your unique use case.
- A prebuilt and polished UI for an improved user experience
- 15+ prebuilt annotation tools to enable document collaboration
- Support for more file types with client-side PDF, MS Office, and image viewing
- Dedicated support from engineers to speed up integration
Example of our PHP image viewer
To see our image viewer in action, upload a JPG, PNG, or TIFF file by selecting Choose Example > Open Document. Once your image is displayed in the viewer, you can try drawing freehand, adding a note, or applying a crop or an eSignature.
Requirements to get started
To get started, you’ll need:
- PHP
You can install PHP via XAMPP(opens in a new tab), MAMP(opens in a new tab), or Homebrew(opens in a new tab).
Adding Nutrient to your project
- Download the SDK from your Nutrient dashboard(opens in a new tab). The download will save a
.tar.gzarchive to your computer. - Extract the archive and copy the contents of the
distfolder to your project’sassetsfolder.
Your assets directory should contain:
nutrient-viewer.jsnutrient-viewer-lib/(fonts, WebAssembly files, etc.)
Integrating into your project
Add the image you want to display to your project’s directory. You can use our demo image as an example.
Add an empty
<div>element with a defined height where the viewer will be mounted:<div id="nutrient" style="height: 100vh;"></div>Include
nutrient-viewer.jsin your PHP page:<script src="assets/nutrient-viewer.js"></script>Initialize Nutrient Web SDK in PHP by calling
NutrientViewer.load():
<script>  const baseUrl = `${window.location.protocol}//${window.location.host}/assets/`;
  NutrientViewer.load({    baseUrl,    container: "#nutrient",    document: "image.png" // Add the path to your image here.  })  .then(function(instance) {    console.log("Nutrient loaded", instance);  })  .catch(function(error) {    console.error(error.message);  });</script>
You can see the full index.php file (which is just a plain HTML file):
<!DOCTYPE html><html>  <head>    <title>My App</title>    <!-- Provide proper viewport information so that the layout works on mobile devices. -->    <meta      name="viewport"      content="width=device-width, initial-scale=1.0, minimum-scale=1.0, maximum-scale=1.0, user-scalable=no"    />  </head>  <body>    <!-- Element where the viewer will be mounted. -->    <div id="nutrient" style="height: 100vh;"></div>
    <script src="assets/nutrient-viewer.js"></script>
    <script>      const baseUrl = `${window.location.protocol}//${window.location.host}/assets/`;
      NutrientViewer.load({        baseUrl,        container: '#nutrient',        document: 'image.png', // Add the path to the image here.      })        .then(function (instance) {          console.log('Nutrient loaded', instance);        })        .catch(function (error) {          console.error(error.message);        });    </script>  </body></html>
Serving your website
Go to your terminal and run a server with this command:
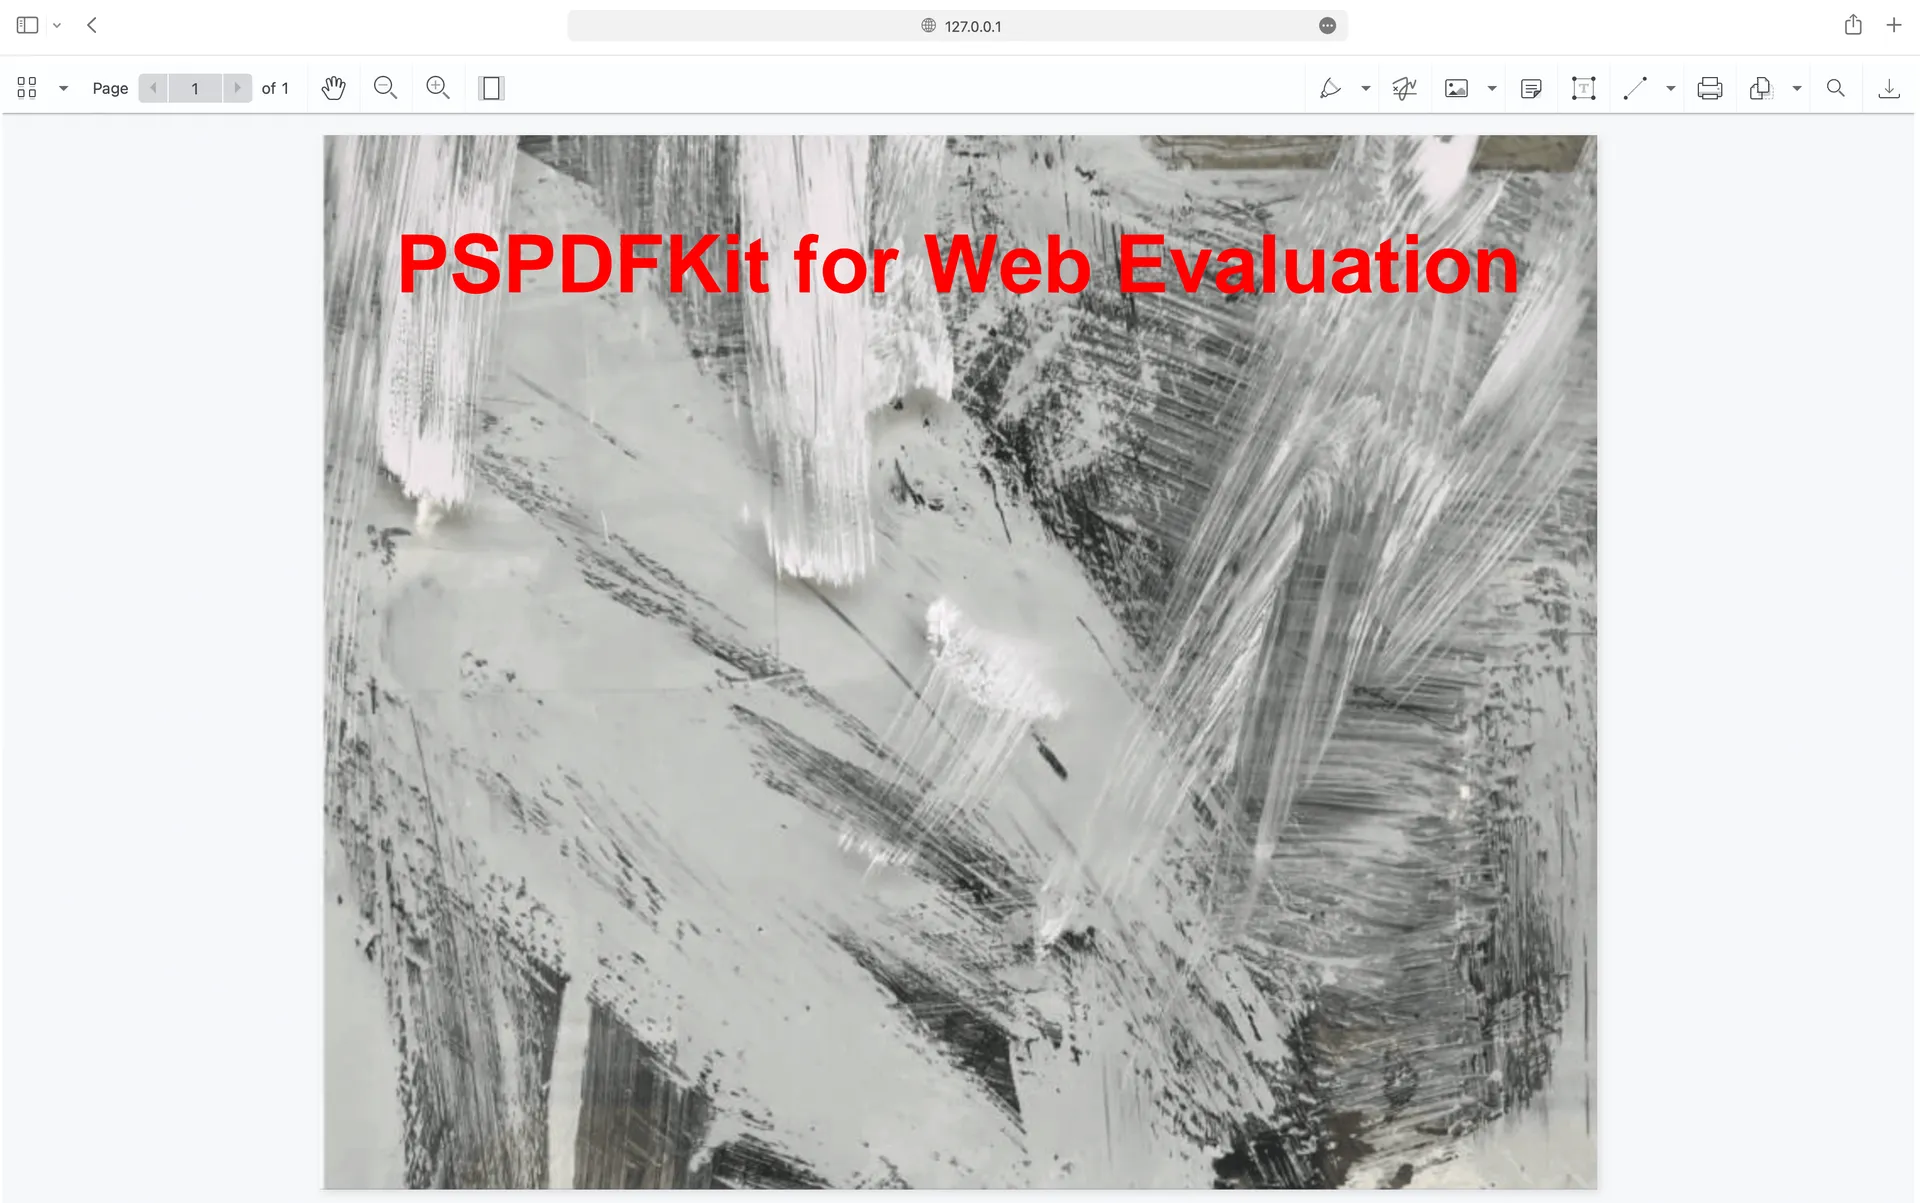
Terminal window php -S 127.0.0.1:8000Navigate to http://127.0.0.1:8000 to view the website.
Adding more capabilities
Once you’ve deployed your viewer, you can customize it or add more capabilities. Here are some popular PHP guides:
- Adding annotations
- Editing documents
- Filling PDF forms
- Adding signatures to documents
- Real-time collaboration
- Redaction
- UI customization
Conclusion
You now have a working PHP image viewer. For questions, contact our Support team.
You can also integrate our JavaScript image viewer or our JavaScript image annotation library using frameworks like Angular and React.js. Start a free trial or try the demo.
FAQ
A PHP image viewer displays image files (JPEG, PNG, TIFF) directly in a web browser without downloading them or using an external application. It uses PHP for server-side functionality and JavaScript for client-side rendering.
Download the Nutrient Web SDK, extract the dist folder contents to your project’s assets directory, include nutrient-viewer.js in your PHP page, and initialize the viewer using NutrientViewer.load().
Nutrient supports JPEG, PNG, and TIFF image formats. It renders these files directly in the browser without requiring plugins or external software.
Yes. Nutrient includes 15+ annotation tools for adding freehand drawings, notes, text, shapes, and signatures to images directly in the viewer.
No. Nutrient renders images client-side in the browser. You only need a web server to serve the PHP page and static files.