Customize and enhance your dashboards
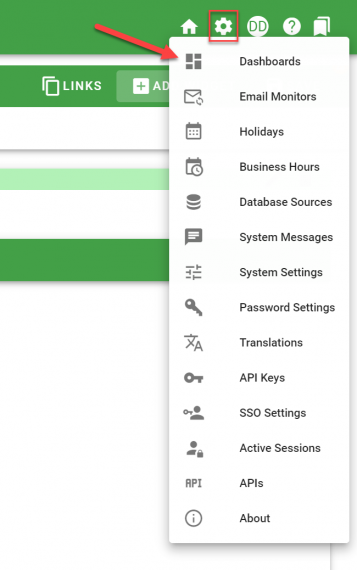
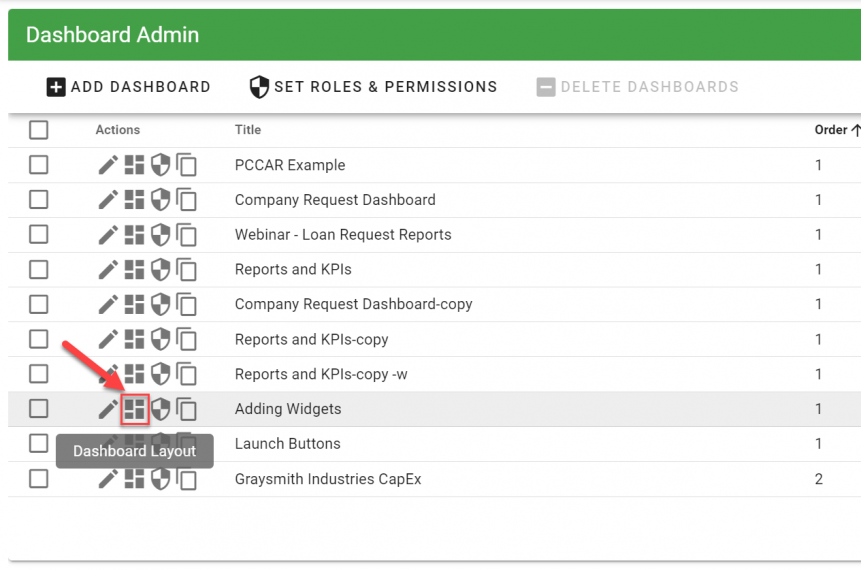
To access your dashboards, go to the gear icon in the upper-right corner and select Dashboards. You’ll see a list of existing dashboards.
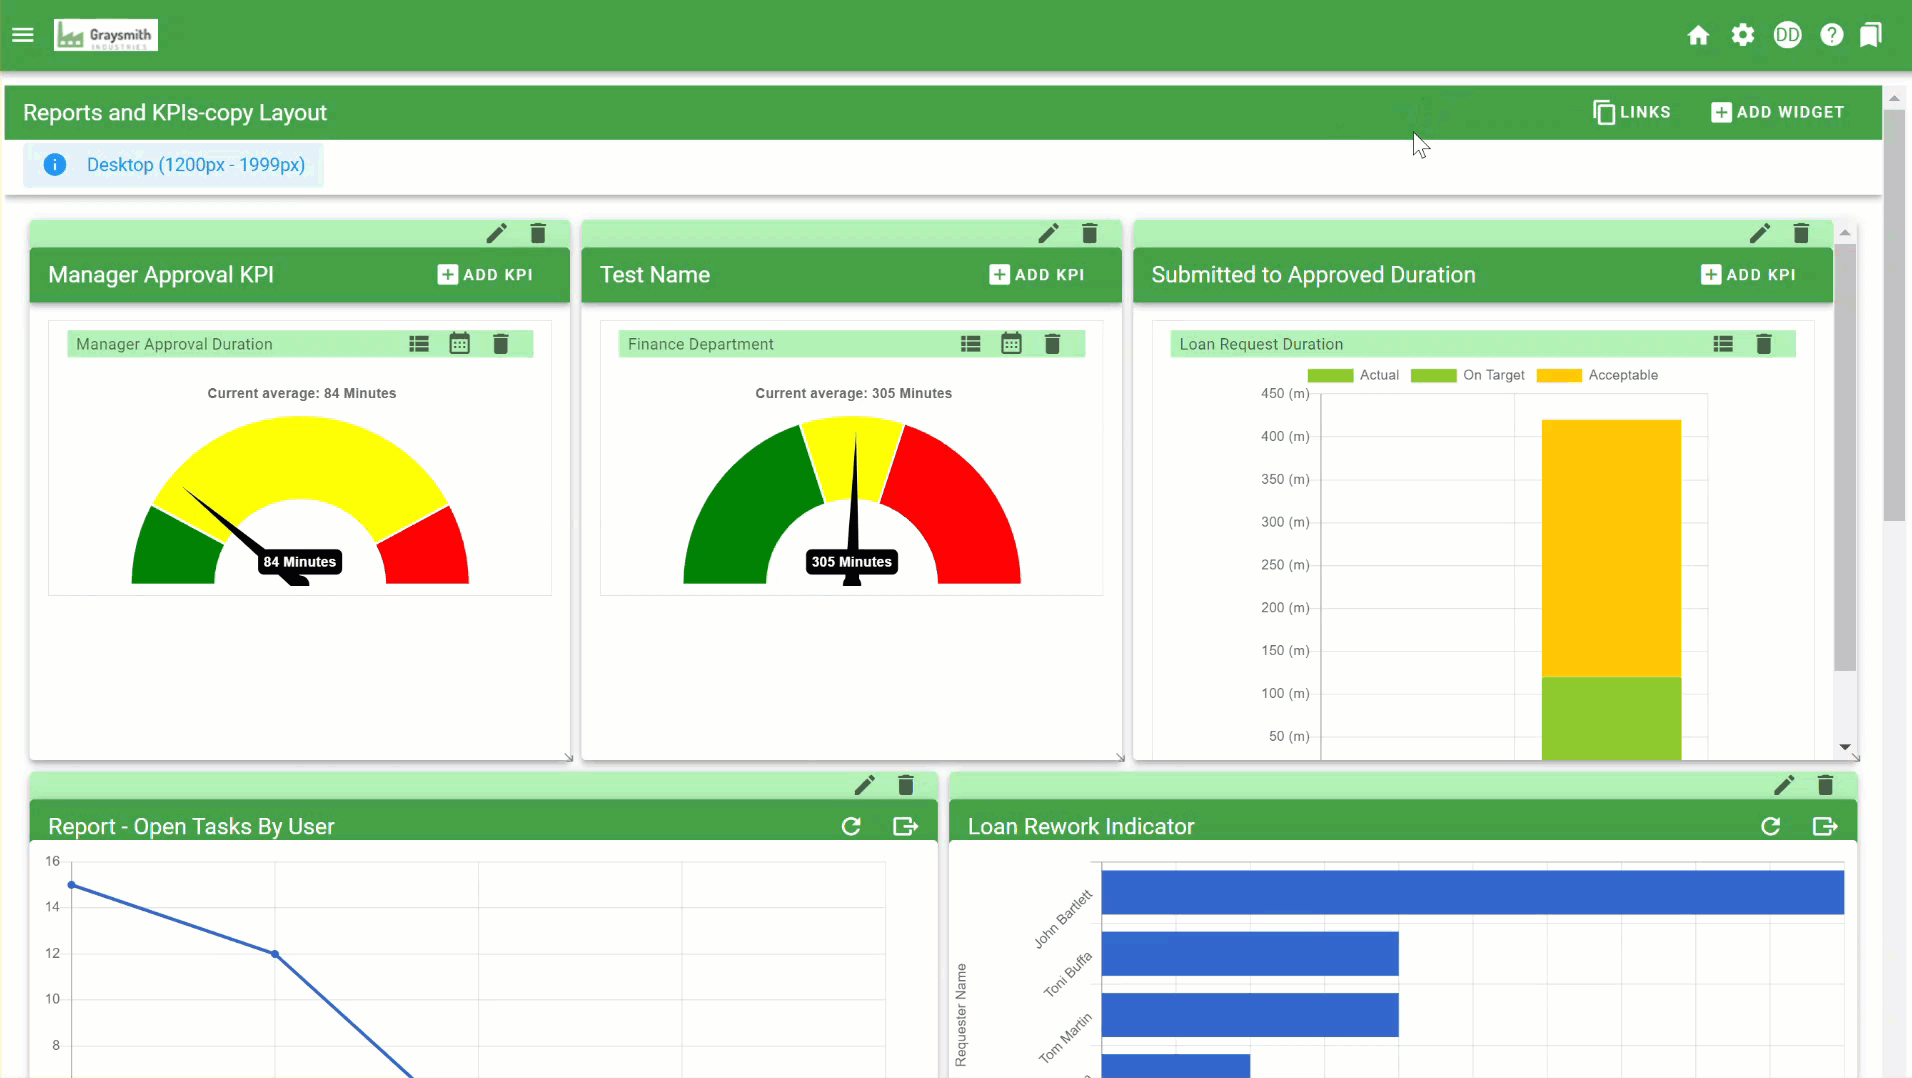
To configure what’s displayed on a dashboard, click the Layout icon to open the tab.
You can now add items to the dashboard by clicking the Add Widget icon within your dashboard. For more information on adding widgets, refer to our guide on how to add an HTML Panel widget.
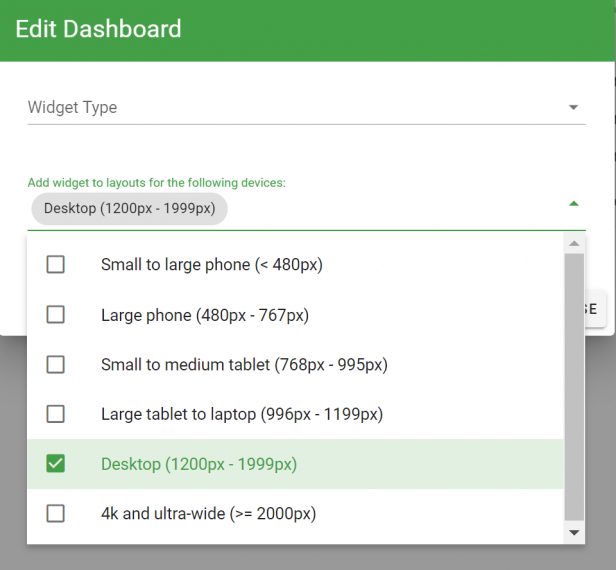
When creating a new dashboard, you can ensure a better user experience by deciding what dashboard elements are available for different screen sizes. For smaller screen sizes — for instance, mobile devices — you may want to limit which dashboard widgets are displayed.
Screen size profiles
Workflow Automation provides six different screen profiles that can be configured separately. As end users access your dashboard on different devices, they’ll be presented with the appropriate screen profile. These screen profiles also apply to end users who resize their browser windows. When their browser window is resized, the dashboard will show/hide elements based on the width of their window, according to the configured screen profiles.
When you add a new widget, it’ll be added at the bottom of the dashboard. Scroll down to edit it and/or move it to your preferred location.
If you choose not to create specific screen profiles, you can add widgets to the default desktop screen size and the widgets will display on all screens.
Changing the layout of your dashboard
You can optionally change the dashboard’s layout by resizing and arranging the objects when dragging and dropping them where desired.