Scheduling and managing reports
The Report Scheduler tab enables you to automate report delivery through email or secure file transfer protocol (SFTP). You can schedule reports to send at specific times or on recurring schedules. You can also specify the report, recipients, start and end dates, frequency, and format.
This automation:
- Automates reporting tasks — Reduces manual effort and ensures timely distribution of critical information to stakeholders.
- Supports proactive notifications — Use for quarterly meetings or to notify audit committees.
- Manages scheduled reports — Modify and manage all scheduled reports from a centralized interface.
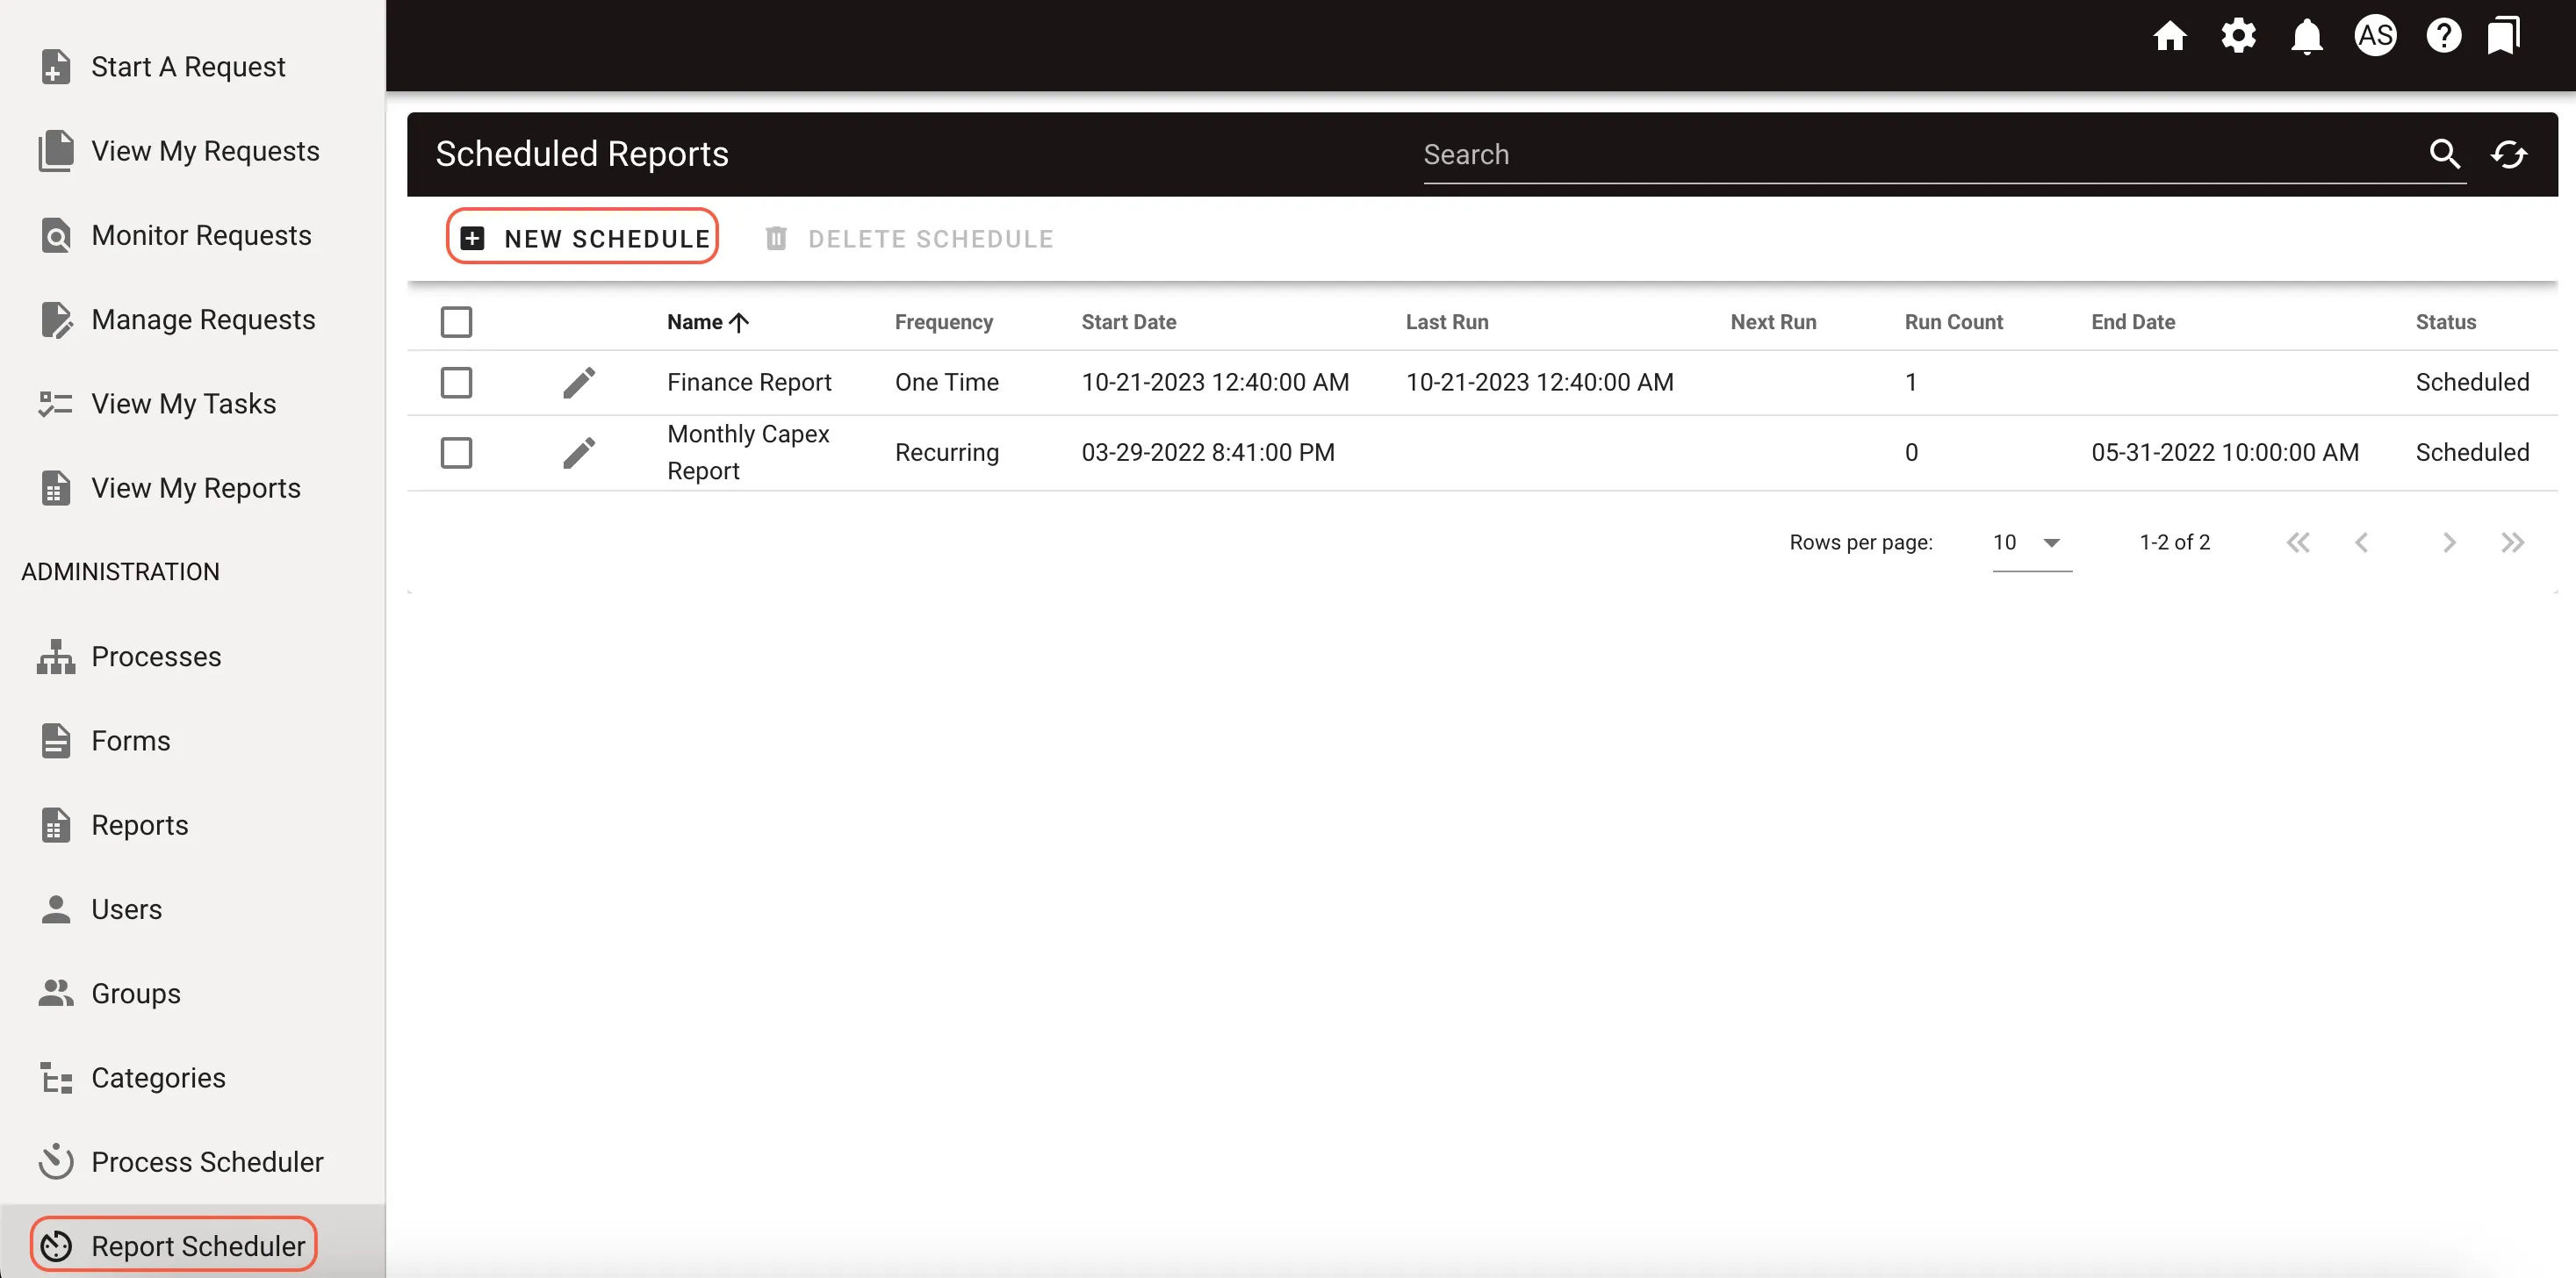
Accessing the Report Scheduler tab
To schedule a report:
- Click Report Scheduler in the left navigation panel.
- The page displays a list of all configured report schedules.
- Each entry in the list displays the following information:
- Report Name
- Frequency
- Start Date and Time
- Last Run Date and Time
- Next Run Date and Time
- Run Count
- End Date and Time
- Schedule Status
- Actions — Enables you to manage individual schedules using the icons shown below.
| Icon | Action |
|---|---|
| | Edit report schedule |
| | Select schedule for bulk actions (for example, deletion) |
Searching and refreshing the Report Scheduler list
- Search — Use the Search
 bar in the upper-right corner of the page to find reports by:
- Name
- Frequency
- Dates (Start Date, End Date, Last Run)
- Status
- Refresh — Click the Refresh
 icon to update the list. This is useful after creating, editing, or deleting report schedules to reflect the latest state.
Creating a new schedule
To create a new schedule, click New Schedule in the upper-left corner of the Report Scheduler tab.
Filling in schedule details
Enter the following details for the report schedule:
- Send Type — Choose either Email or SFTP.
Email Settings — If you select this option, enter the following details:
- Email To — Email address of the recipient. Use a semicolon to separate multiple email addresses.
- Email From — Email address that will be used to send the report.
- Email Subject — Subject of the email.
- Body — Additional content to include with the report link.
If you don’t receive scheduled reports, refer to the relevant troubleshooting guide. Additionally, verify that the user account configured to execute the reports has permission to access and run the selected report.
SFTP Settings — If you select this option, enter the following details:
- Host
- Port
- Username
- Password
- Path
- Name — Name of the schedule.
- Report to Send — Select the report to schedule. The system includes a link to this report in the email body. After scheduling, you can select the Edit
 icon for the schedule to view how the report link appears to the recipient.
![]()
- Format — The format of the report. Select from the following options:
- Excel,Comma Delimited
- Excel - 2003 or previous versions
- Tab Delimited
- Run As — Enter the name of the user who starts the report. If a named user isn’t required, create a general user account (for example, Workflow System) and add it here.
- Frequency — Choose either One Time or Recurring. If you select One Time, proceed to the next parameter. If you select Recurring, enter the following additional details under the three sections mentioned below:
Run on a Recurring Schedule — Enter the following details under this section:
- Months — Choose to recur at intervals of months.
- Days — Choose to recur at intervals of days.
- Hours — Choose to recur at intervals of hours.
- Minutes — Choose to recur at intervals of minutes.
Run at Specific Times — Enter the following details under this section:
- On Day(s) of Week — Choose specific day(s) of a week to run.
- On Month(s) — Choose to recur on specific month(s) of the year. You can choose multiple months.
- On Day(s) — Choose to recur on specific day(s) of a month. You can choose multiple days.
- On Hour(s) — Choose to recur on specific hour(s) of the day. You can choose multiple hours.
Use military time (24-hour clock) when configuring Run at Specific Times - On Hour(s). For example, to schedule a run at 3:00 PM, set On Hour(s) to 15.
- On Minute(s) — Choose to recur on specific minute(s) of the hour. You can choose multiple minutes.
Date/Time to Deactivate Schedule — Enter the following details under this section:
- End Date — The end date for the scheduled process.
- Time
- Hour — The end hour of the scheduled process.
- Minute — The end minute of the scheduled process.
- AM/PM — Select AM or PM.
- Schedule Status — The status of the schedule. Choose from Scheduled or Inactive.
- If server restarts launch process — Enable this switch for recurring reports. If disabled, recurring reports don’t run after a server reboot.
- Date/Time to Run Process — Enter the following details:
- Start Date — The start date of your scheduled report.
- Time:
- Hour — The hour of the day to start your report.
- Minute — The minute of the day to start your report.
- AM/PM — Select AM or PM.
Times entered in the Date/Time to Activate Schedule and Date/Time to Deactivate Schedule sections are in your local timezone based on your browser settings. The timezone abbreviation of your browser timezone is shown in parentheses next to the header. Times are automatically converted to the server timezone for scheduling purposes.