Prepare a document for signing as document admin
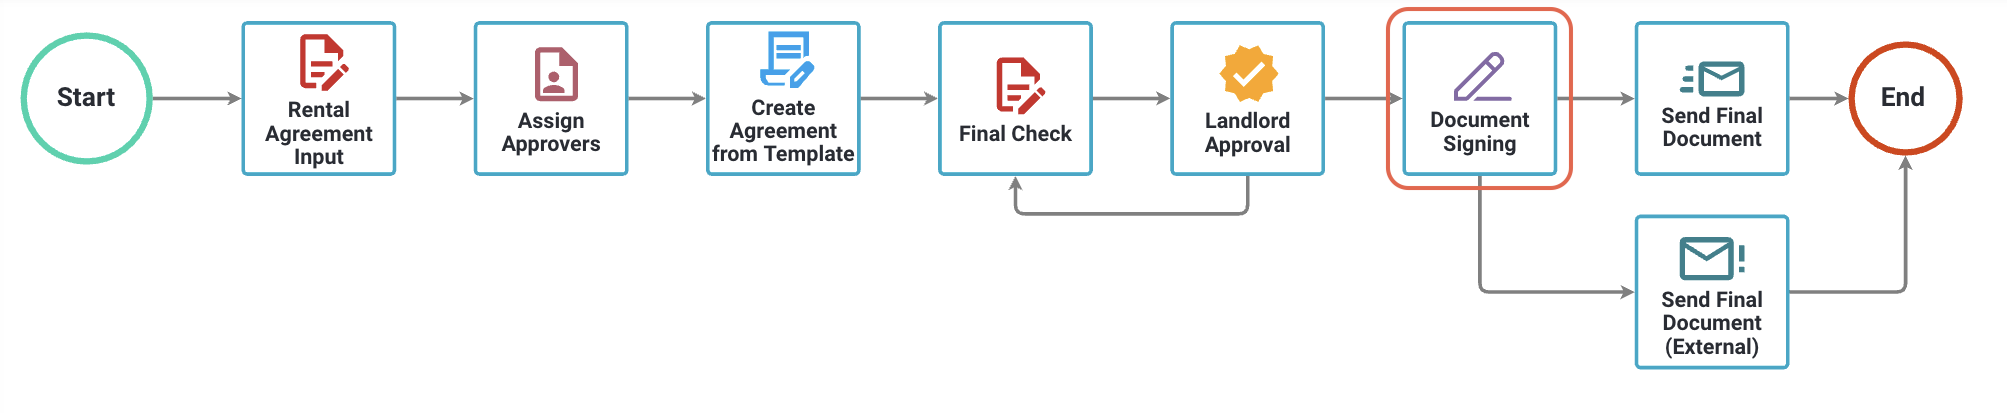
The Document Signing task in Nutrient Workflow Automation Platform enables electronic signing of documents within workflows. This reduces reliance on physical paperwork and manual tracking while supporting security and legal compliance.
Use this task to:
- Configure documents for internal or external signing
- Assign one or more recipients
- Manage notifications and reminders
- Enable sequential or parallel signing
This task supports collaboration by enabling multiple users to sign a document either in a specific order or at the same time.
Role of the document admin
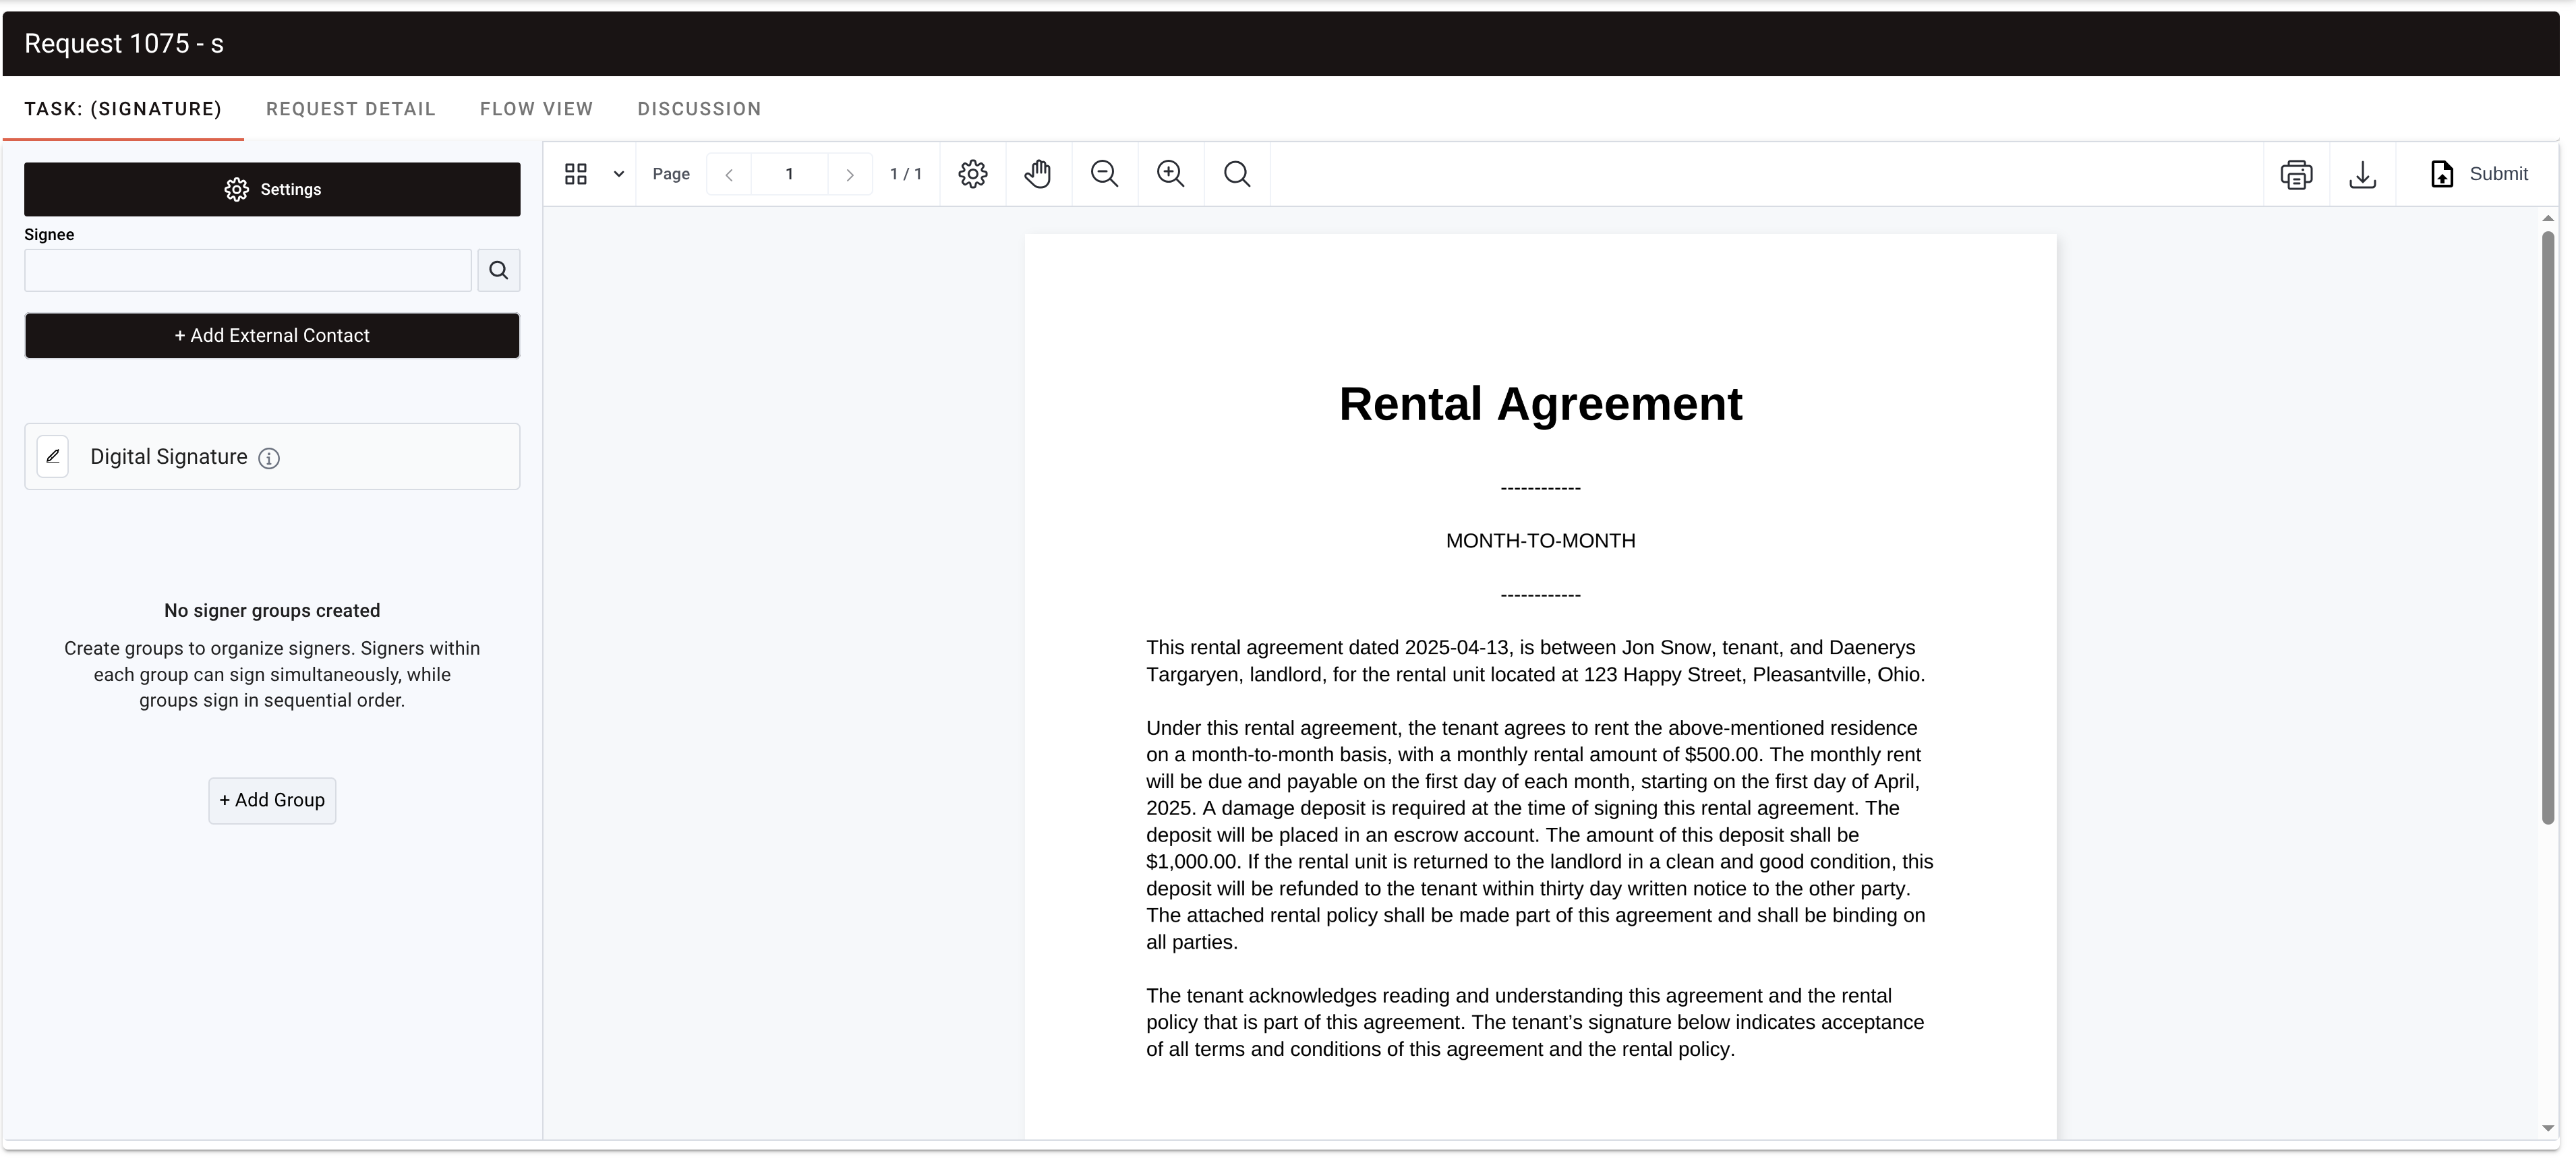
The document admin is the recipient of the first stage of the Document Signing task. They configure the document for signing, assign signers, and manage related settings. This includes adding internal and external contacts, organizing signer order, and configuring notifications and reminders. The document admin ensures the document is properly prepared and that all required participants are included in the signing process.
Document configuration
- Assign internal or external contacts as signers
- Drag and drop signature fields onto the document
- Create signer groups for simultaneous or sequential signing
- Reorder signers by dragging and dropping
- Set the position of a signing watermark
- Define reminder and timeout intervals for signers
- Configure signer notifications using allowed data mappings
Contact assignment
- Search and select internal contacts
- Select multiple contacts at once
- Add external contacts manually
Configure a document for signing
If the task includes a prefilled document, it’ll appear automatically for configuration. If no document is prefilled, the interface prompts the document admin to upload one.
Once a document is available, it loads on the right side of the screen. The left panel displays the main controls for configuring the signing process.
Add signers
To assign signers to the document:
Add internal signers by searching for their name or email address in the search field. You can add multiple internal contacts at once.
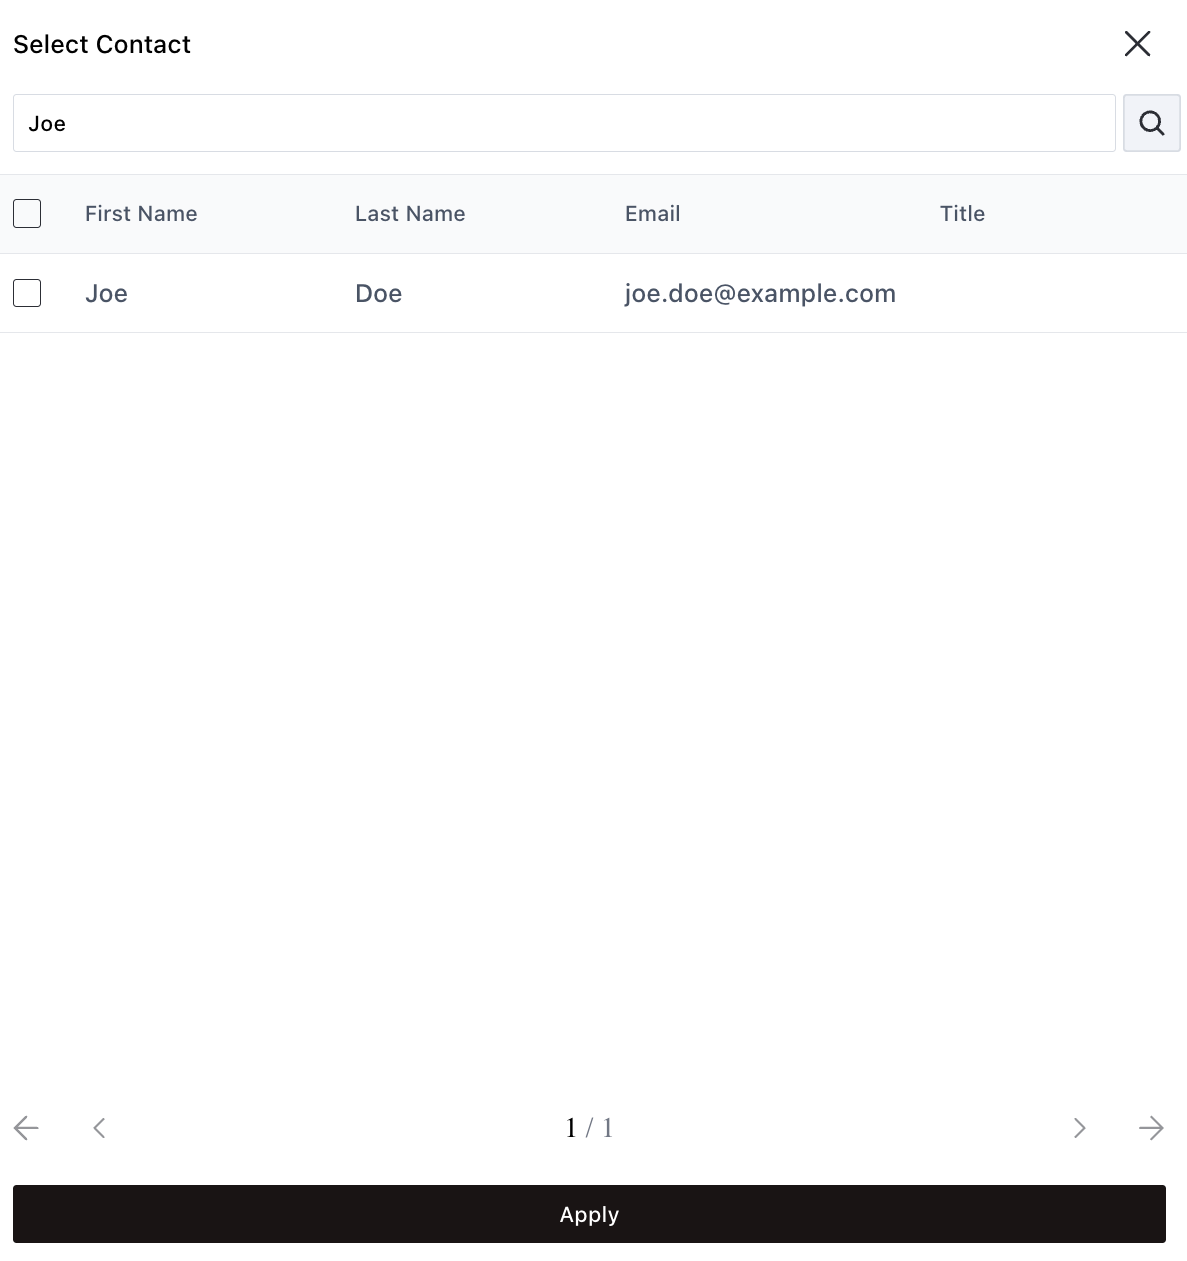
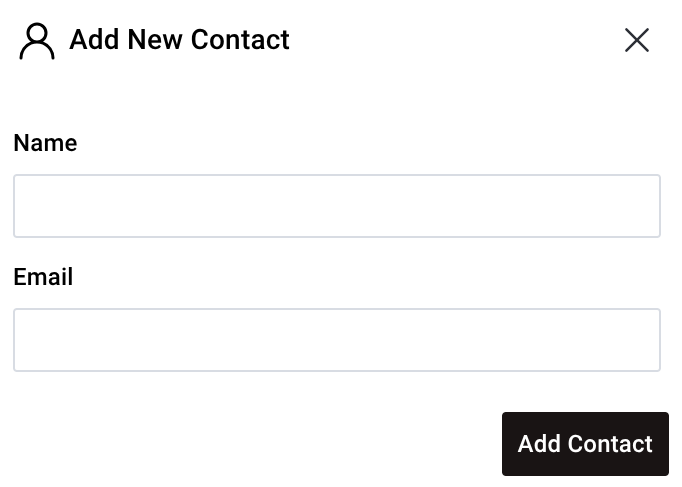
Add external signers by selecting Add External Contact. In the dialog that appears, enter the external contact’s name and email address.
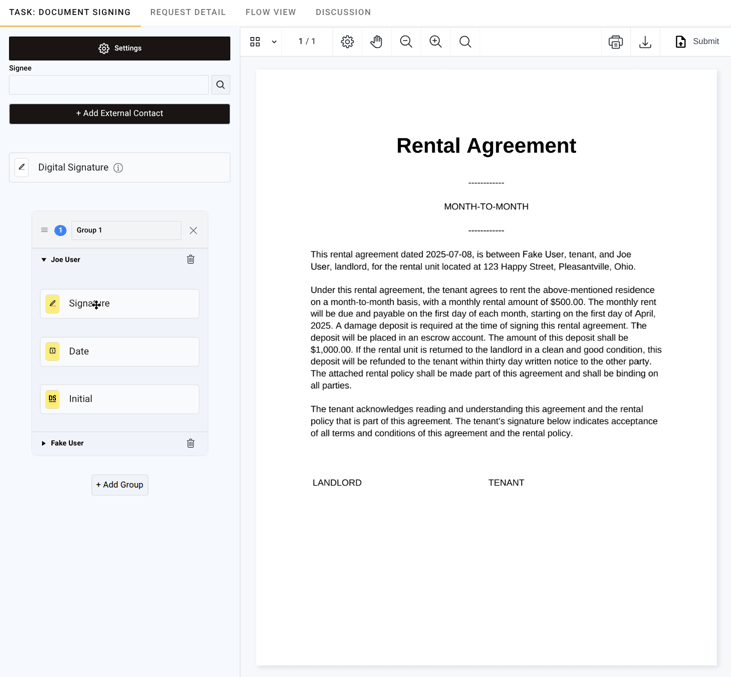
Manage signer groups
The platform automatically creates a default group and adds signers to it as you assign them. To manage signing order:
- Select Add Group to create additional signer groups.
- Move a signer to another group by clicking the arrow button next to their name.
- Use groups to configure whether signers sign simultaneously (same group) or in sequence (different groups).
- Reorder groups by dragging and dropping them. This controls the order in which notifications are sent.
For example, to enforce a specific signing sequence:
- Add two signers to the default group.
- Create a second group.
- Move one signer to the second group.
- The first group receives signing notifications first; the second group receives them after the first group completes signing.
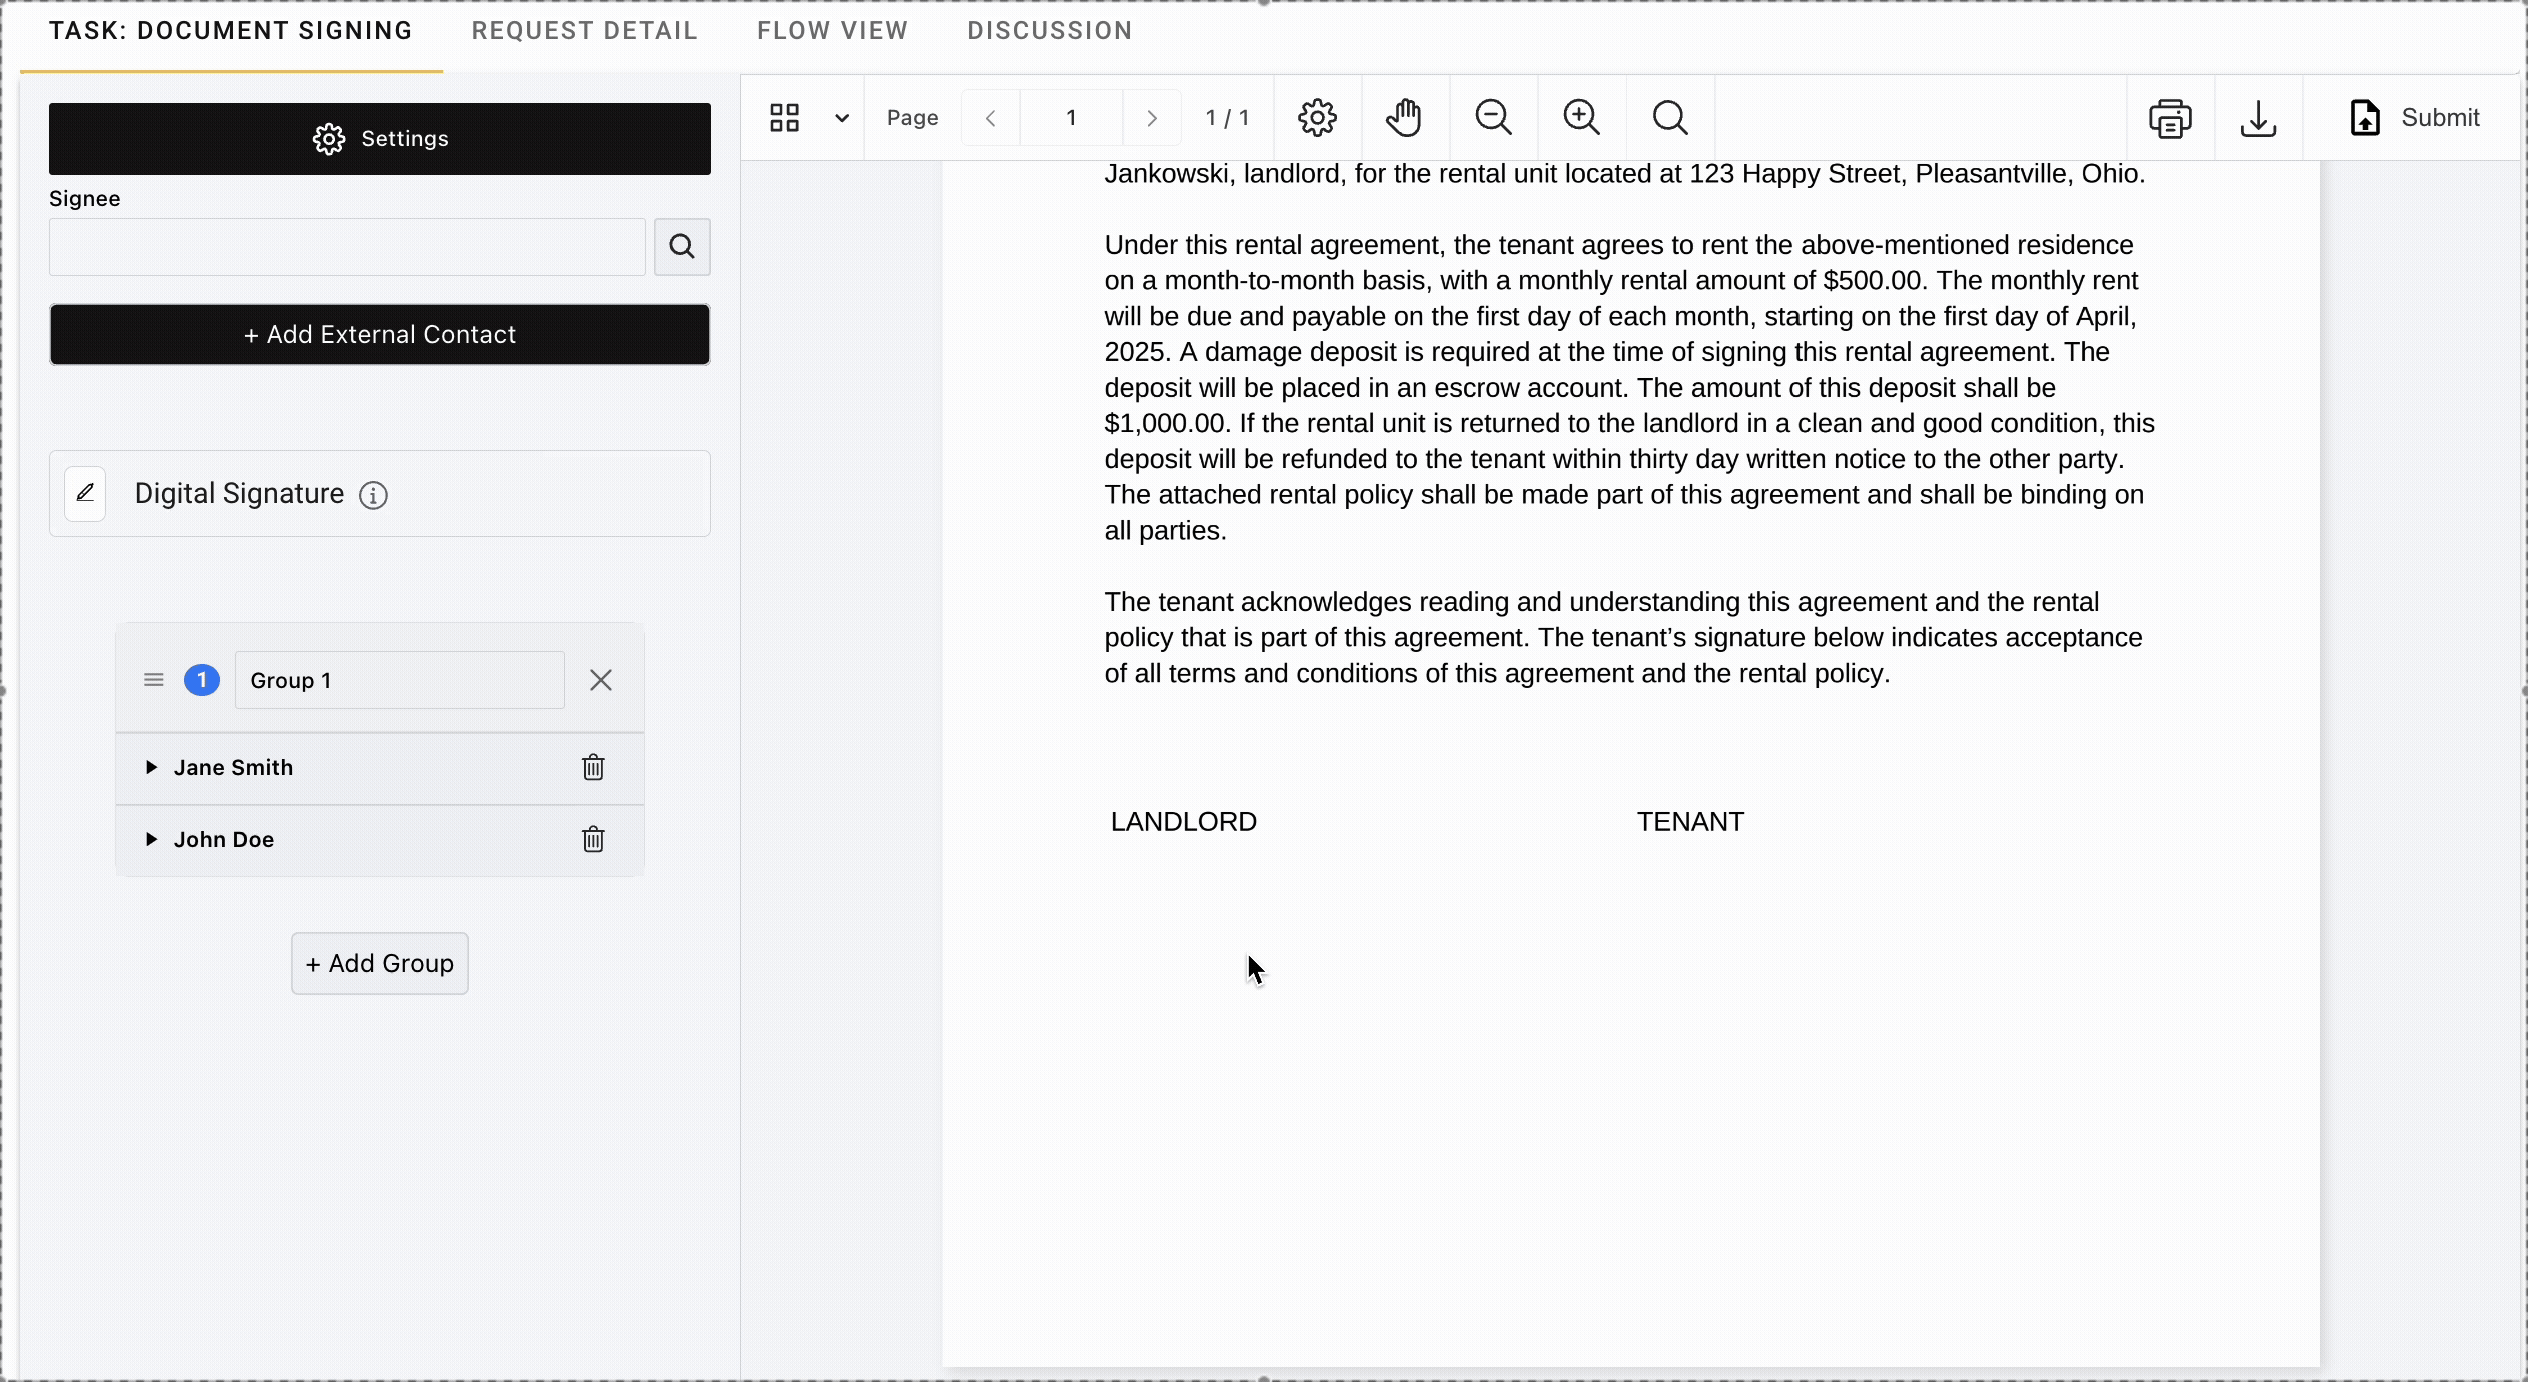
Add signature and date fields to the document
To prepare the document for signing:
- Drag and drop signature fields onto the document to specify where each signer should sign.
- Add date fields if you want to capture the signing date.
- To apply a digital signature, drag and drop the digital signature field onto the document. This adds a watermark that will be digitally applied after all signers complete the signing process.
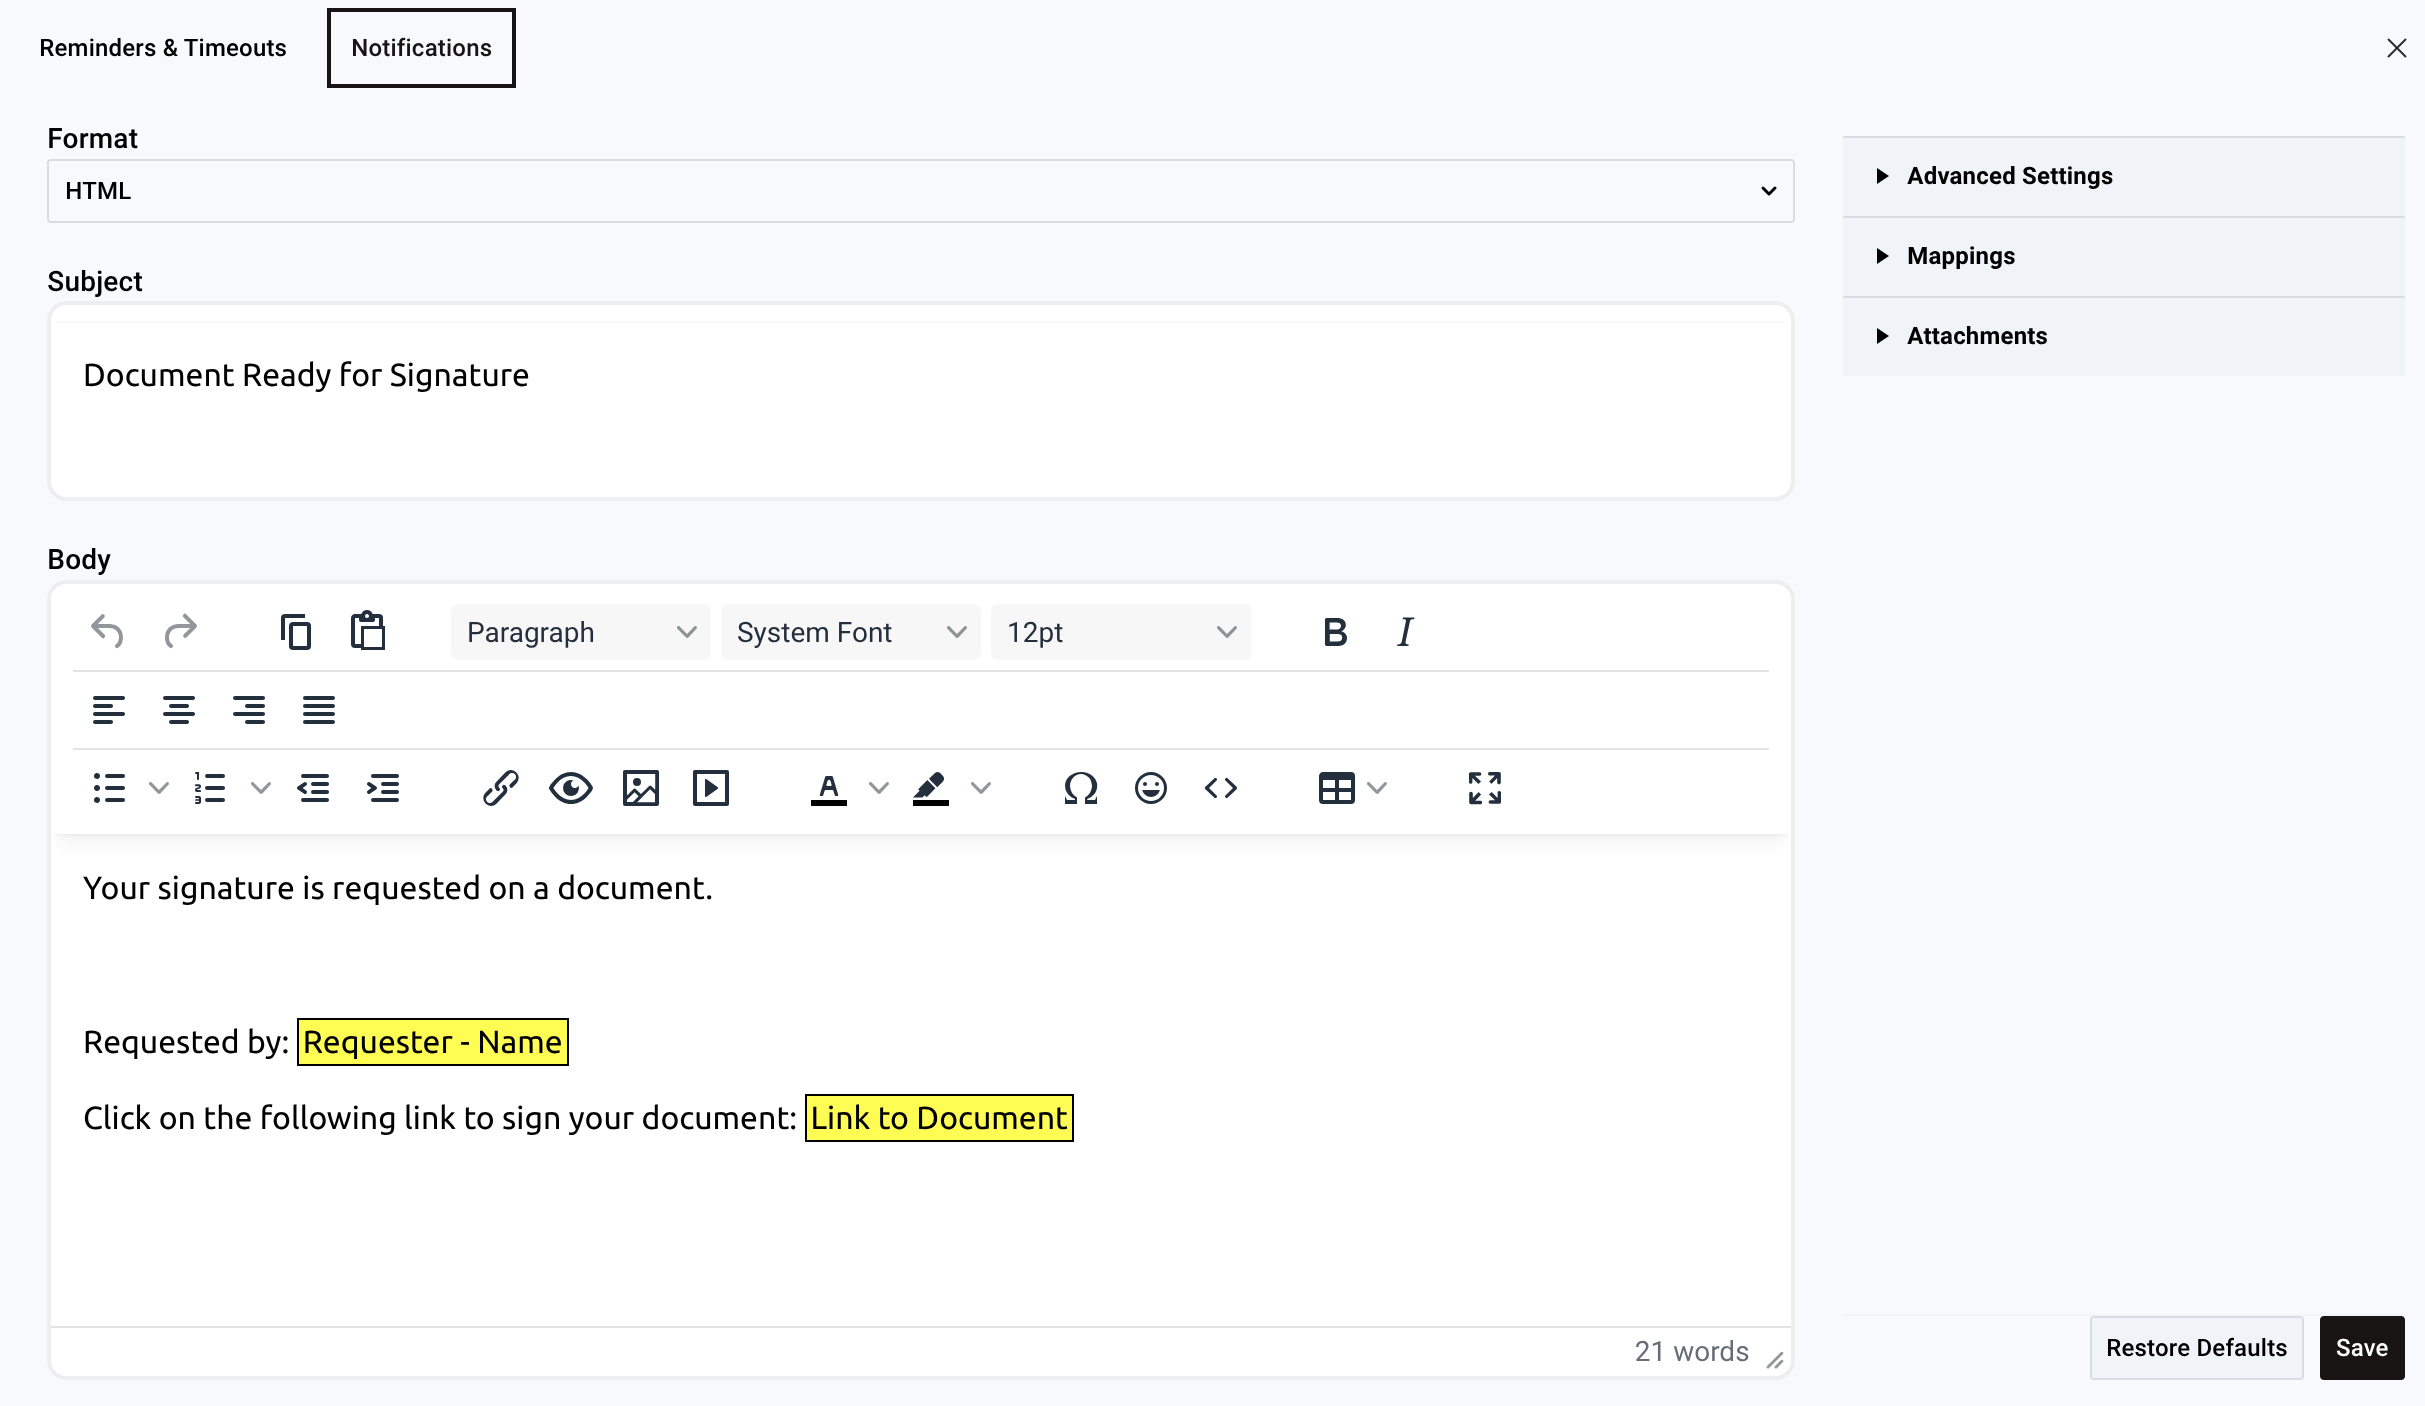
Configure notifications
The document admin can optionally update signer notifications and reminder intervals:
Click the Settings button in the upper left.
Navigate to the Reminders and Timeouts or Notifications tabs.
Adjust reminder and timeout intervals as needed.
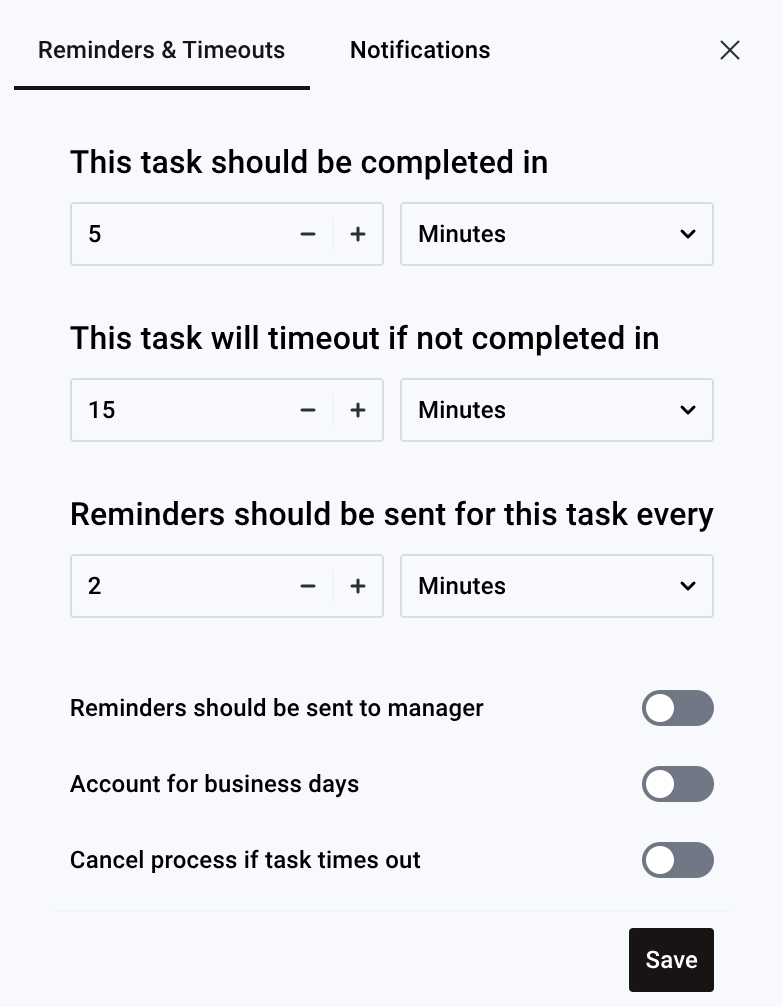
Customize the signer notification message using the limited data mappings provided by the process designer. This enables the document admin to tailor messages based on the document content.
For more information on how these settings work, refer to the Notifications and Reminder and Timeouts guides.
Submit the document for signing
After configuring the document with signers, groups, and signature fields:
- Click the Submit button to start the signing process.
- The platform sends notifications to the signers based on the defined group order and notification settings.
Manage signing progress
After submitting the document, the document admin can monitor and manage the signing process through the request details view.
Resend notifications to external signers
If an external signer loses their notification email or needs a reminder outside of the configured automatic reminders, the document admin can resend the notification:
- Navigate to the request details view for the signing task.
- In the signer status table, locate the external signer who needs a new notification.
- Click the Resend button in the Actions column next to their name.
- The system immediately sends a new notification email with a fresh signing link.

Important considerations:
- The resend feature is only available for external signers (not internal users who can access the portal directly).
- Only users with document admin permissions or system manage rights can resend notifications.
- Each resend generates a new secure signing link and invalidates the previous one for security purposes.
- External signers receive the same notification format configured during the initial setup.
Revoke document signing
If you need to stop an in-progress signing task, you can revoke the document signing. This cancels the signing for all signers and stops the task. Revoking might be necessary if a document requires updates, the signing process was initiated in error, or needs to be reconfigured before continuing.
When to revoke
Revoke signing when:
- A document requires updates or corrections
- The signing process was initiated in error
- The document needs to be reconfigured before signers complete
- You need to halt the signing process
How to revoke
To revoke document signing:
- Open the in-progress request.
- Navigate to the Document Signing task in the task list.
- Select Revoke in the task interface. A dialog appears asking you to confirm the revocation.
- Select Confirm to revoke the signing.
Once you revoke, the system cancels signing and the task finishes with a state of Revoked. All participants receive a notification indicating that you revoked the signing.
What happens after revocation
After revoking:
- The system cancels the signing task for all signers.
- The task finishes in a Revoked state.
- Signers no longer have access to the document through this signing task.
- Workflow rules can use the Revoked state to trigger alternative actions, such as sending notifications, creating follow-up tasks, or routing to escalation.