View or edit a dashboard layout
This guide explains how to view, customize, and manage the layout of a dashboard in Workflow Automation, including how to add widgets, configure screen size profiles, and share dashboards.
Accessing dashboard layout
To view or edit the layout of a dashboard:
- Go to the Dashboard list page.
- Find the dashboard you want to view or edit.
- Click the Dashboard Layout
 icon.
icon.
If the dashboard is newly created, it’ll be empty. Existing dashboards will display any already configured widgets.
Adding widgets
A widget in a dashboard is a modular component or panel that can be added to the dashboard to display specific information or provide interactive functionality. Widgets can serve various purposes, such as:
- Showing a user’s assigned tasks (for example, the My Tasks widget)
- Displaying reports or key performance indicators (KPIs)
- Posting announcements or messages (for example, using the HTML Panel widget)
- Providing access to processes or external links
- Embedding videos or third-party content
Widgets are customizable and can be arranged, filtered, and styled to enhance the user experience and present relevant information or actions directly on the dashboard. You can add, configure, and organize these widgets to tailor the dashboard for different users or groups within the organization, making a flexible interface for workflow management and communication.
To add a widget to a dashboard:
- Click Add Widget in the upper-right corner.
- On the pop-up that appears, choose from the following widget types:
- Click Add Widget to proceed, or Cancel to terminate the action.
Newly added widgets appear at the bottom of the dashboard. Scroll down to find, move, or edit them.
Sharing links to dashboard
You can share the dashboard with a user who doesn’t have access to it or to a non-user of Workflow Automation. To access sharable links, click Links in the upper-right corner in the top bar. You can view the following two link sharing options on the pop-up that appears:
- Dashboard view in portal — This option opens the dashboard after signing in to Workflow Automation.
- Dashboard view stand-alone — This option opens the dashboard directly without requiring Workflow Automation login.
To copy either link, click the Copy ![]() icon. Click Close or the
icon. Click Close or the ![]() icon to exit the link sharing pop-up.
icon to exit the link sharing pop-up.
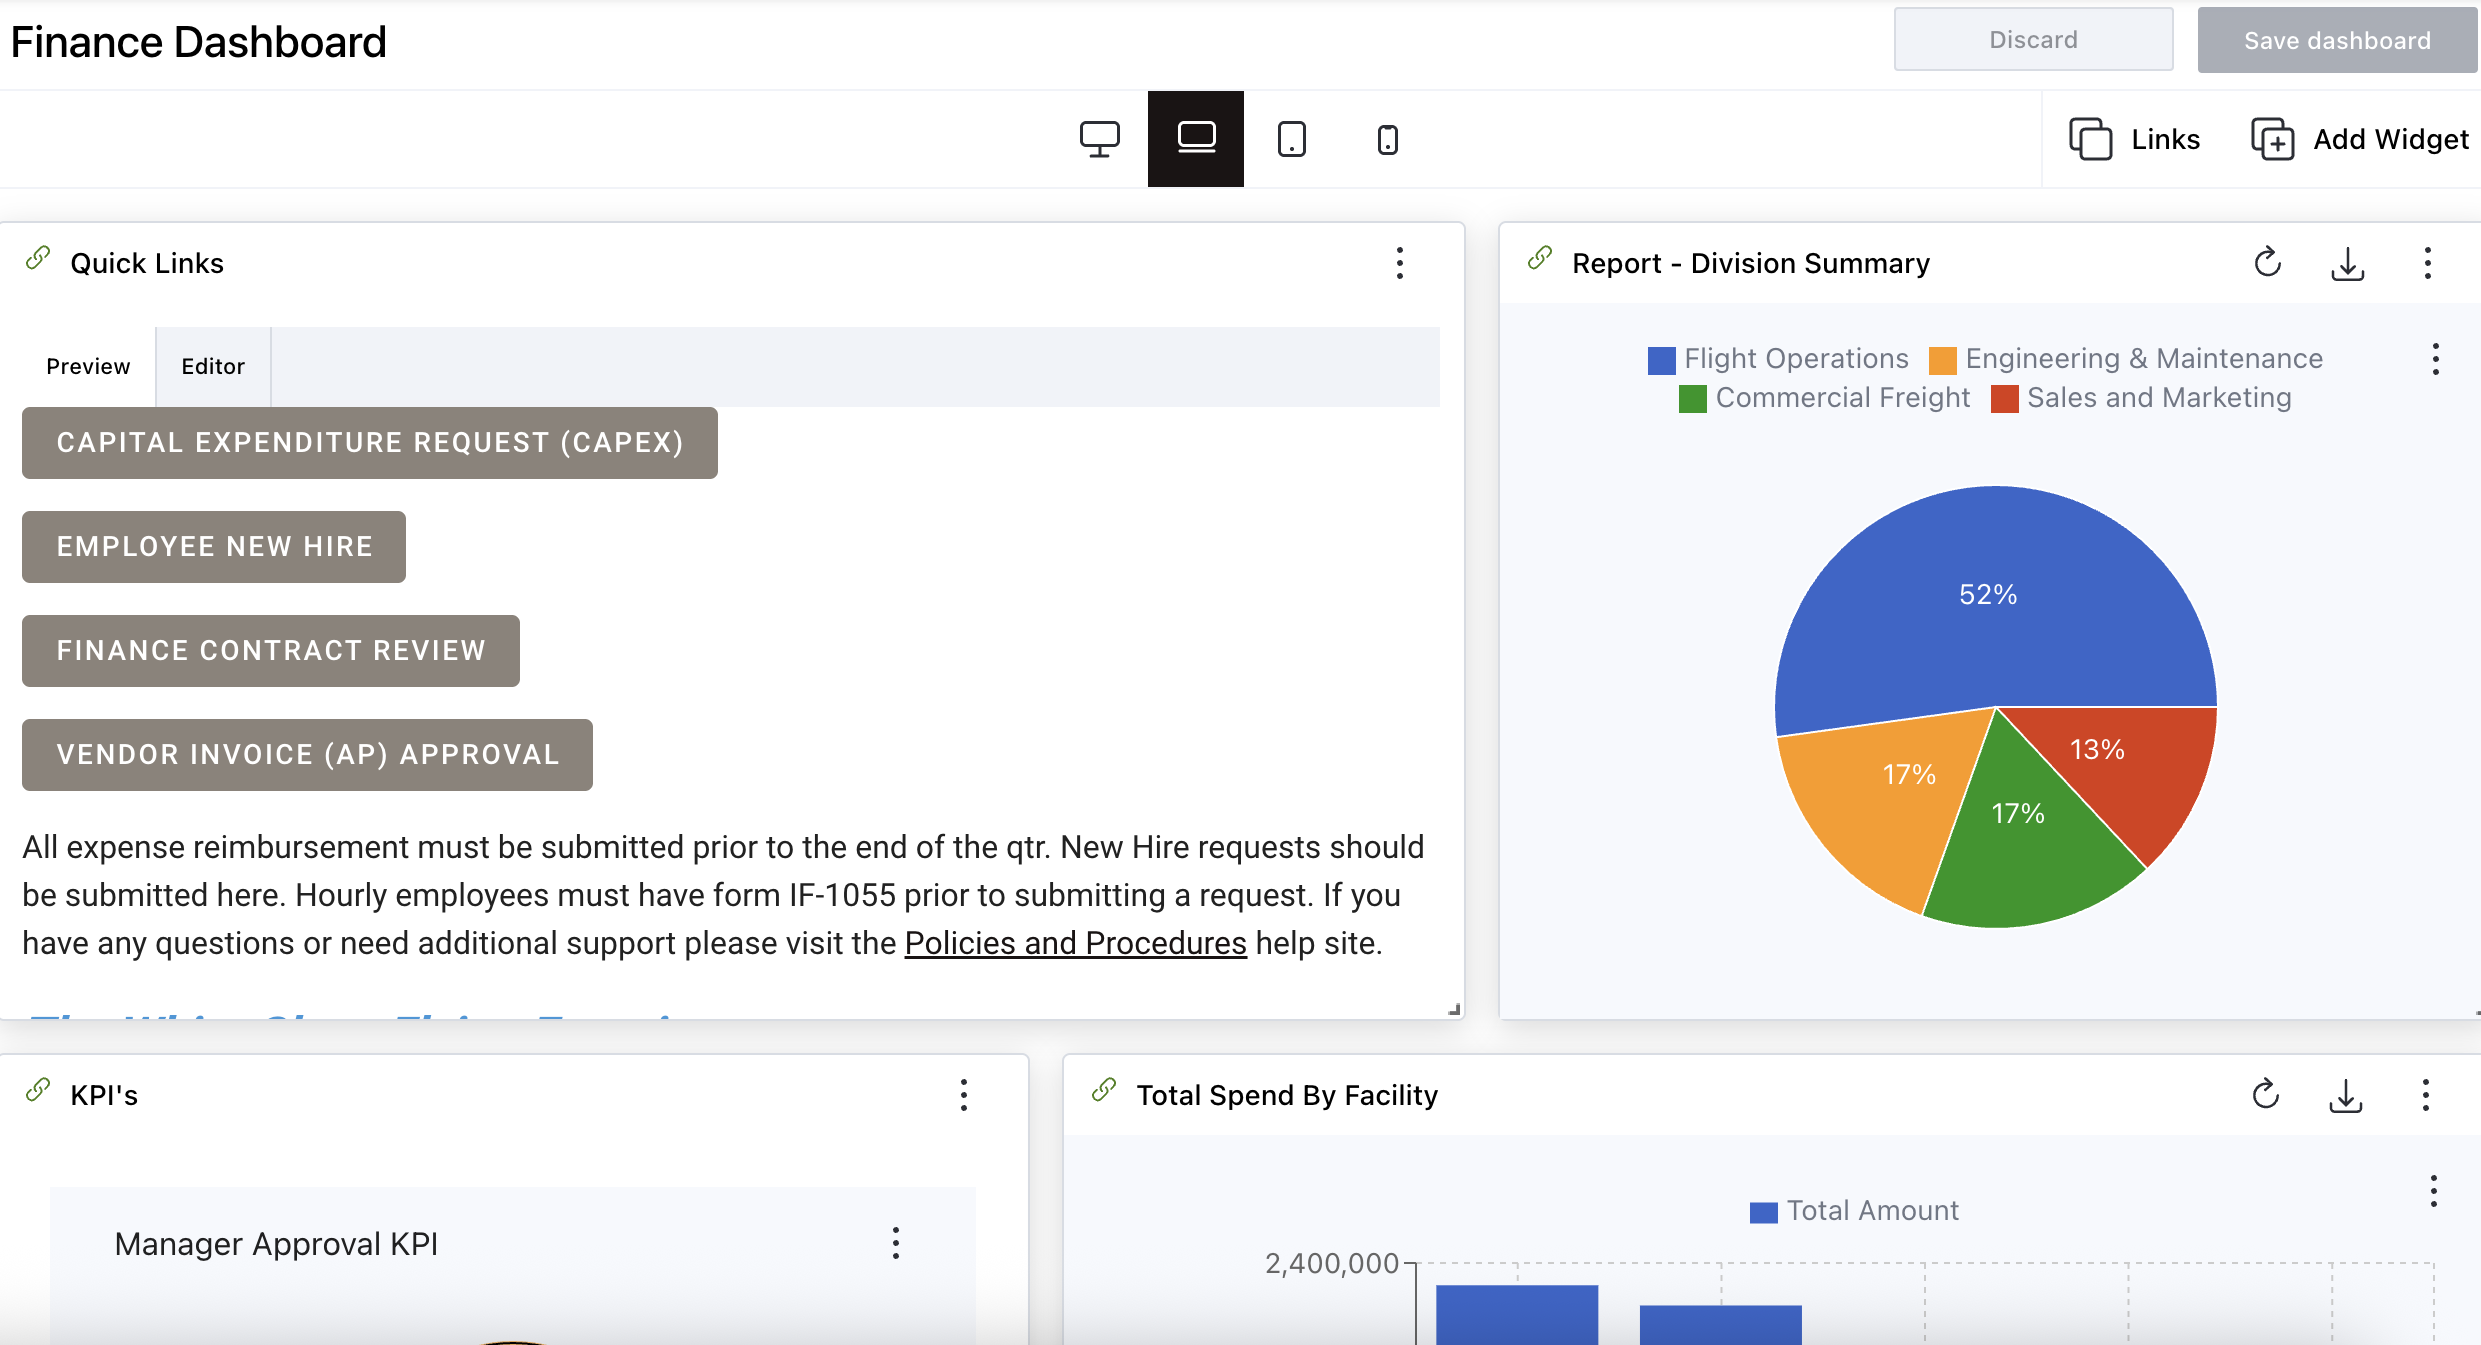
Switching screen sizes
To ensure a better user experience, you can switch screen sizes for different devices and decide which widget should display for which screen size. For example, for smaller screen sizes (mobile devices), you may want to limit certain widgets.
Workflow Automation provides four different screen size profiles that can be configured separately:
- Desktop
- Desktop XL
- Tablet
- Mobile
As end users access your dashboard on different devices, they’ll be presented with the appropriate screen size. These screen sizes also apply to end users who resize their browser windows. When their browser window is resized, the dashboard will show/hide elements based on the width of their window, according to the configured screen size profile.
Use the top bar to select and switch between screen sizes.
For information on configuring screen sizes for individual widgets, refer to the guides listed in the Next steps section below.
Changing the dashboard layout
You can change the dashboard’s layout by resizing and arranging the widgets by dragging and dropping them for better usability.
When resizing, the widget row count dynamically adjusts based on height in certain widgets — Reports, My Tasks, My Requests, Manage Requests, and Monitor Requests. You can toggle between dynamic or fixed row heights for task widgets — My Tasks, My Requests, Manage Requests, and Monitor Requests.
HTML, KPI, and Today’s Message widgets do not support row adjustments.
Saving changes
Once you finish customizing the dashboard:
- Click Save dashboard in the upper-right corner to apply the changes.
- Click Discard to cancel any unsaved edits.
Next steps
Refer to the guides below to learn more about individual widgets and their configuration: