Create and manage your new workflow processes
This guide explains the steps to create a new process in Workflow Automation Platform.
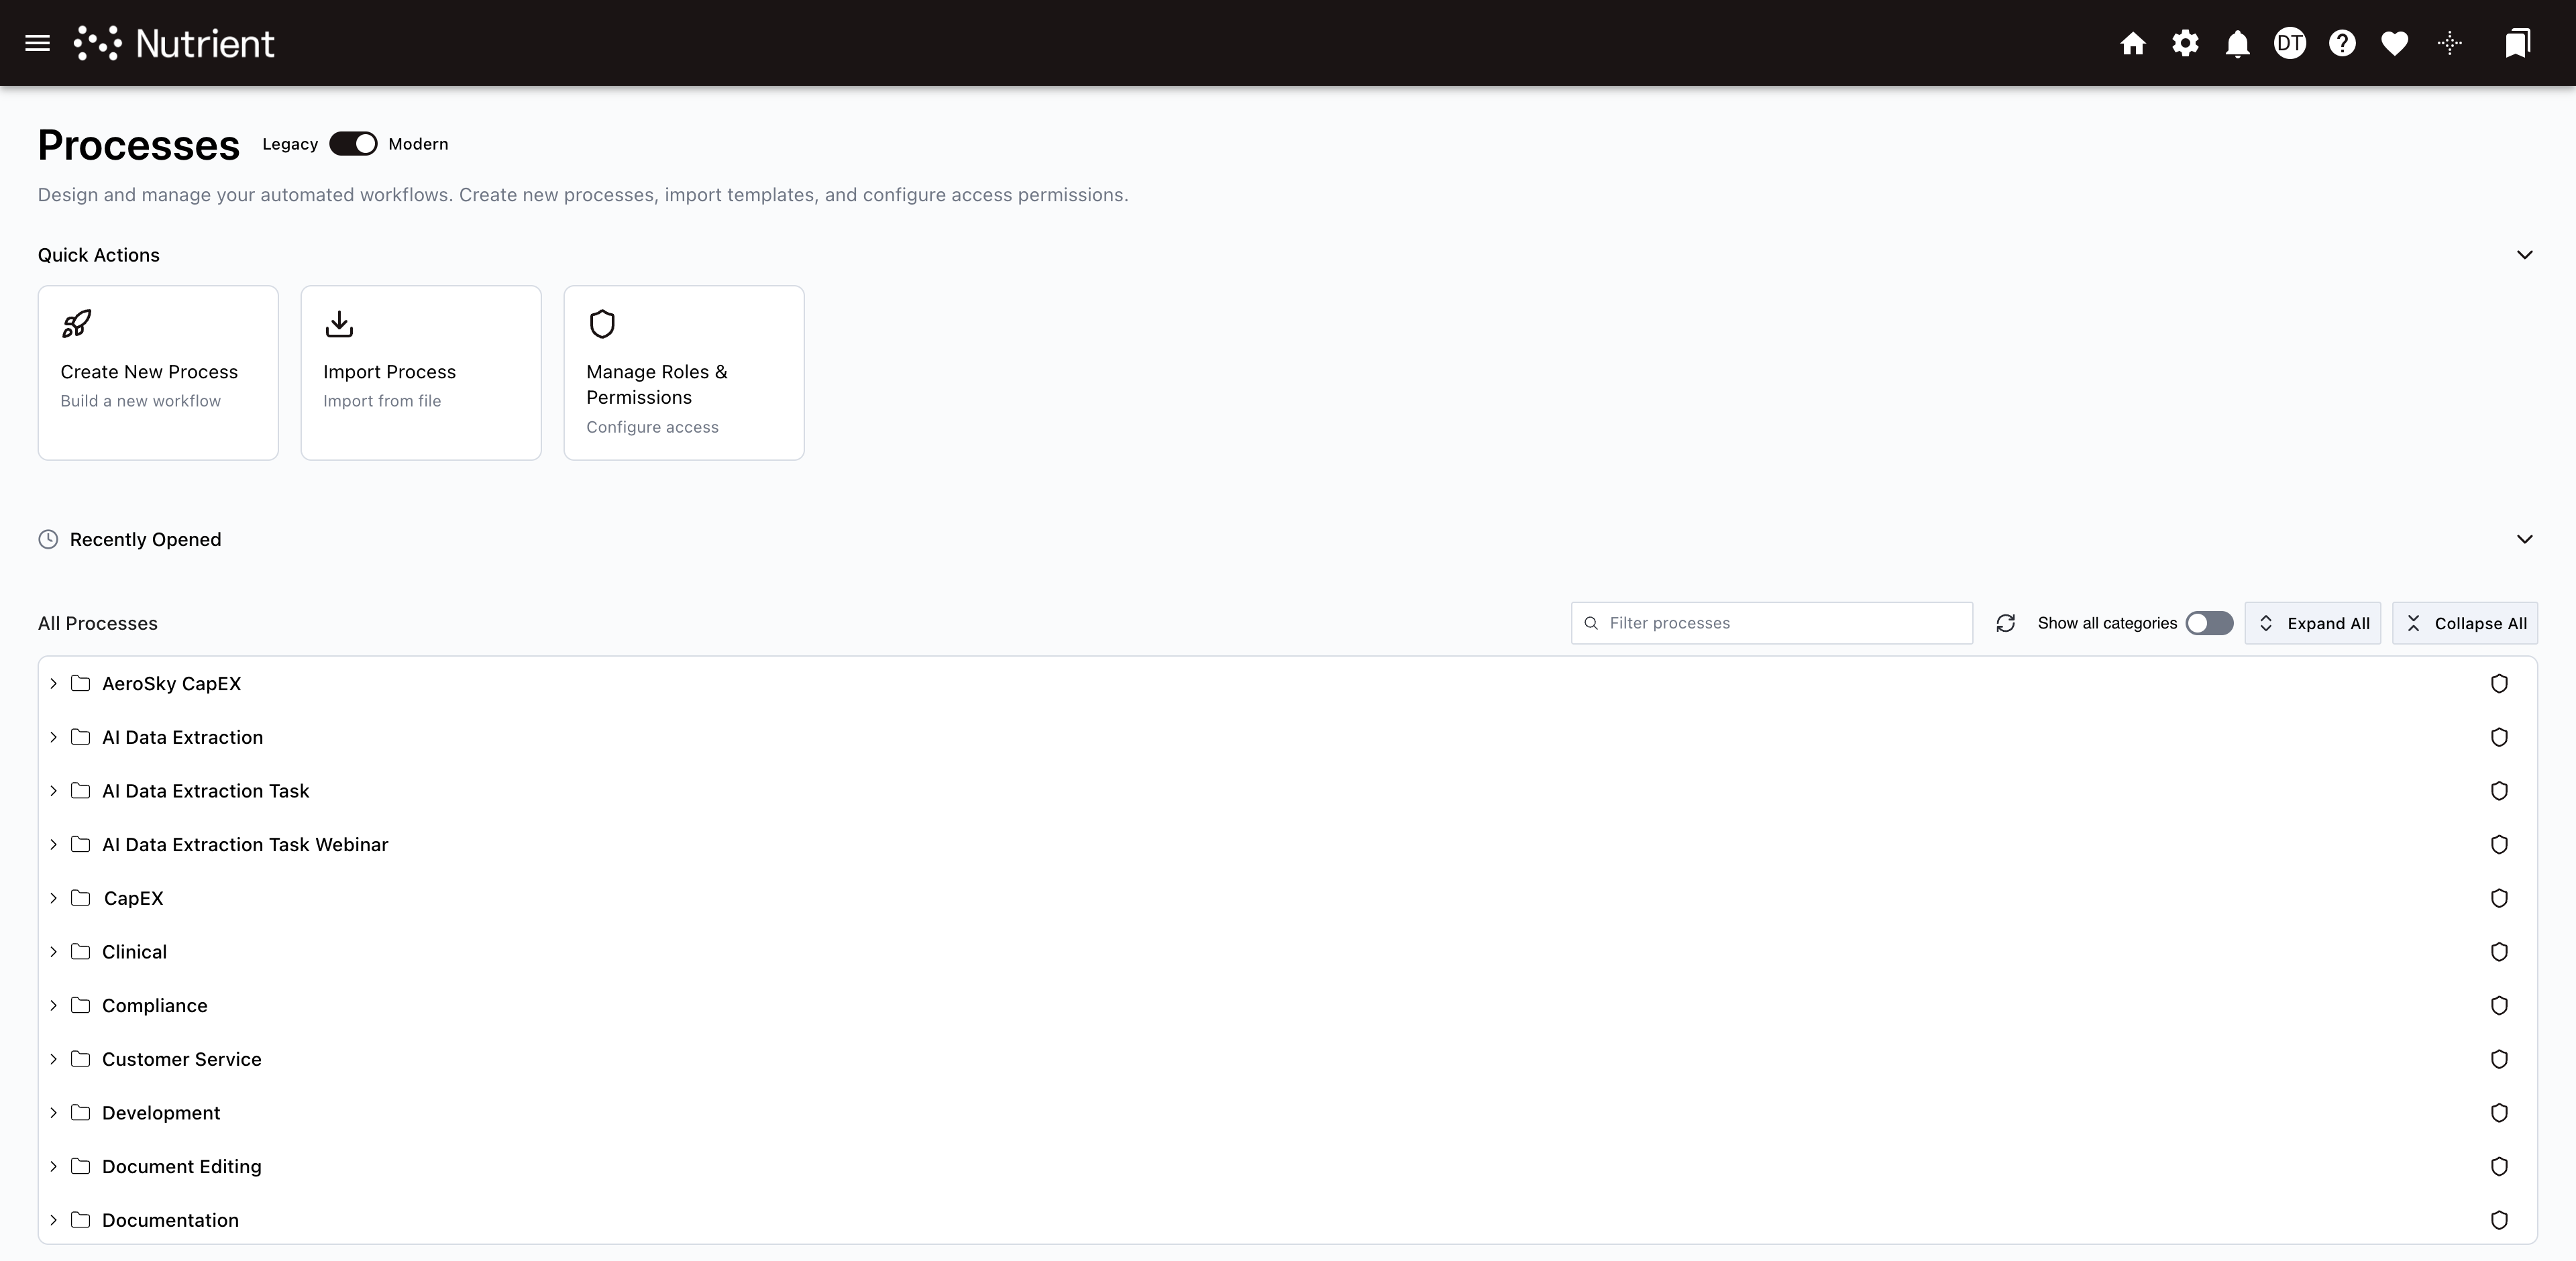
To create a new process, navigate to Processes under the Administration menu in your left-side navigation panel. Select Create New Process under Quick Actions.
The Quick Actions and Recently Opened panels remember their collapse state across sessions.
You’ll be presented with the following New Process dialog.
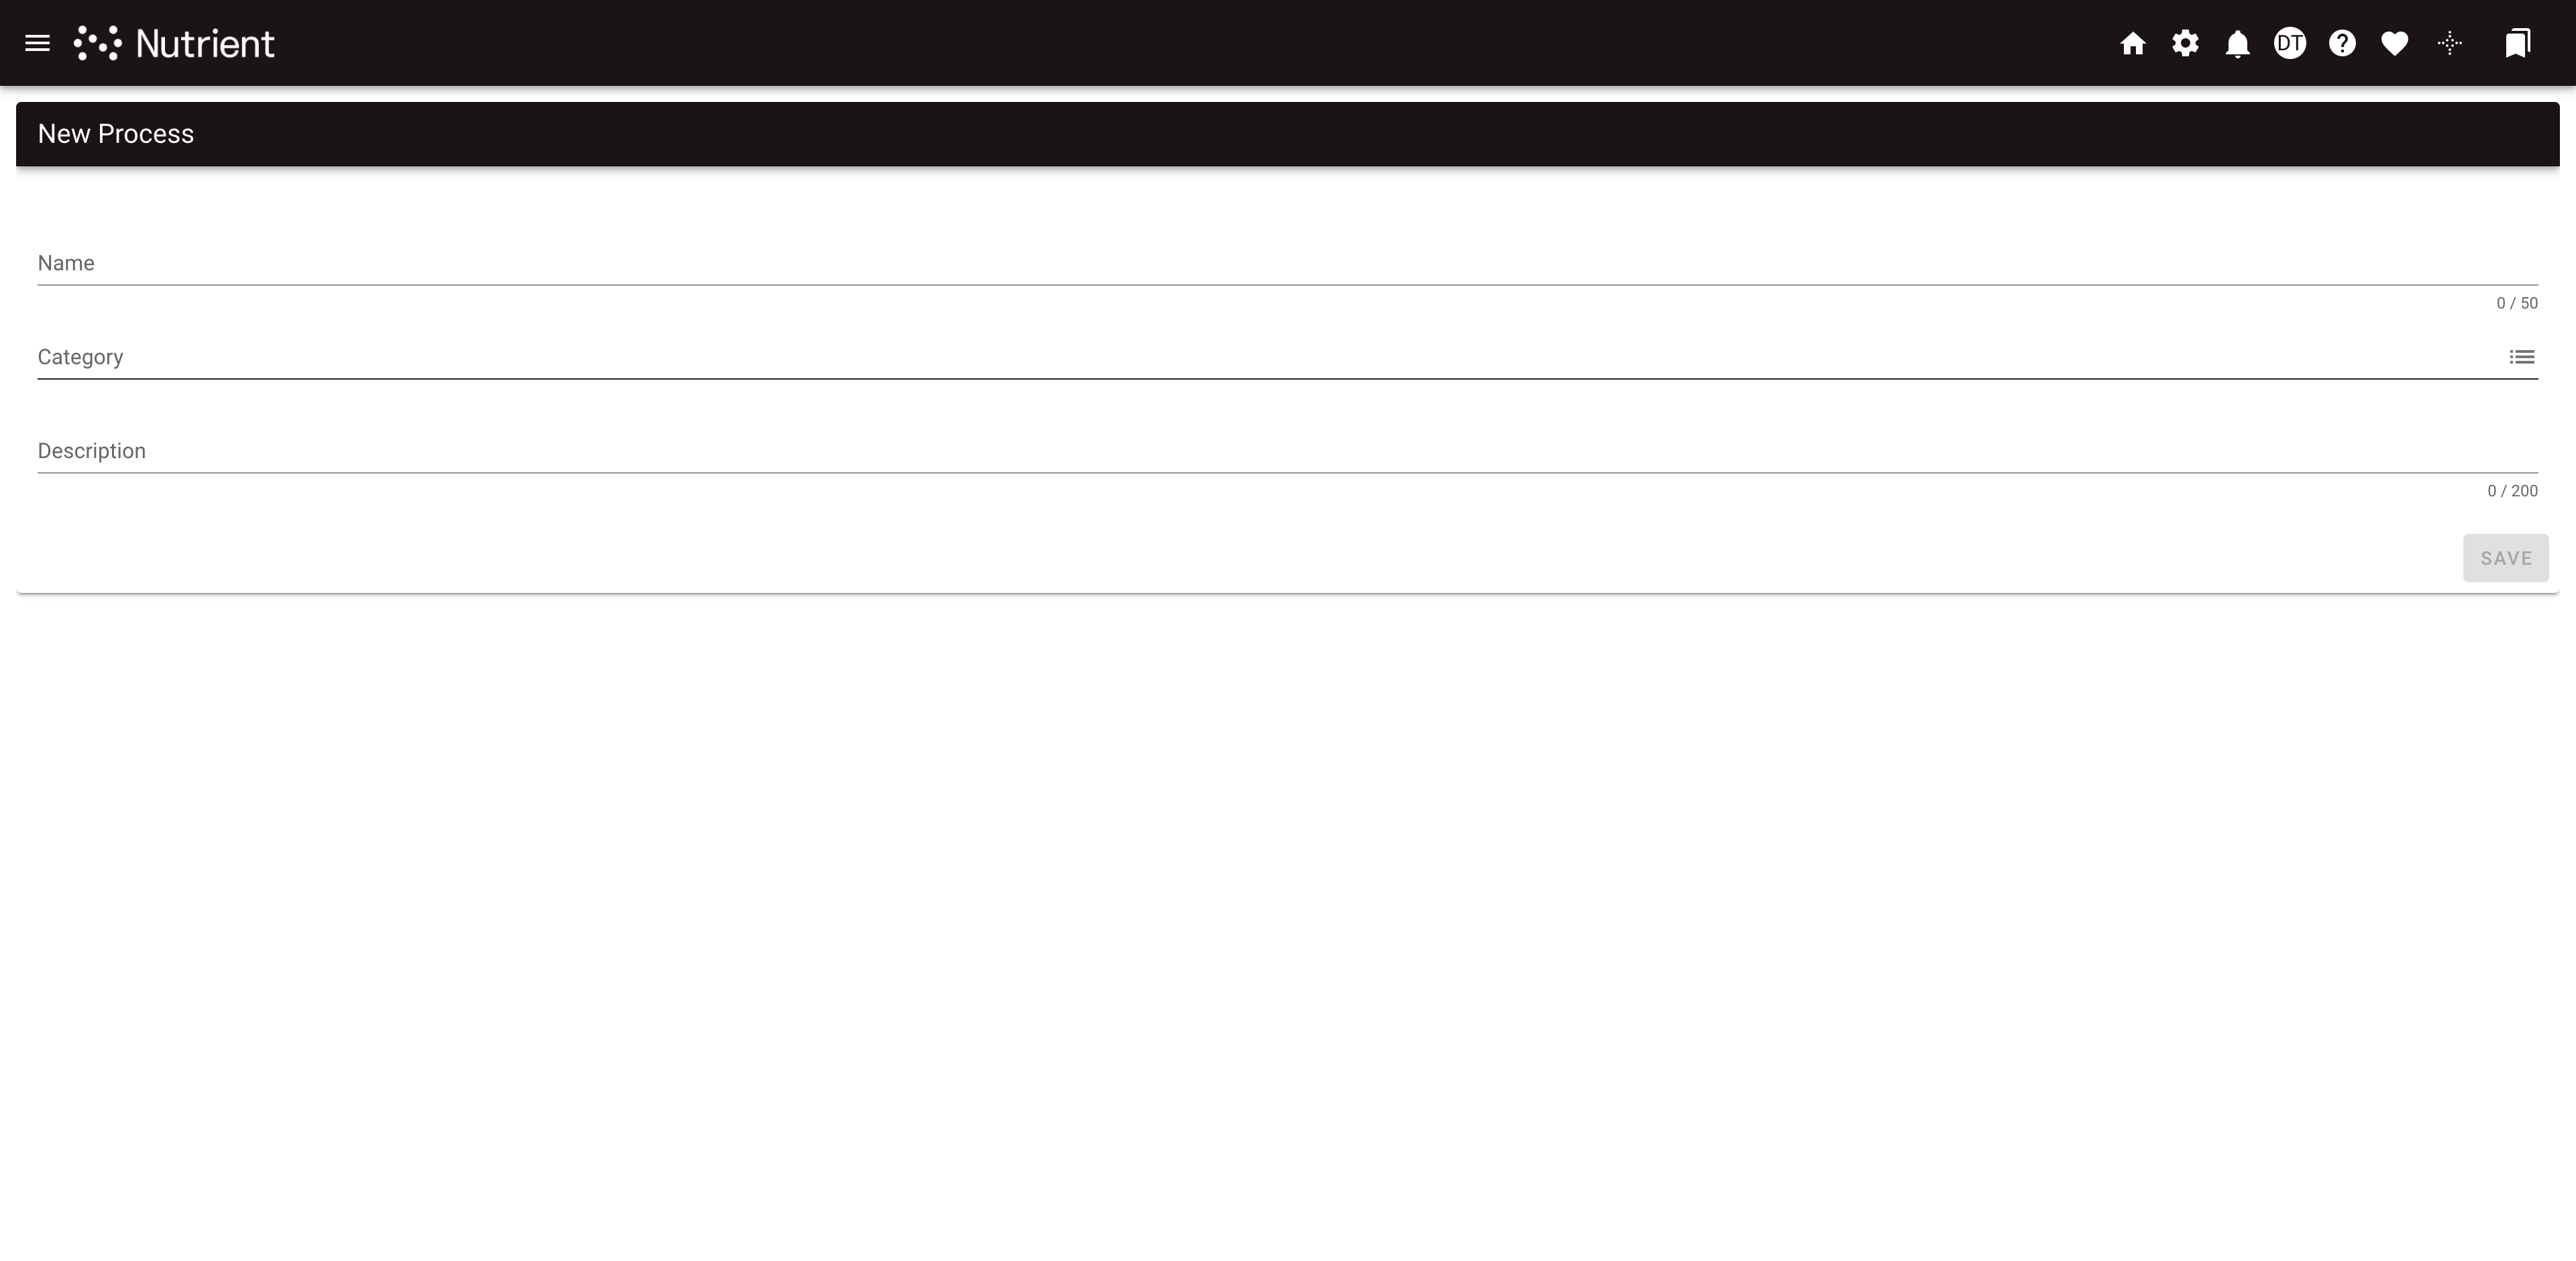
The New Process dialog contains:
- Name (required) — Name of the process. This value is displayed to your end user when they’re starting a new request. The name should be self-describing to the process you’re building, such as Expense Request or Purchase New Computer.
- Category (required) — The Category is where the process will be found by your end user. It’s best to place your process in a category that would logically make sense for your end user to find later. For instance, you would most likely place Vacation Request within a Human Resource category.
- Description (optional) — Describes the purpose of the process you’re building. This information is for your end user and is displayed when this process is started.
After you’ve completed the required fields, press the Save button. You’ll be taken to the Process Flow for the new process that you added.
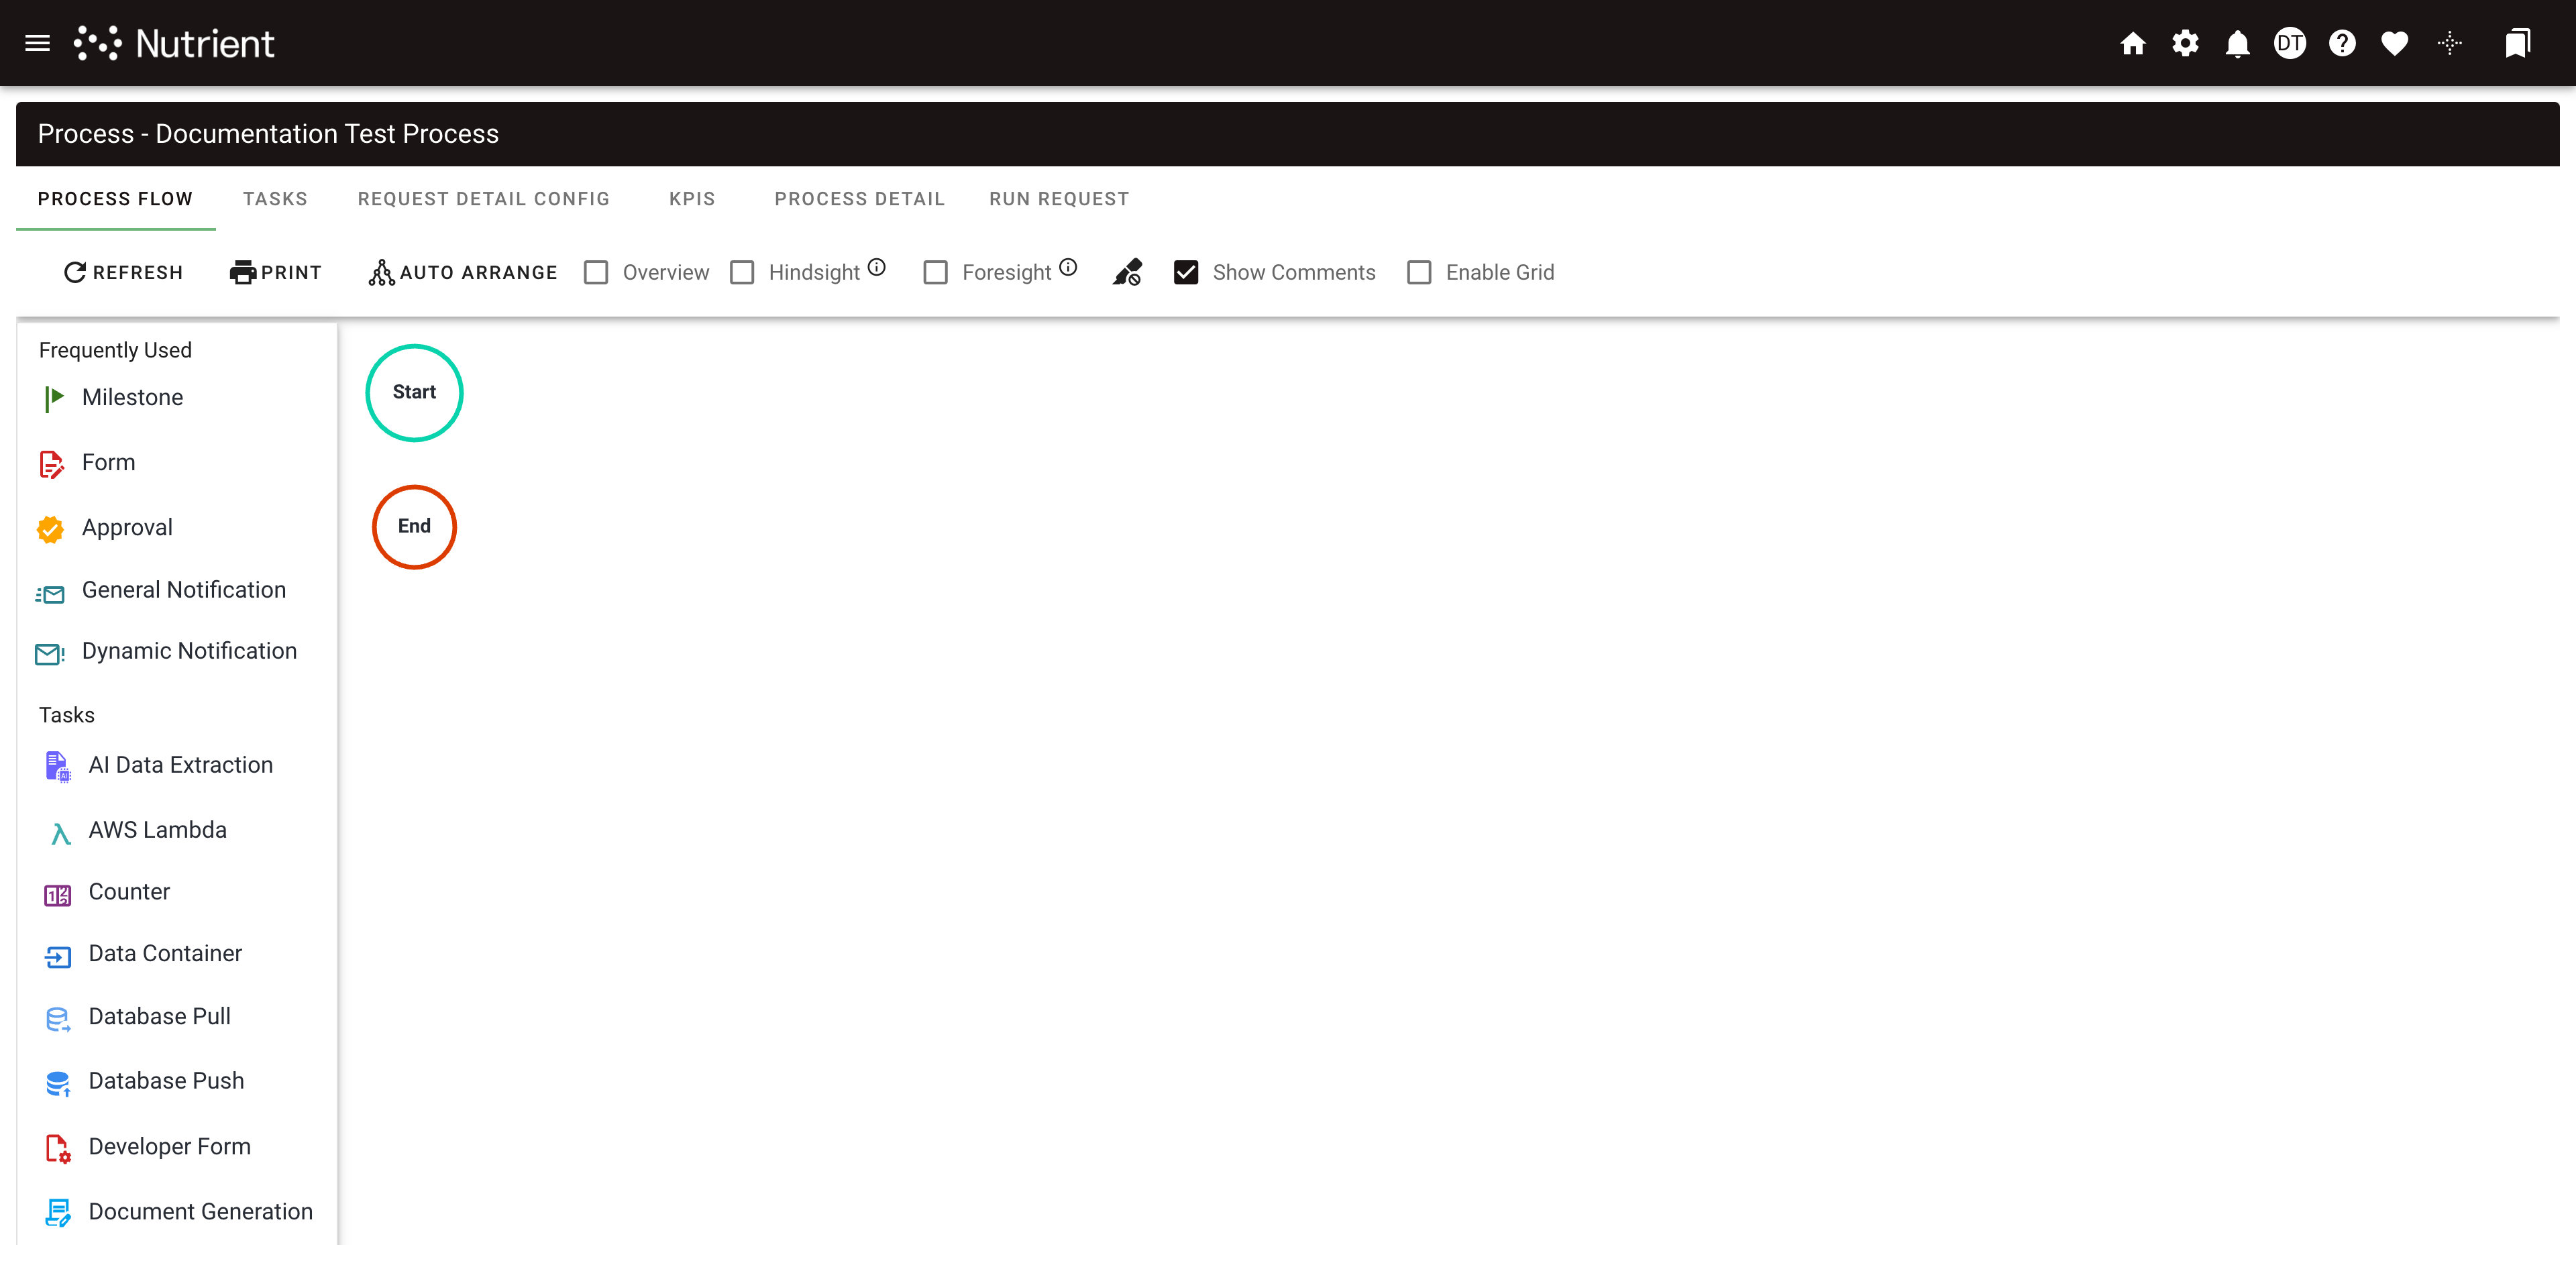
At this time, your process definition is created and saved in Workflow Automation Platform with the Publish Status set as Development. From the Process Flow, you can add, view, and configure tasks or view andconfigure tasks through the Tasks tab.