Manage roles and permissions in process automation
In Nutrient Workflow Automation, permissions are controlled by a system administrator.
You can assign permissions anywhere you see the roles and permissions icon.
![]()
When assigning permissions in Nutrient Workflow Automation, you’re essentially defining who can do things and what they can do. Nutrient Workflow Automation has nine permission settings to select from.
Below is a list of the available permission settings and their definitions:
- View Config — Gives the user the ability to view the configuration settings for an item.
- Edit — Gives users the ability to modify and save an item.
- Create — Enables users to create a new item.
- Delete — Enables users to remove an item.
- Run — Enables users to initiate or view an item. This permission applies to processes, reports, tabs, and dashboards.
- Participate — Enables users to contribute to an instance of an item. This permission applies to processes.
- Grant — Enables users to provide access and set permissions for specific items.
- Manage — Enables users to change an instance of an item. This permission applies to processes and groups.
- Monitor — Gives users the ability to view requests (instances of a process) to which they may or may not be assigned. This permission applies to processes.
Adding a new role
Start by navigating to Processes from the left-side navigation pane.
You’ll be presented with a list of all categories that contain your processes.
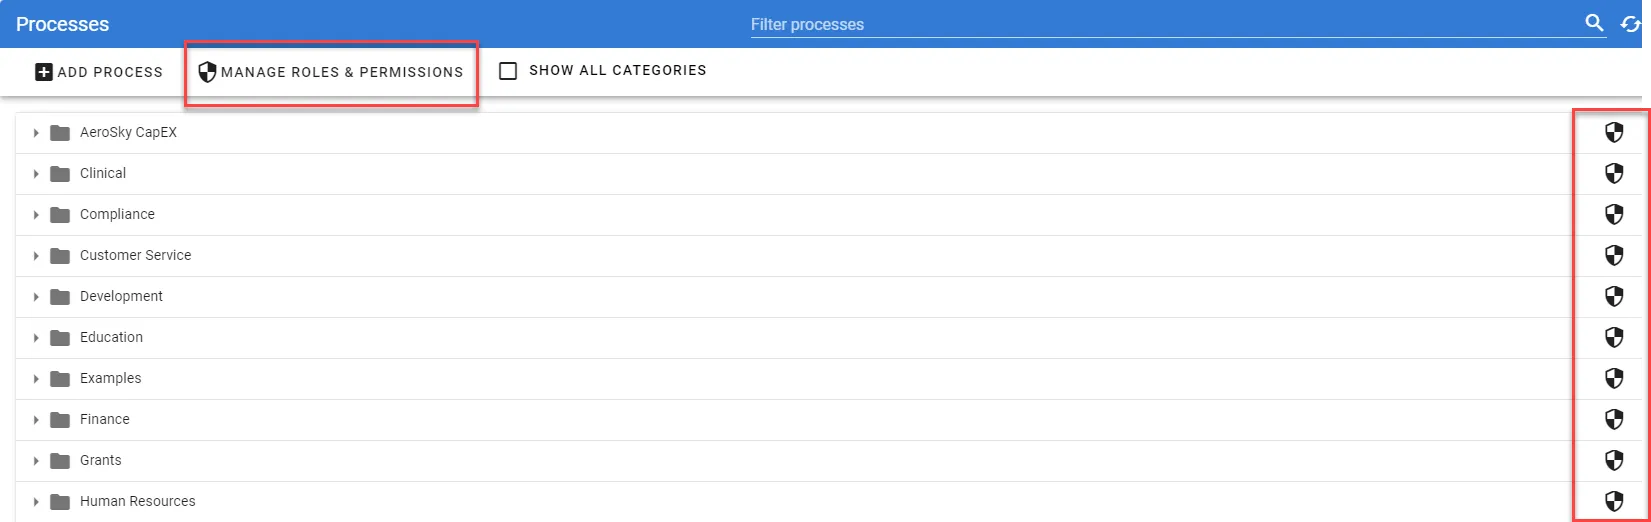
Notice that the icon for managing roles and permissions is available at the top of the process list and for each individual category that contains a process. You can only create roles at the top process category level. For levels below, you can only assign roles.
For instance, if you select the icon next to the Human Resources category, you can only select a new role for that category.
Conversely, if you create a new role by selecting the icon in the Process Menu bar for the whole listing, you can create a role that can be used by any category or any process within those categories.
This example creates a new Process Monitor role that can be used by any category and any process within those categories.
Start by selecting the Set Permissions icon in the Process Menu bar.
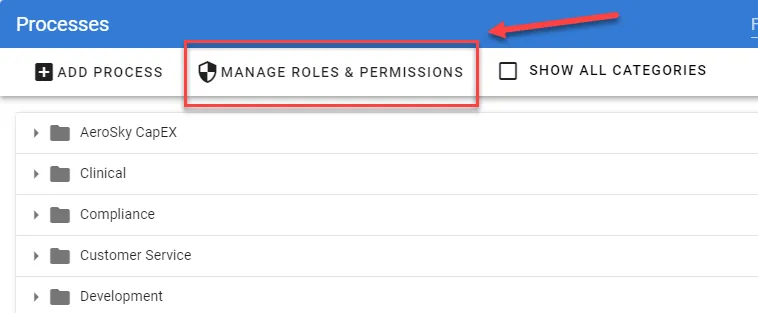
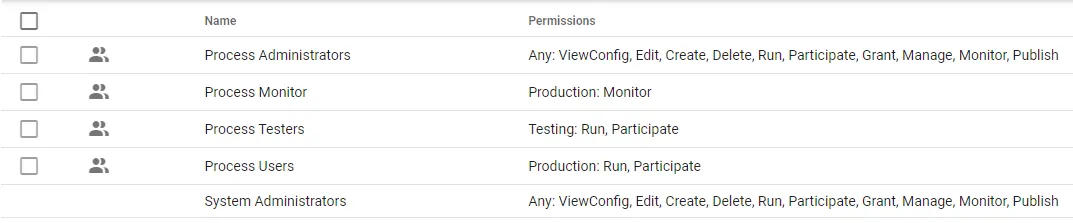
You’ll be presented with a new dialog similar to the following.
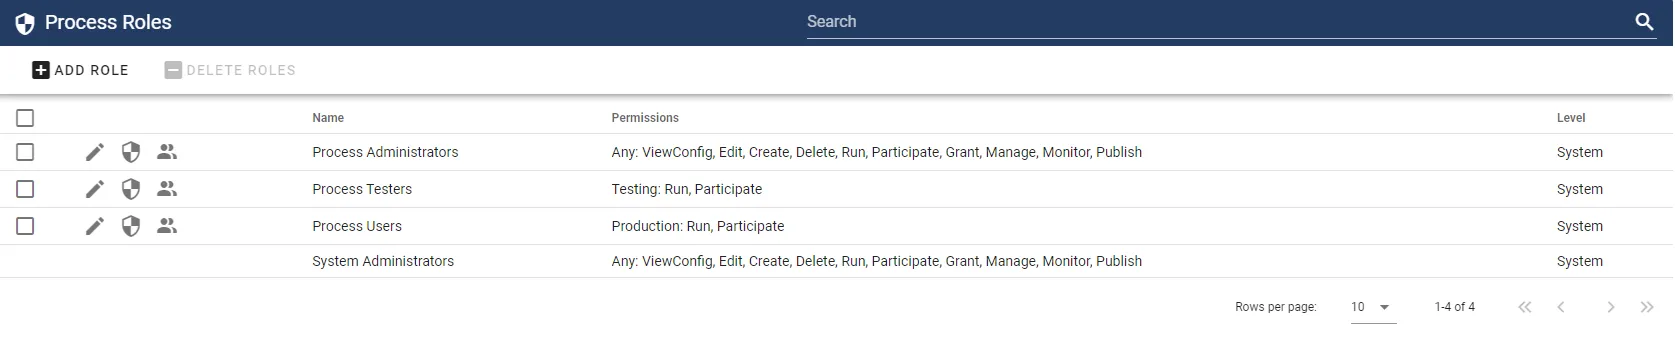
This dialog displays all of the roles that have been created (your installation may vary).
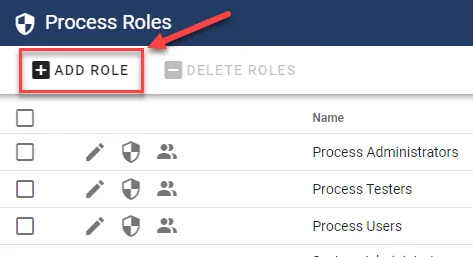
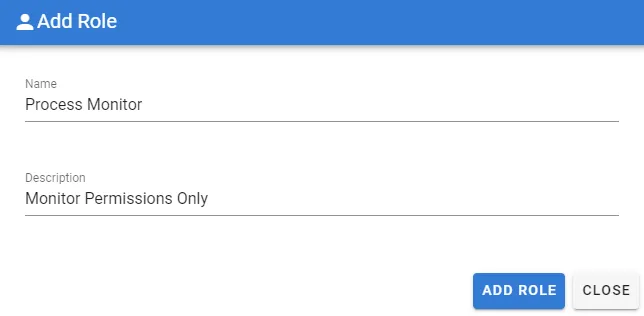
To add the new Process Monitor role, which will enable monitor permissions for a process, select the Add Role button:
Add a new Name, optionally provide a description, and select Add Role.
Once the role has been created, you can find your role in the list and choose the Edit Permissions icon for the role.

You’ll be presented with a series of checkboxes in the Role Permissions window.
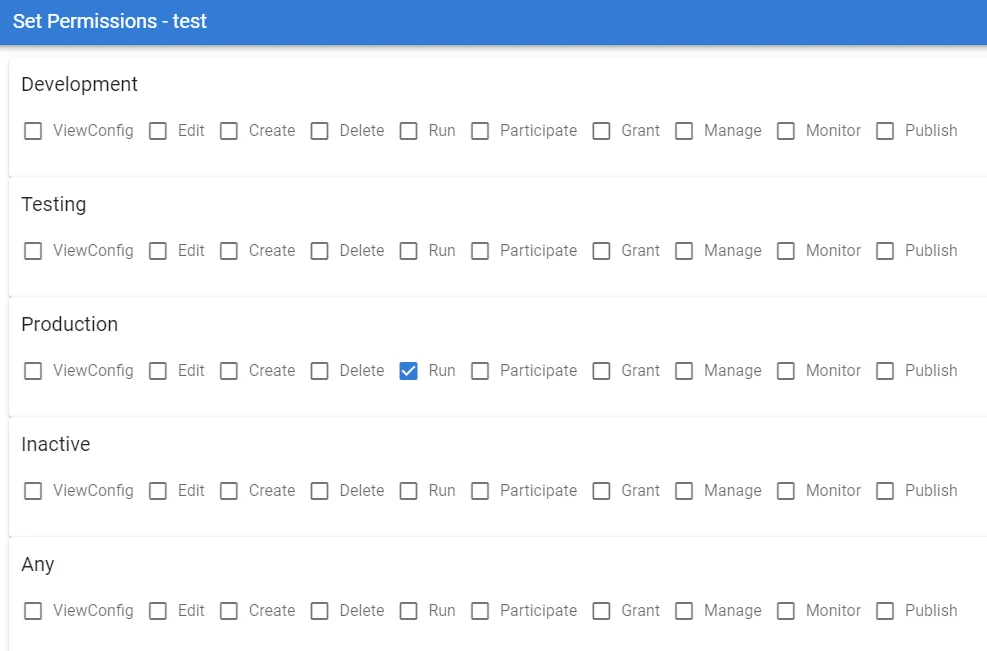
These permissions determine what a user can do to a process. You’ll also notice that the permissions correspond to the Publish Status (Development, Testing, Production, Inactive, Any) of a process.
In this scenario, the goal is to give specific users access to monitor processes in a Production publish status. However, you can also grant a role access to view, edit, delete, or monitor processes in Development, Testing, Production, or Inactive status.
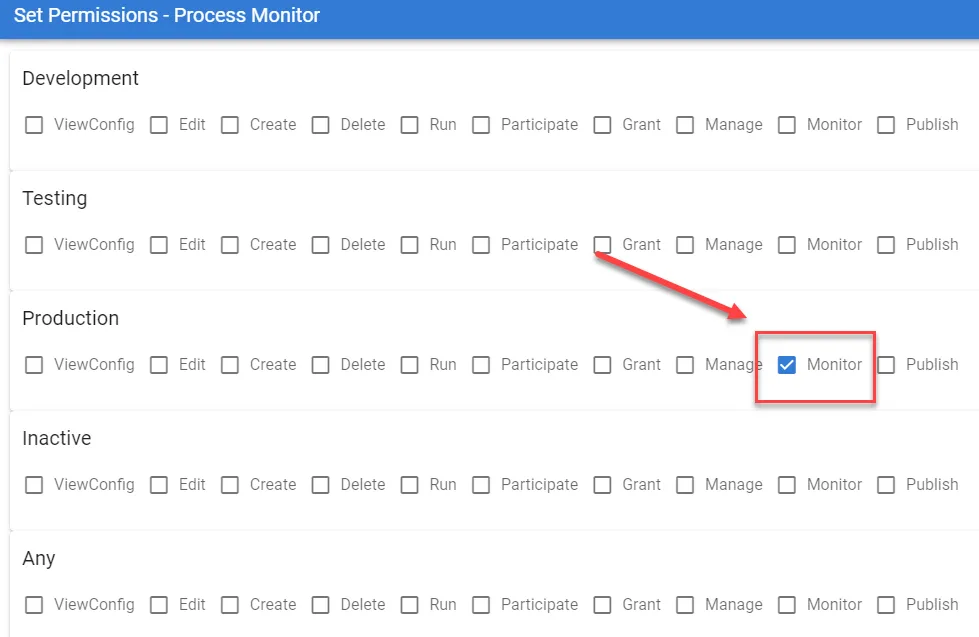
In most monitoring scenarios, you’ll only grant access to processes in a Production status.
As shown above, the Production status options are displayed. Select the Monitor permission option.
Select the Save icon to save your setting.
The Monitor permission enables the user to access the Monitor Requests menu item under the Actions navigation menu.
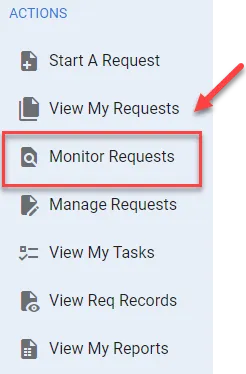
This allows users to view processes to which they might not be assigned a task and review the task history.
Adding users to roles
Since this role has been created at the top level of all processes, it’s available to any category or process. Depending on where you add members to this role, it’ll dictate how much a particular user can do. While roles are created at the top level only, users can be added to roles at any level, including all processes, specific categories of processes, or individual processes.
For instance, if you select the permissions/roles icon from the Process Menu bar and then add a member to that role, they’ll have access to monitor all processes in all categories.
However, if you want to add users to monitor only a specific category of processes, you can do that as well.
The following example shows the permissions/role icon selected next to the IT category in the process list.
These roles are all roles that this category has inherited. Notice that the ability to edit a role isn’t available, which indicates that the role has been inherited from a level above the category.
You can select the Show Members icon for the Process Monitor role here.
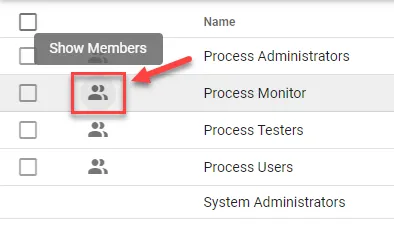
Then you’ll be presented with the following.
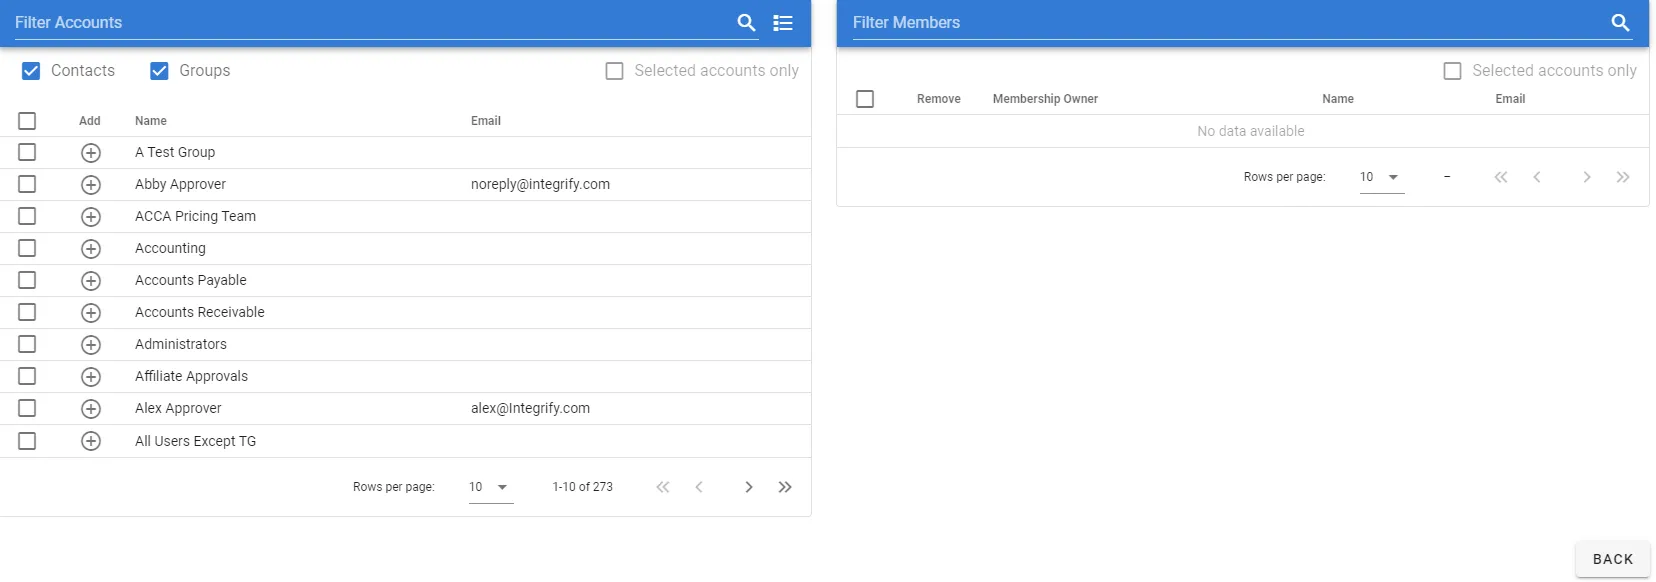
You can add either individual users or groups of users to be members of this role. If a user cannot be removed, it means they were granted this specific permission at a level higher than the level you’re at now.
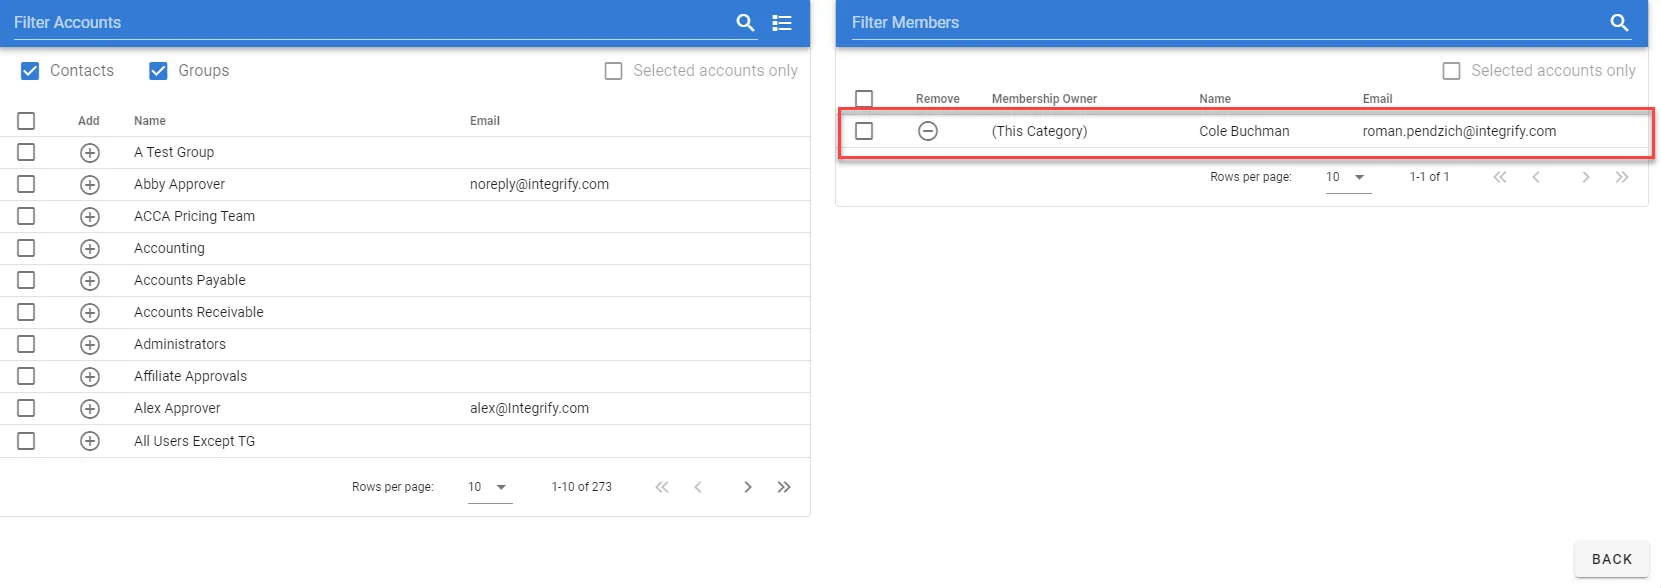
In the example above, Cole Buchman will be able to monitor any process that occurs in the IT category.
If you navigate to a process within the IT category and open the process, you’ll notice the Role Memberships icon associated with the process.
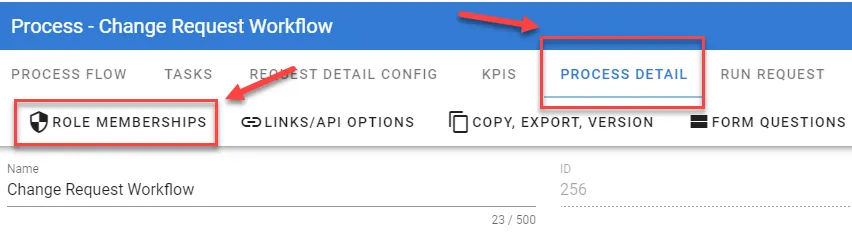
If you want to allow someone to be a process monitor for only this particular process, select the Role Memberships icon and you’ll be presented with a list of roles for this process.
Notice that the same Process Monitor role that was created is inherited down to this process.
By selecting the members icon for the Process Monitor role, you’ll be presented with the following.
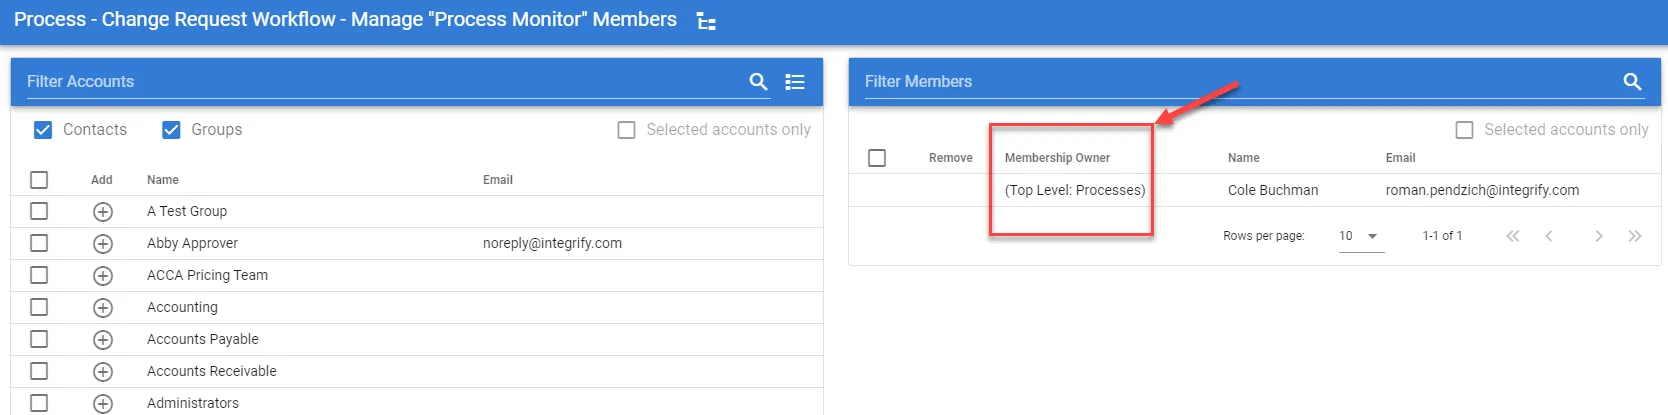
Cole Buchman is a member of this role, but you won’t be able to remove him here because he was added at the top level.
However, you can add more users as monitors of this process.
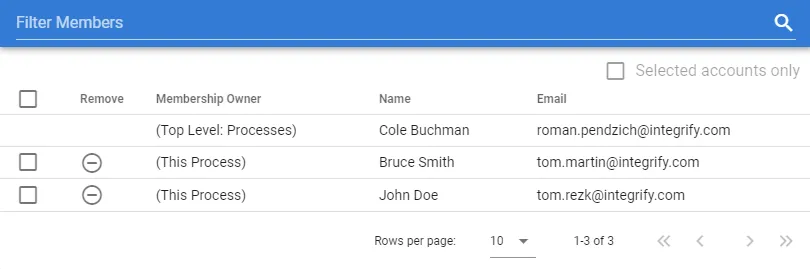
Now, John Doe and Bruce Smith will have access to monitor just this specific process, whereas Cole Buchman has access to monitor all processes.
Next steps
- For a systemwide view of effective permissions across all item types, refer to the permissions overview.